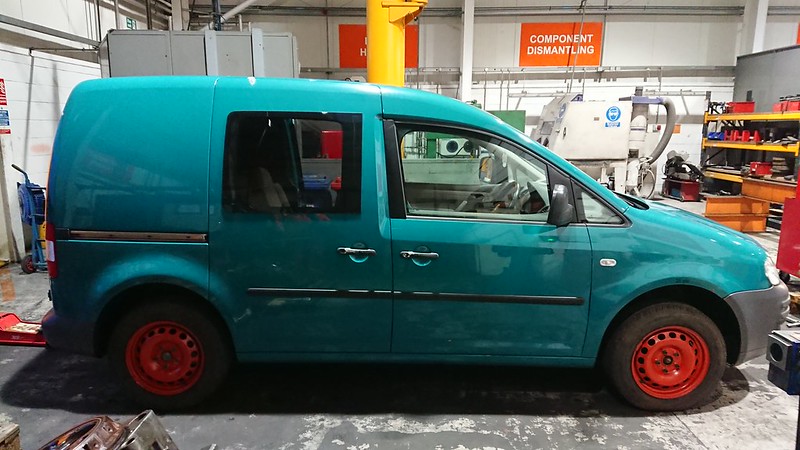
 DSC_2350 by Jack Ledingham, on Flickr
The plan for this van is to build a folding bed, which can be put away when the seats are in place. There also needs to be enough room at one side for my trials bike. I'm just going to use this thread as a log of things i've done to the van and its ongoing work.
The first couple of jobs were fairly simple. Sold the awful alloys for £100. Got the steels for £40 and painted them red. I re-siliconed the side windows as they had come away from the door. I also fitted new subframe mounts for the dogbone engine mount which has failed miserably and gave it a full service. The timing belt and water pump has been done so I don't need to bother with that for a while. The van had actually had a decent amount of new parts like brakes and exhaust before I bought it so there hasn't actually been much mechanically to do (which is the stuff I know
I then hoovered the back out and started insulating:
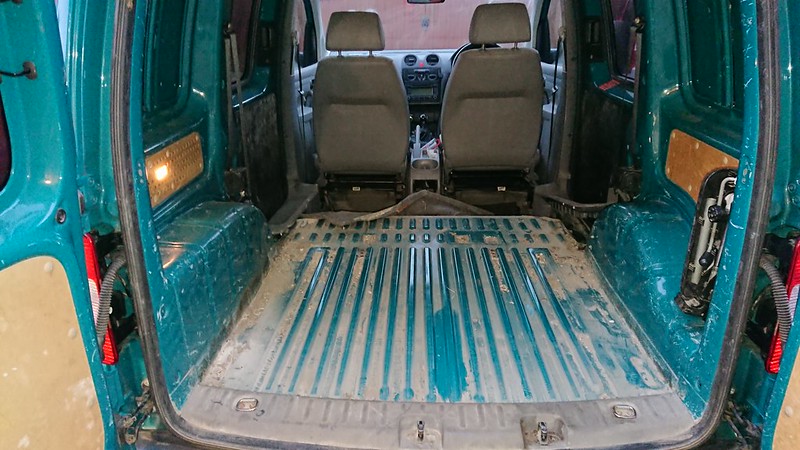 DSC_2369 by Jack Ledingham, on Flickr
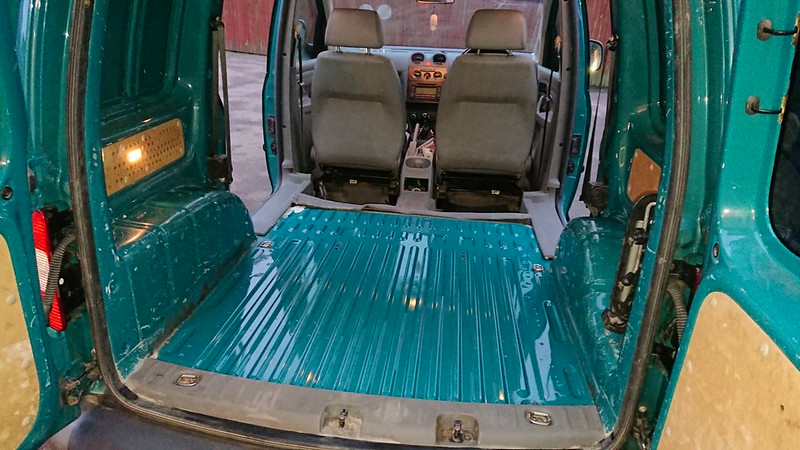 DSC_2370 by Jack Ledingham, on Flickr
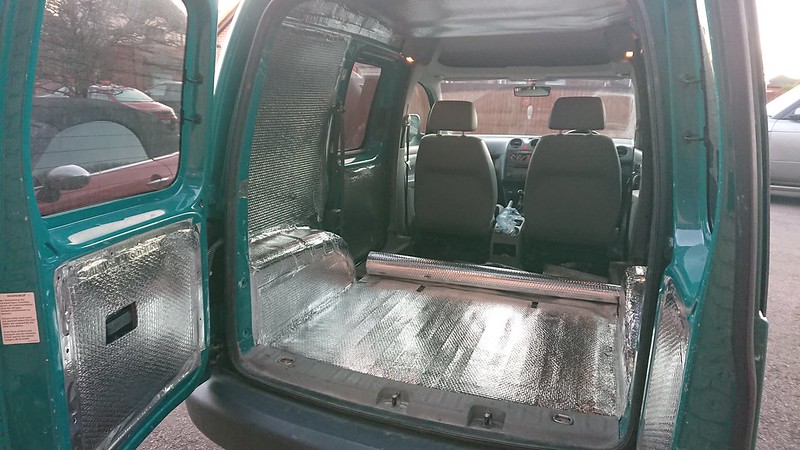 DSC_2385 by Jack Ledingham, on Flickr
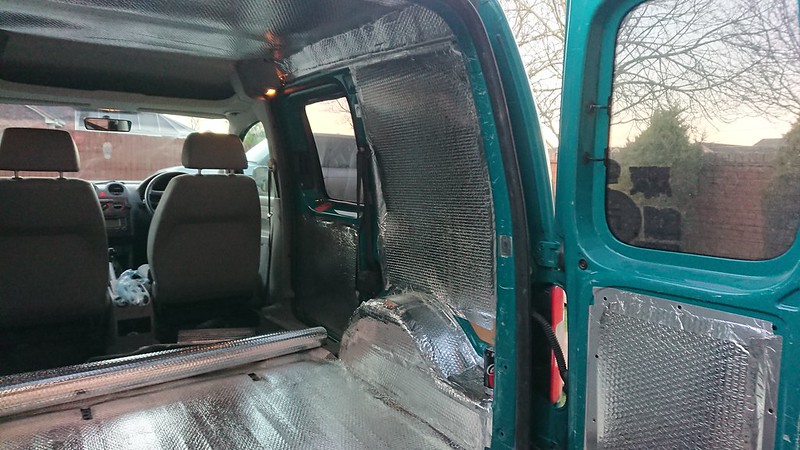 DSC_2386 by Jack Ledingham, on Flickr
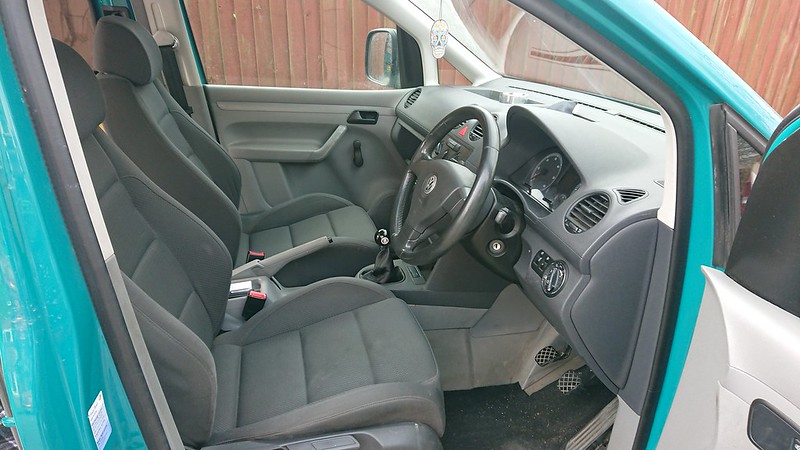
That consisted of sound deadening all over, recycled plastic insulation and double bubble foil. I covered the door panels with some bed throws from Asda with a funky pattern. I also made my own ply panels for the sides and covered them with the same pattern. All of the wood in this van has been free or re-claimed. I lino-ed the floor (which needs re-heating to stick down again after the mega cold weather). I then used the £60 left over from the wheels and bought some seats and steering wheel from a MK5 GT TDI and they must be the best mod so far. Has made such a difference to the feel.
 DSC_2404 by Jack Ledingham, on Flickr
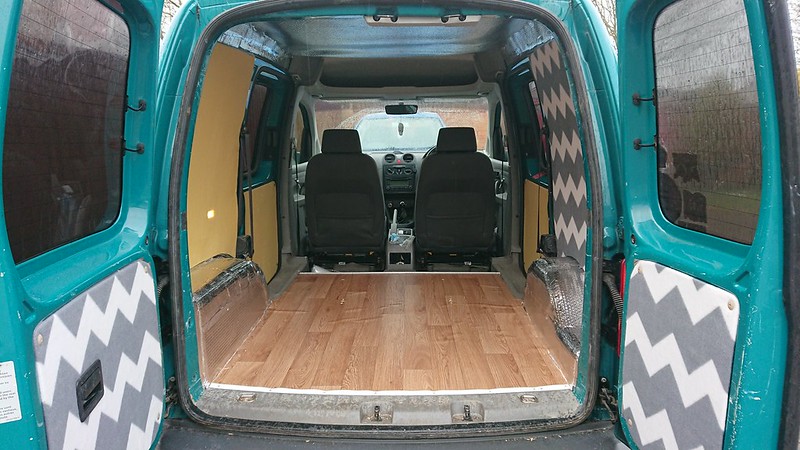 DSC_2405 by Jack Ledingham, on Flickr
Now that the ply sides are in I can fit the seat sandwich plates for the rear and get the seats in, then I can start making the bed box to fit behind that with lids that fold out into a full length bed. I've designed it all in autocad so should be good to go with that. Then I can move onto the roof panel, which ill most likely buy, and fitting a split charge system for the leisure battery. But the main concern is to get the bed built and functional so we can actually use the van for its intended purpose!