Page 2 of 5
Re: GolfChicks Red Van
Posted: Sun Mar 25, 2018 9:11 am
by ElliotH
Looks like a great plan, I will be very interested to see it all come together.
Bought my caddy from RRK too, nice guy and very helpful. I saw yours when I went to pick mine up.
Sent from my iPhone using Tapatalk
GolfChicks Red Van
Posted: Wed Mar 28, 2018 8:42 pm
by Cheney663
Like your idea, Hoping to make a similar bed/storage system that I can remove after use so the tools can go back in Monday morning. Look forward to seeing the system finished. Good luck with the project.
Sent from my iPhone using Tapatalk
Re: GolfChicks Red Van
Posted: Thu Mar 29, 2018 5:55 pm
by Golfchick
Yeah that’s the plan with this as well. There’s already nuts in the floor from some racking so can hopefully bolt it in there so it’ll be quick and easy to remove it.
Re: GolfChicks Red Van
Posted: Mon Apr 02, 2018 9:50 pm
by Golfchick
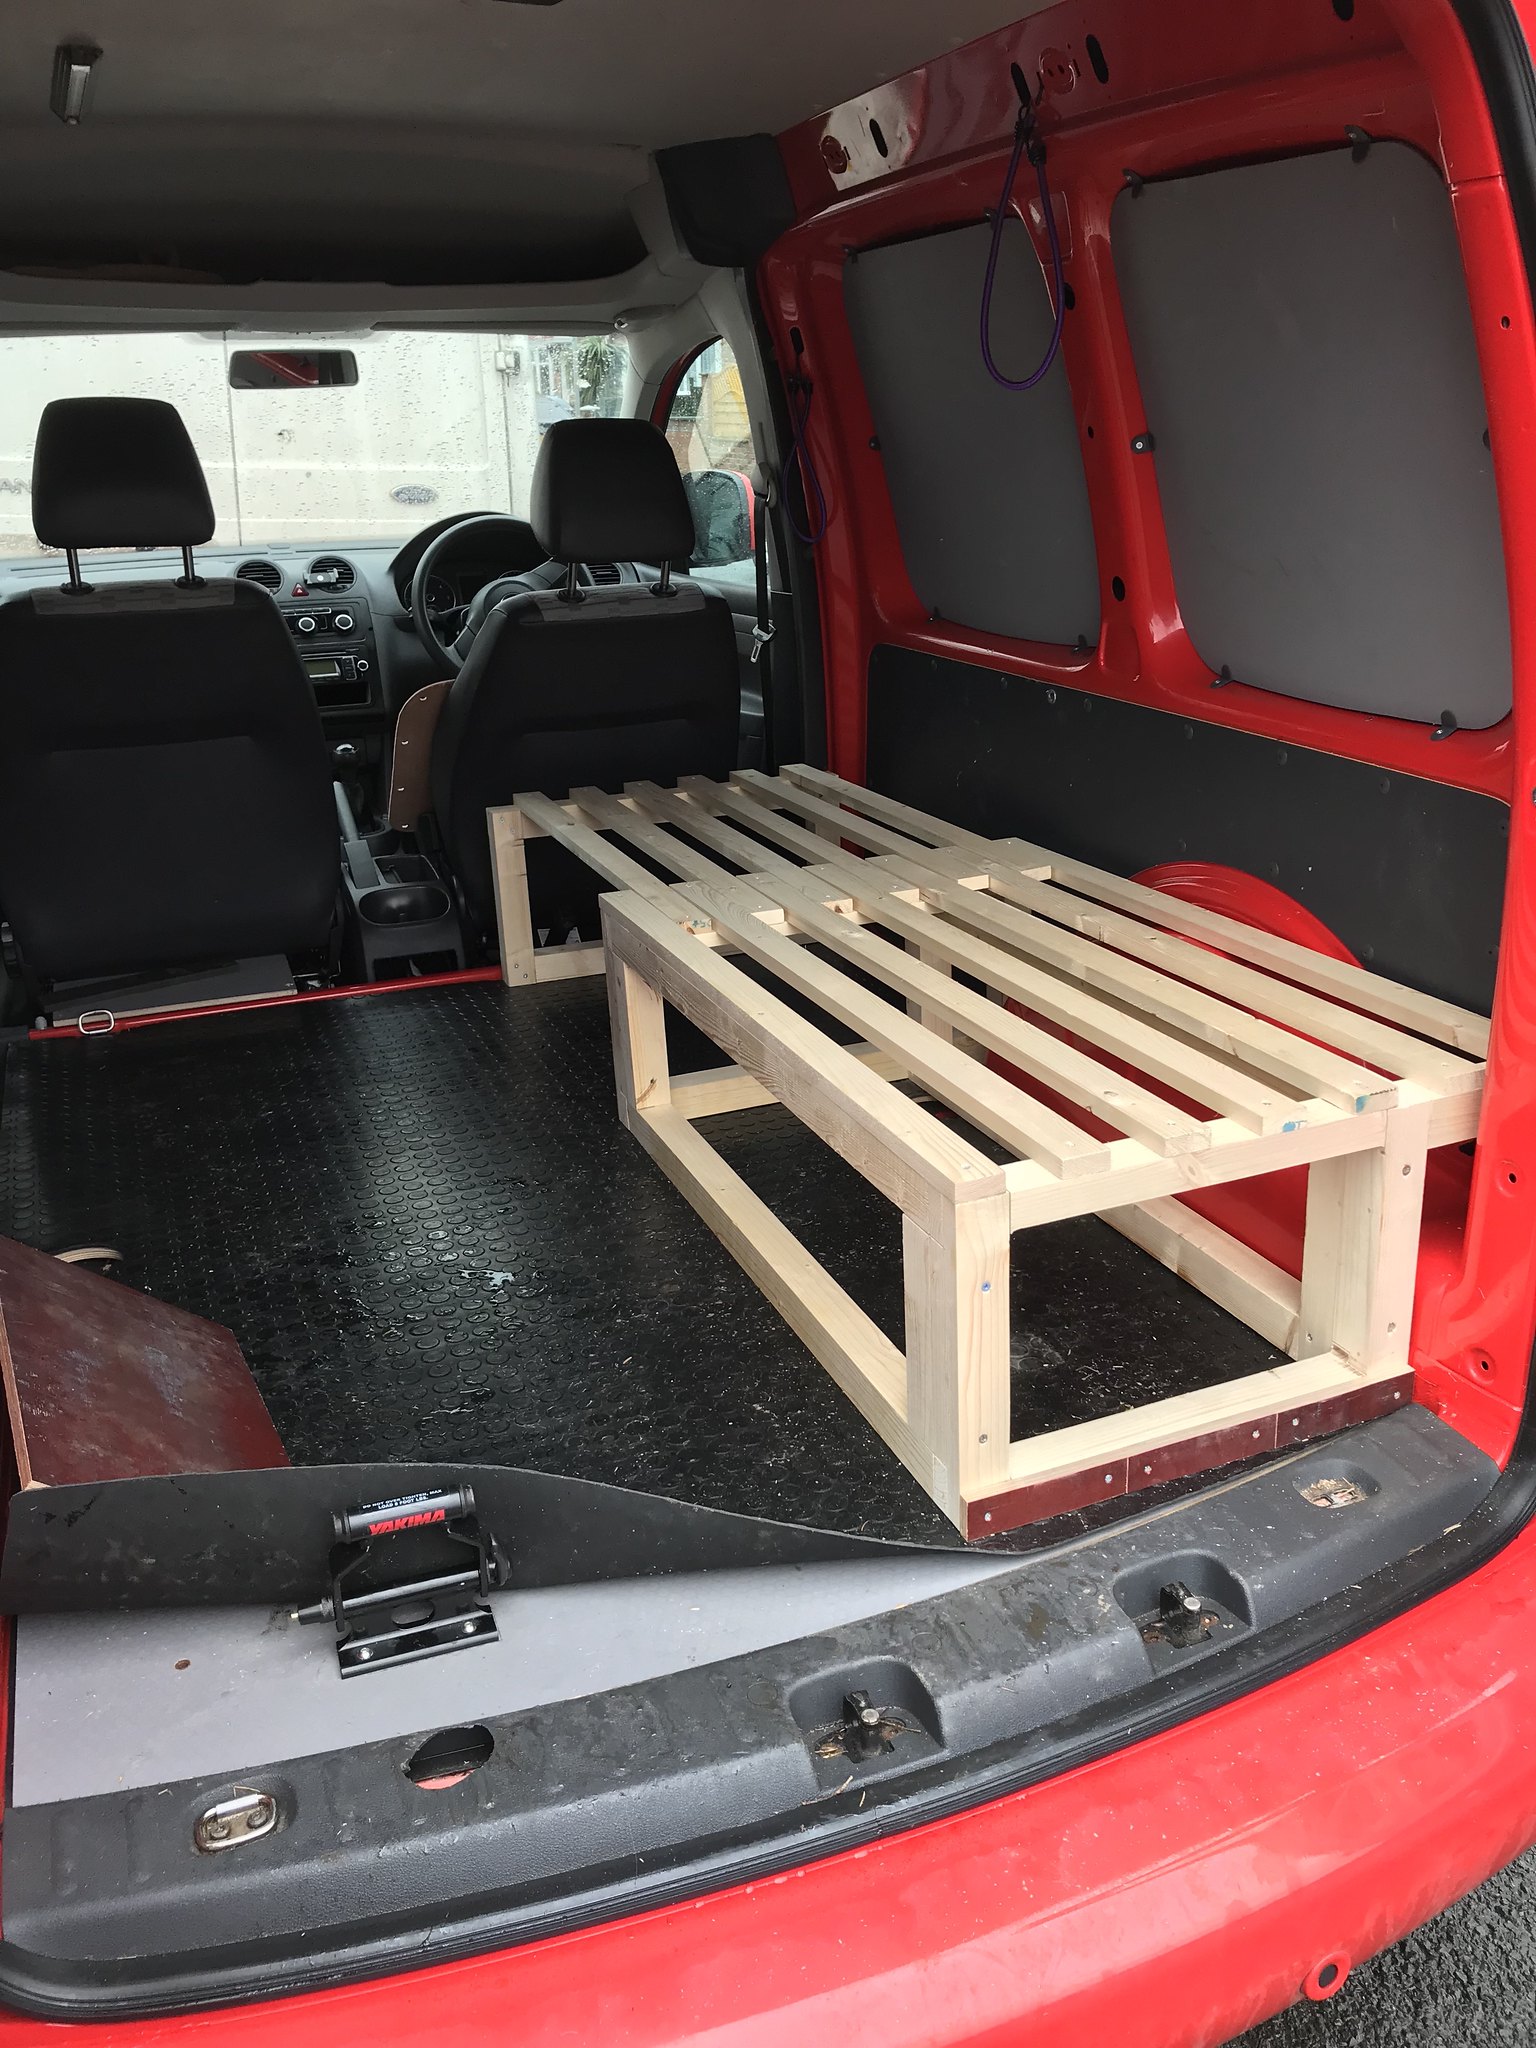
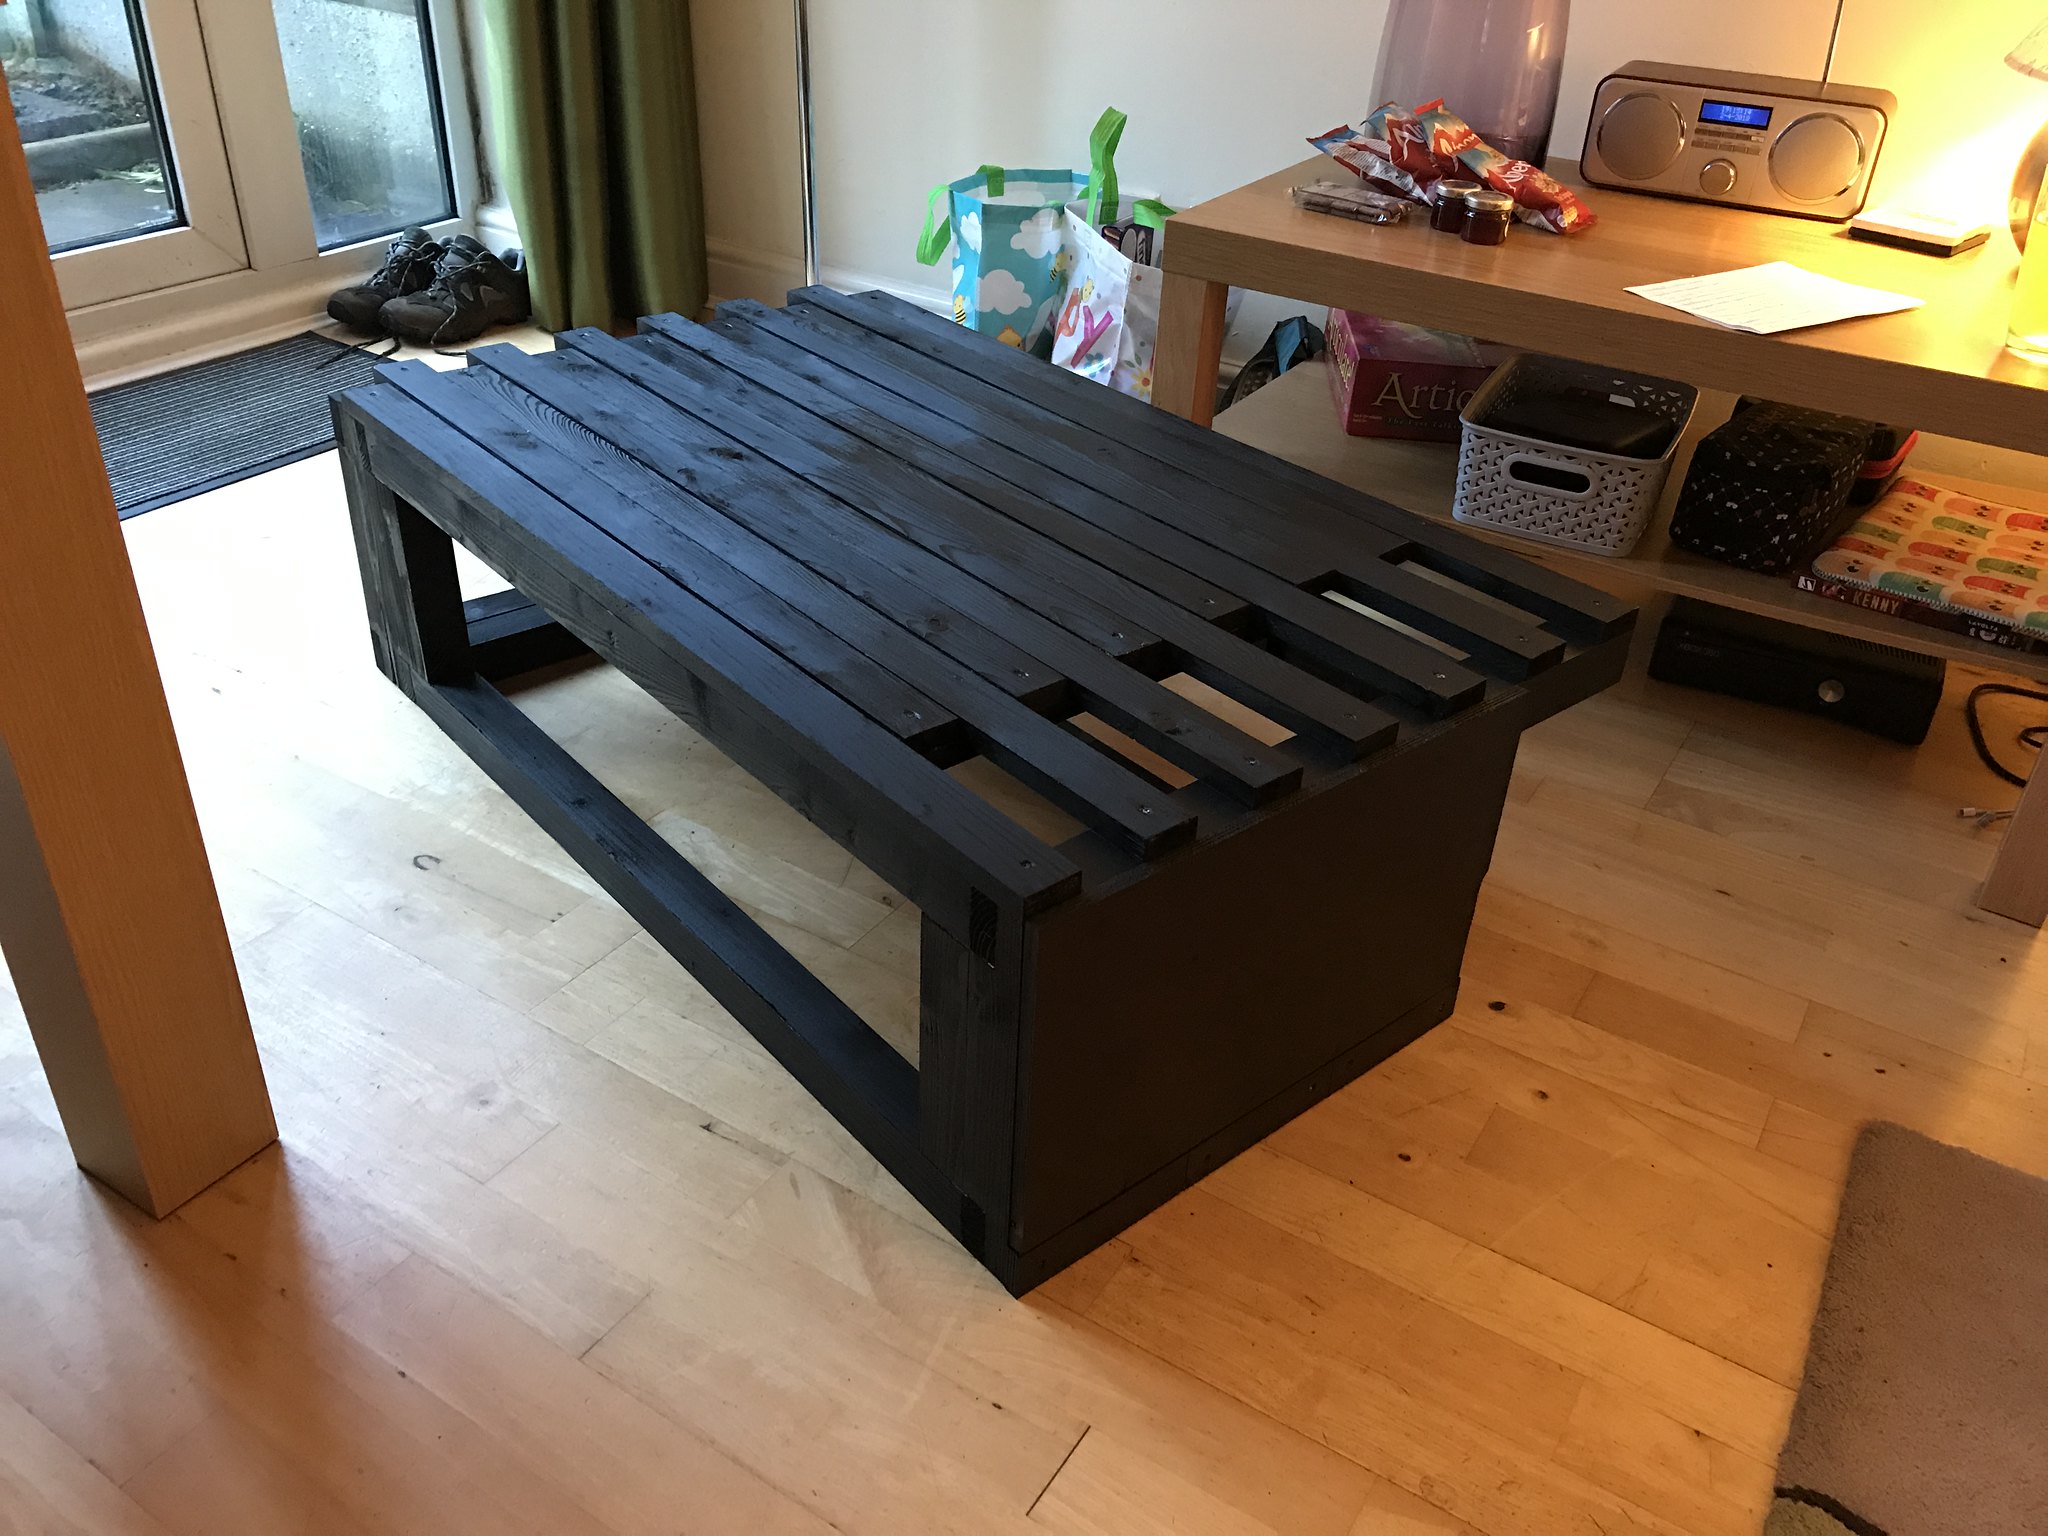
Build went well at the weekend, got step flap cut in, two new rear door panels cut out, bike mount fixed to the floor and most important all the parts of the bed built. Been painting it today and will put a second coat on tomorrow. The side panels will have to wait until I have the carpet, no point fitting them without. Going to stick the rubber matting down this week which will improve it no end.
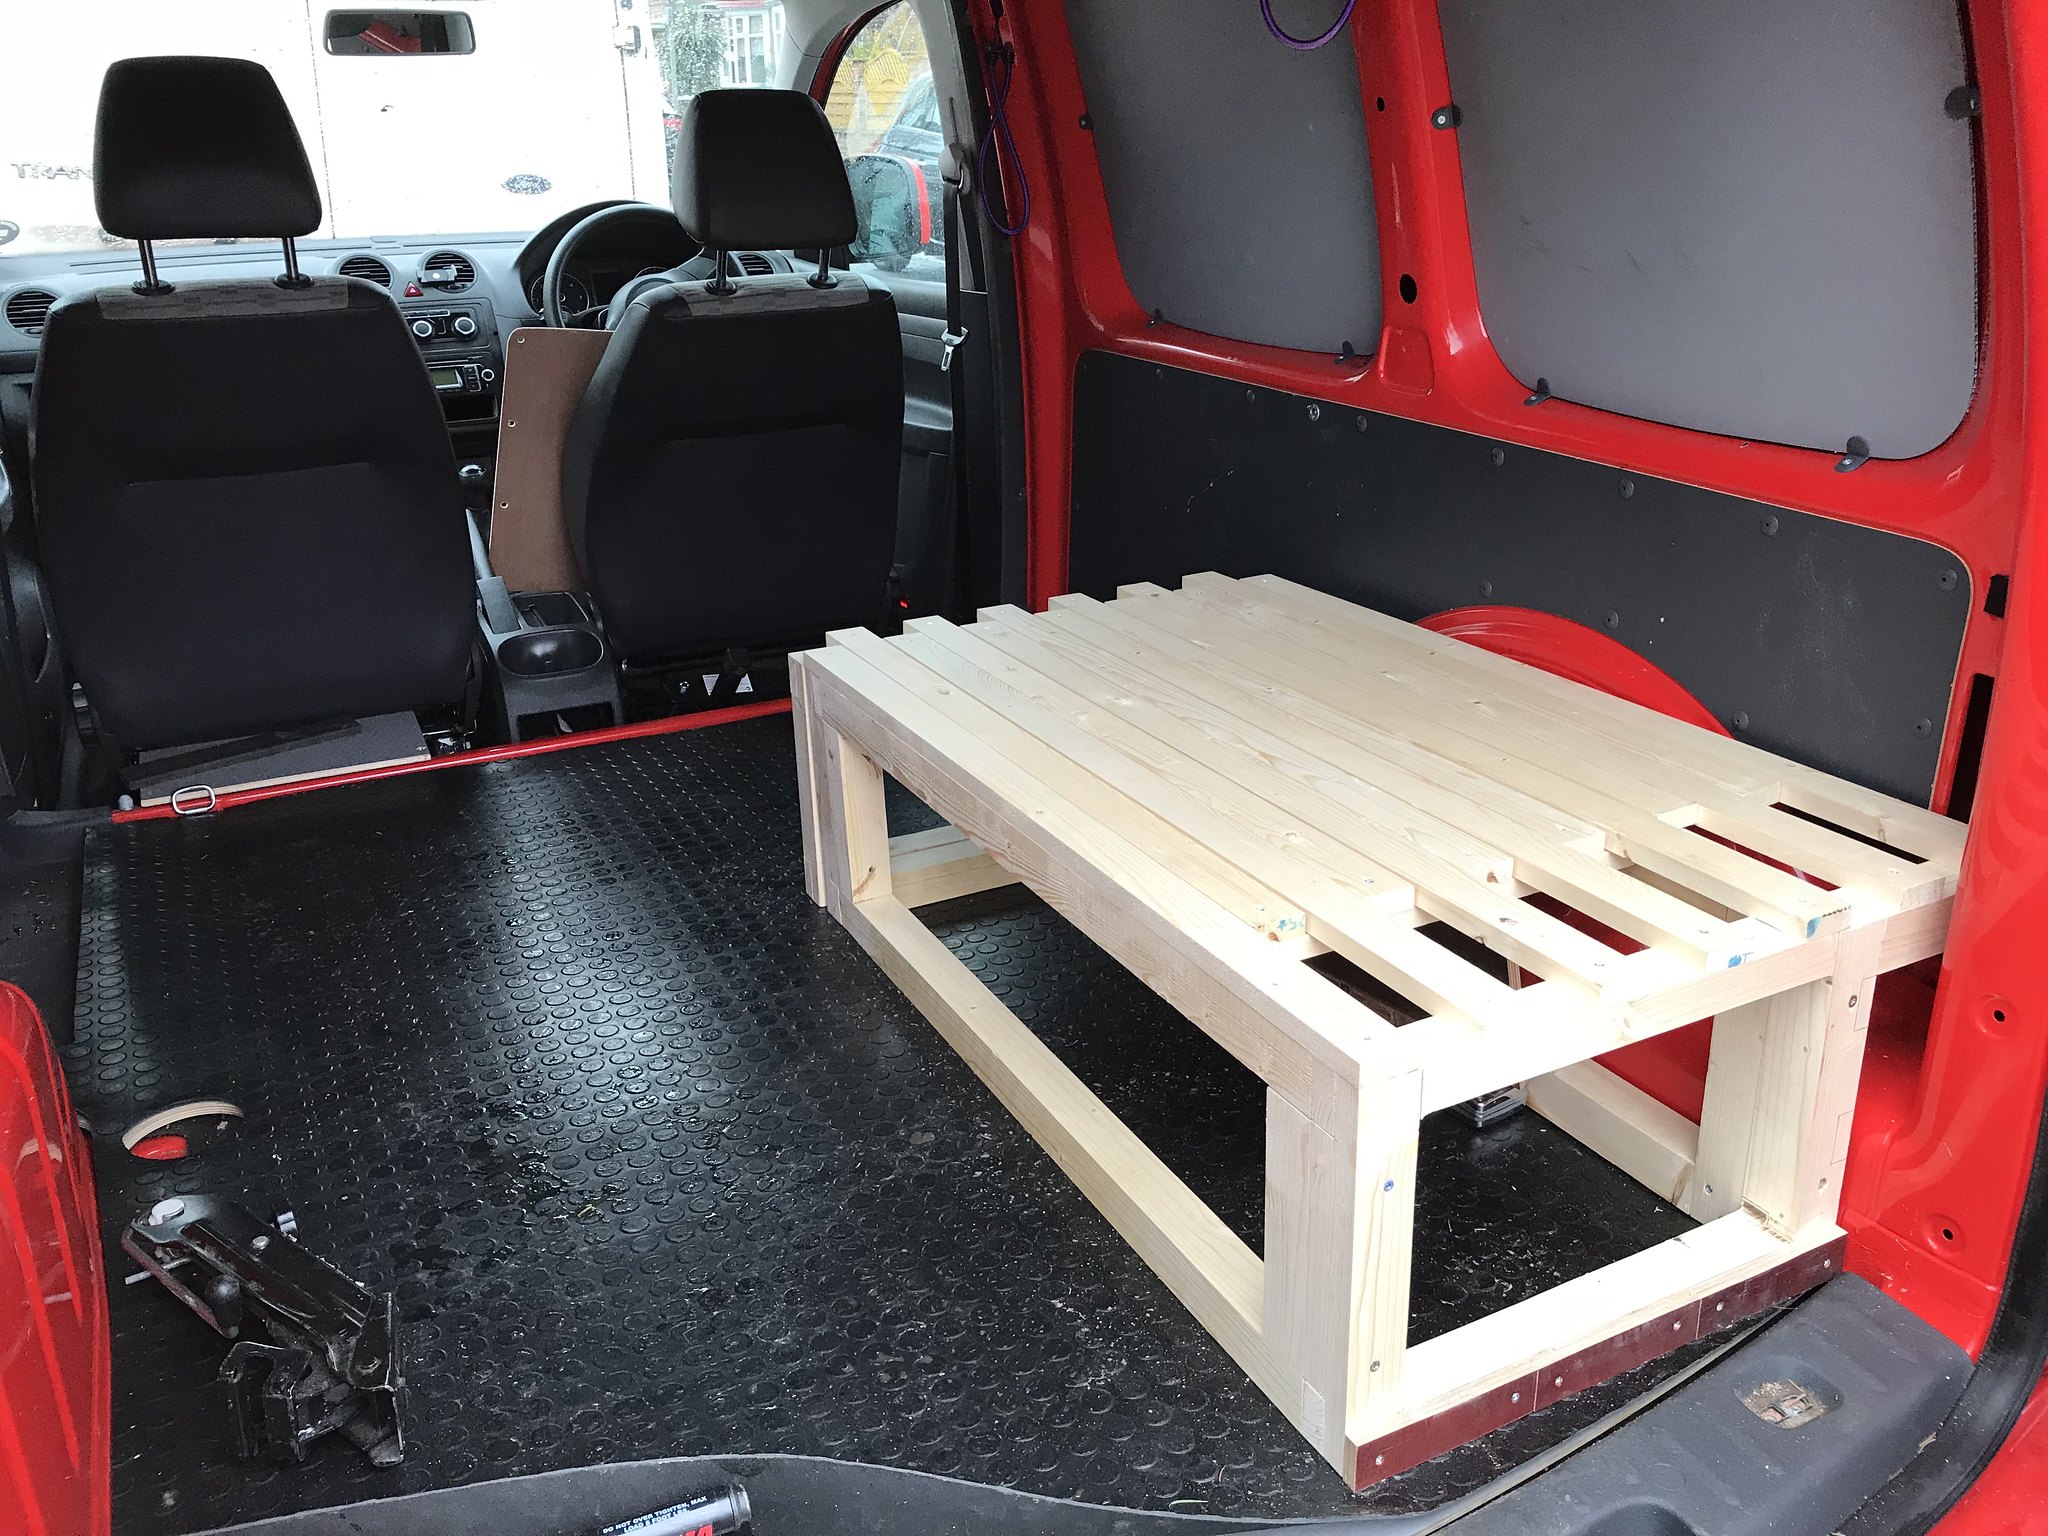 IMG_0877
 by
Alison Clarke, on Flickr
 IMG_0877
 by
Alison Clarke, on Flickr
 bed frame
 by
Alison Clarke, on Flickr
Re: GolfChicks Red Van
Posted: Mon Apr 23, 2018 8:36 pm
by Golfchick
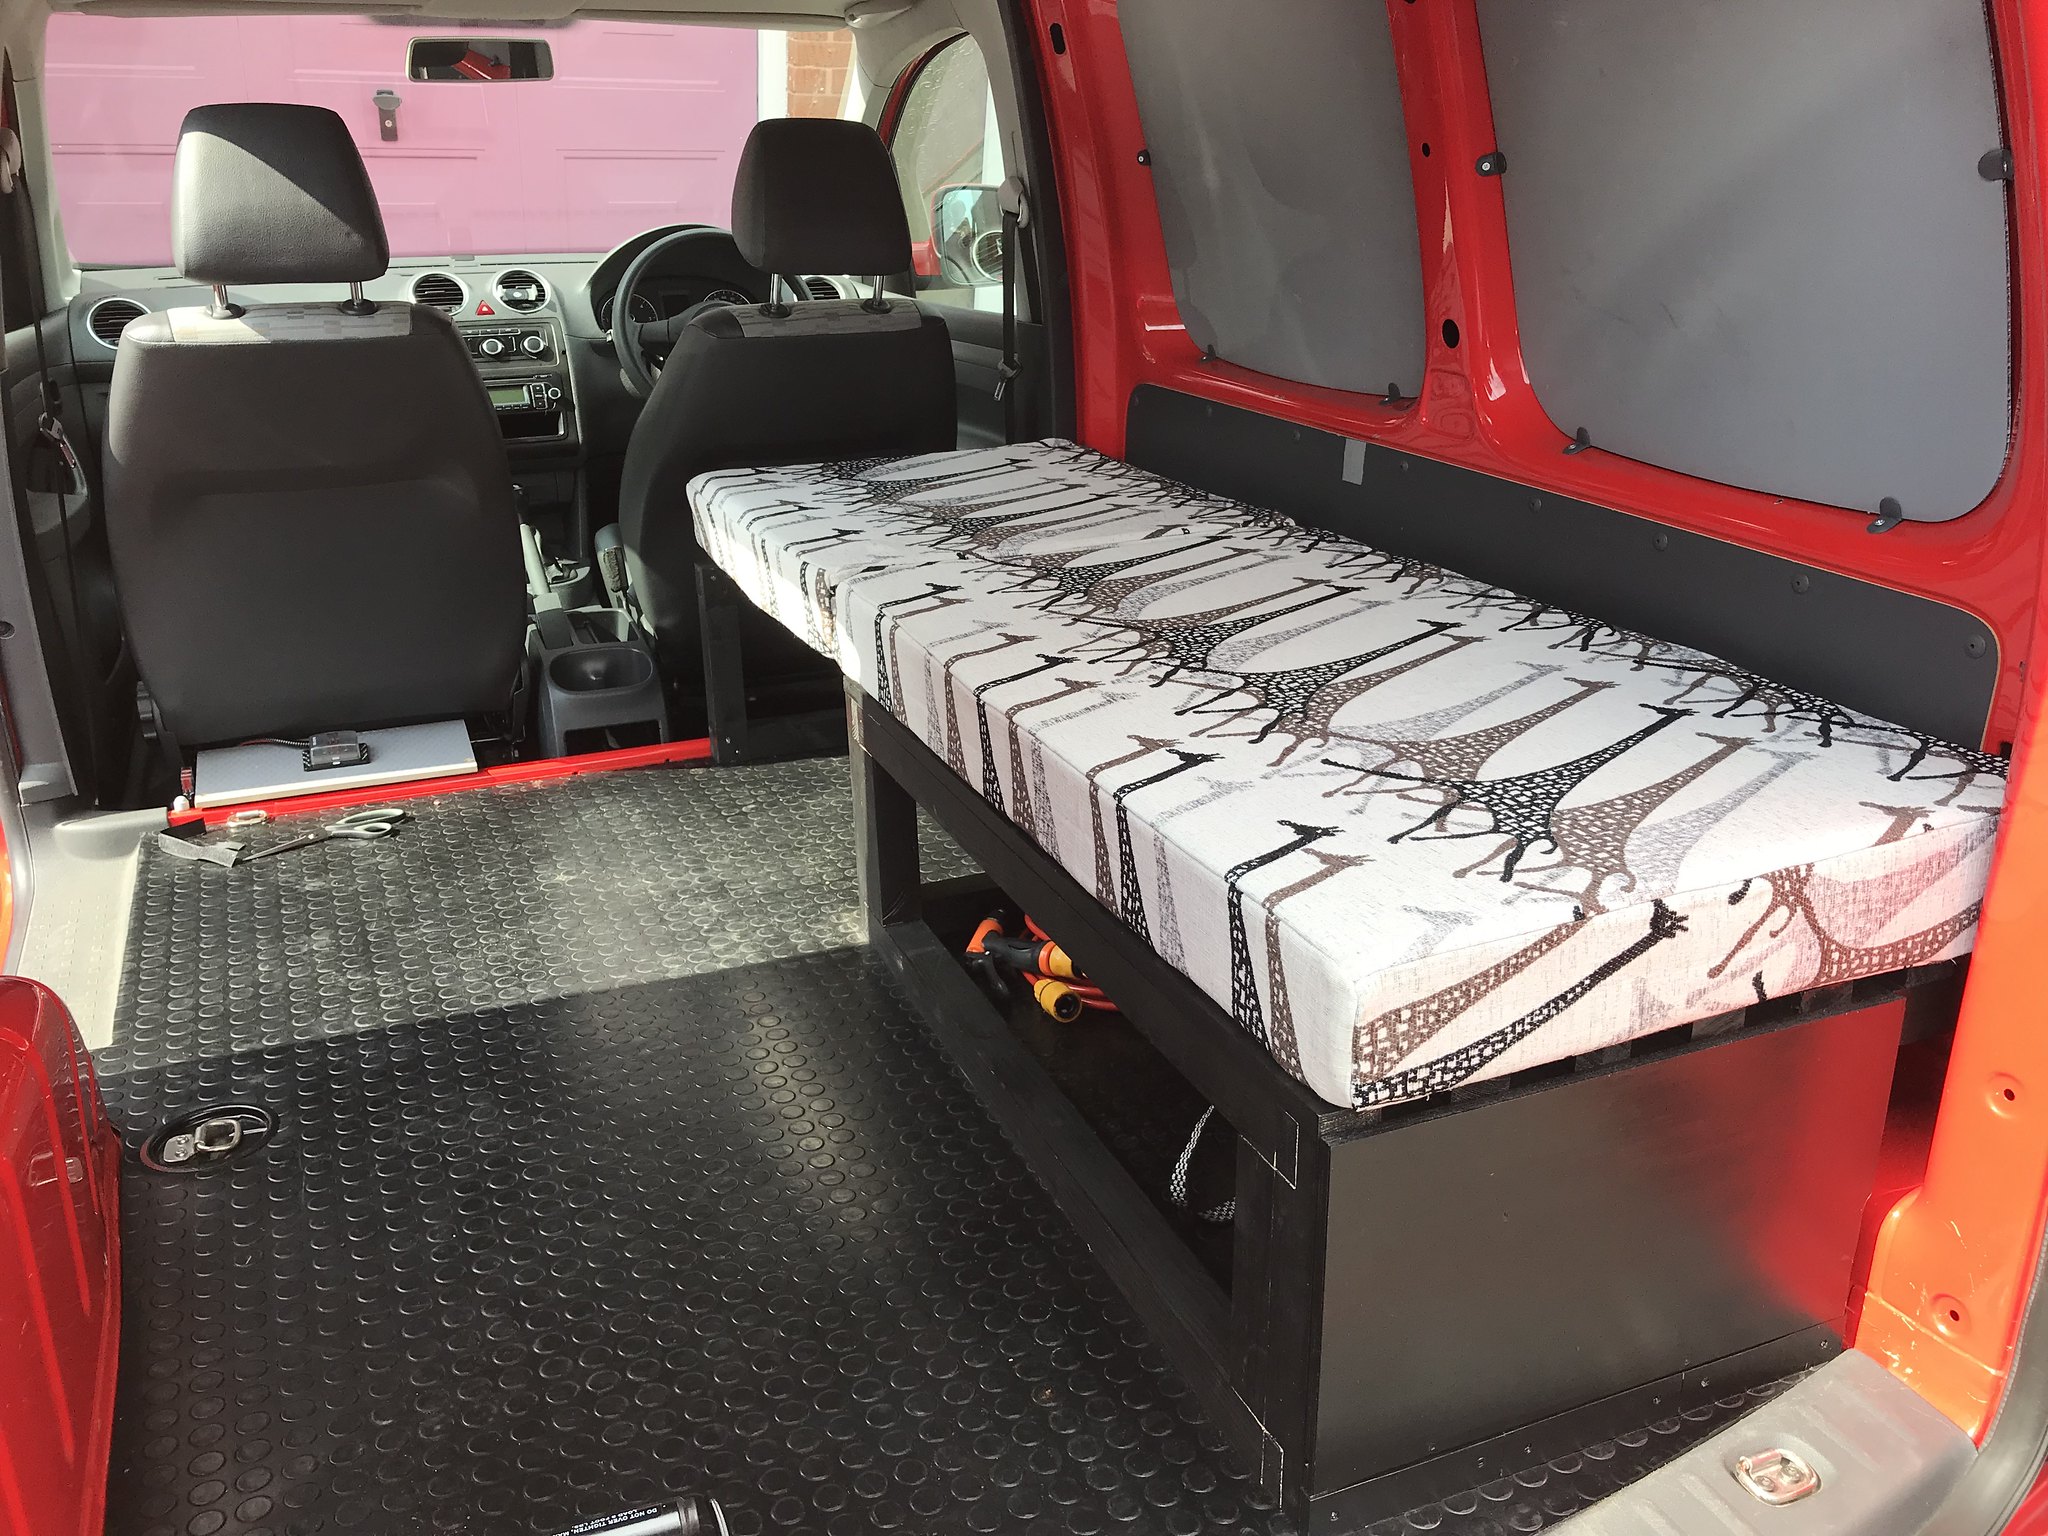
Got the flooring glued down properly and ordered the foam for the bed so took it for a maiden voyage Friday night into Saturday. Still more changes to come and things to do but really happy with how it performed. A perfect first test!
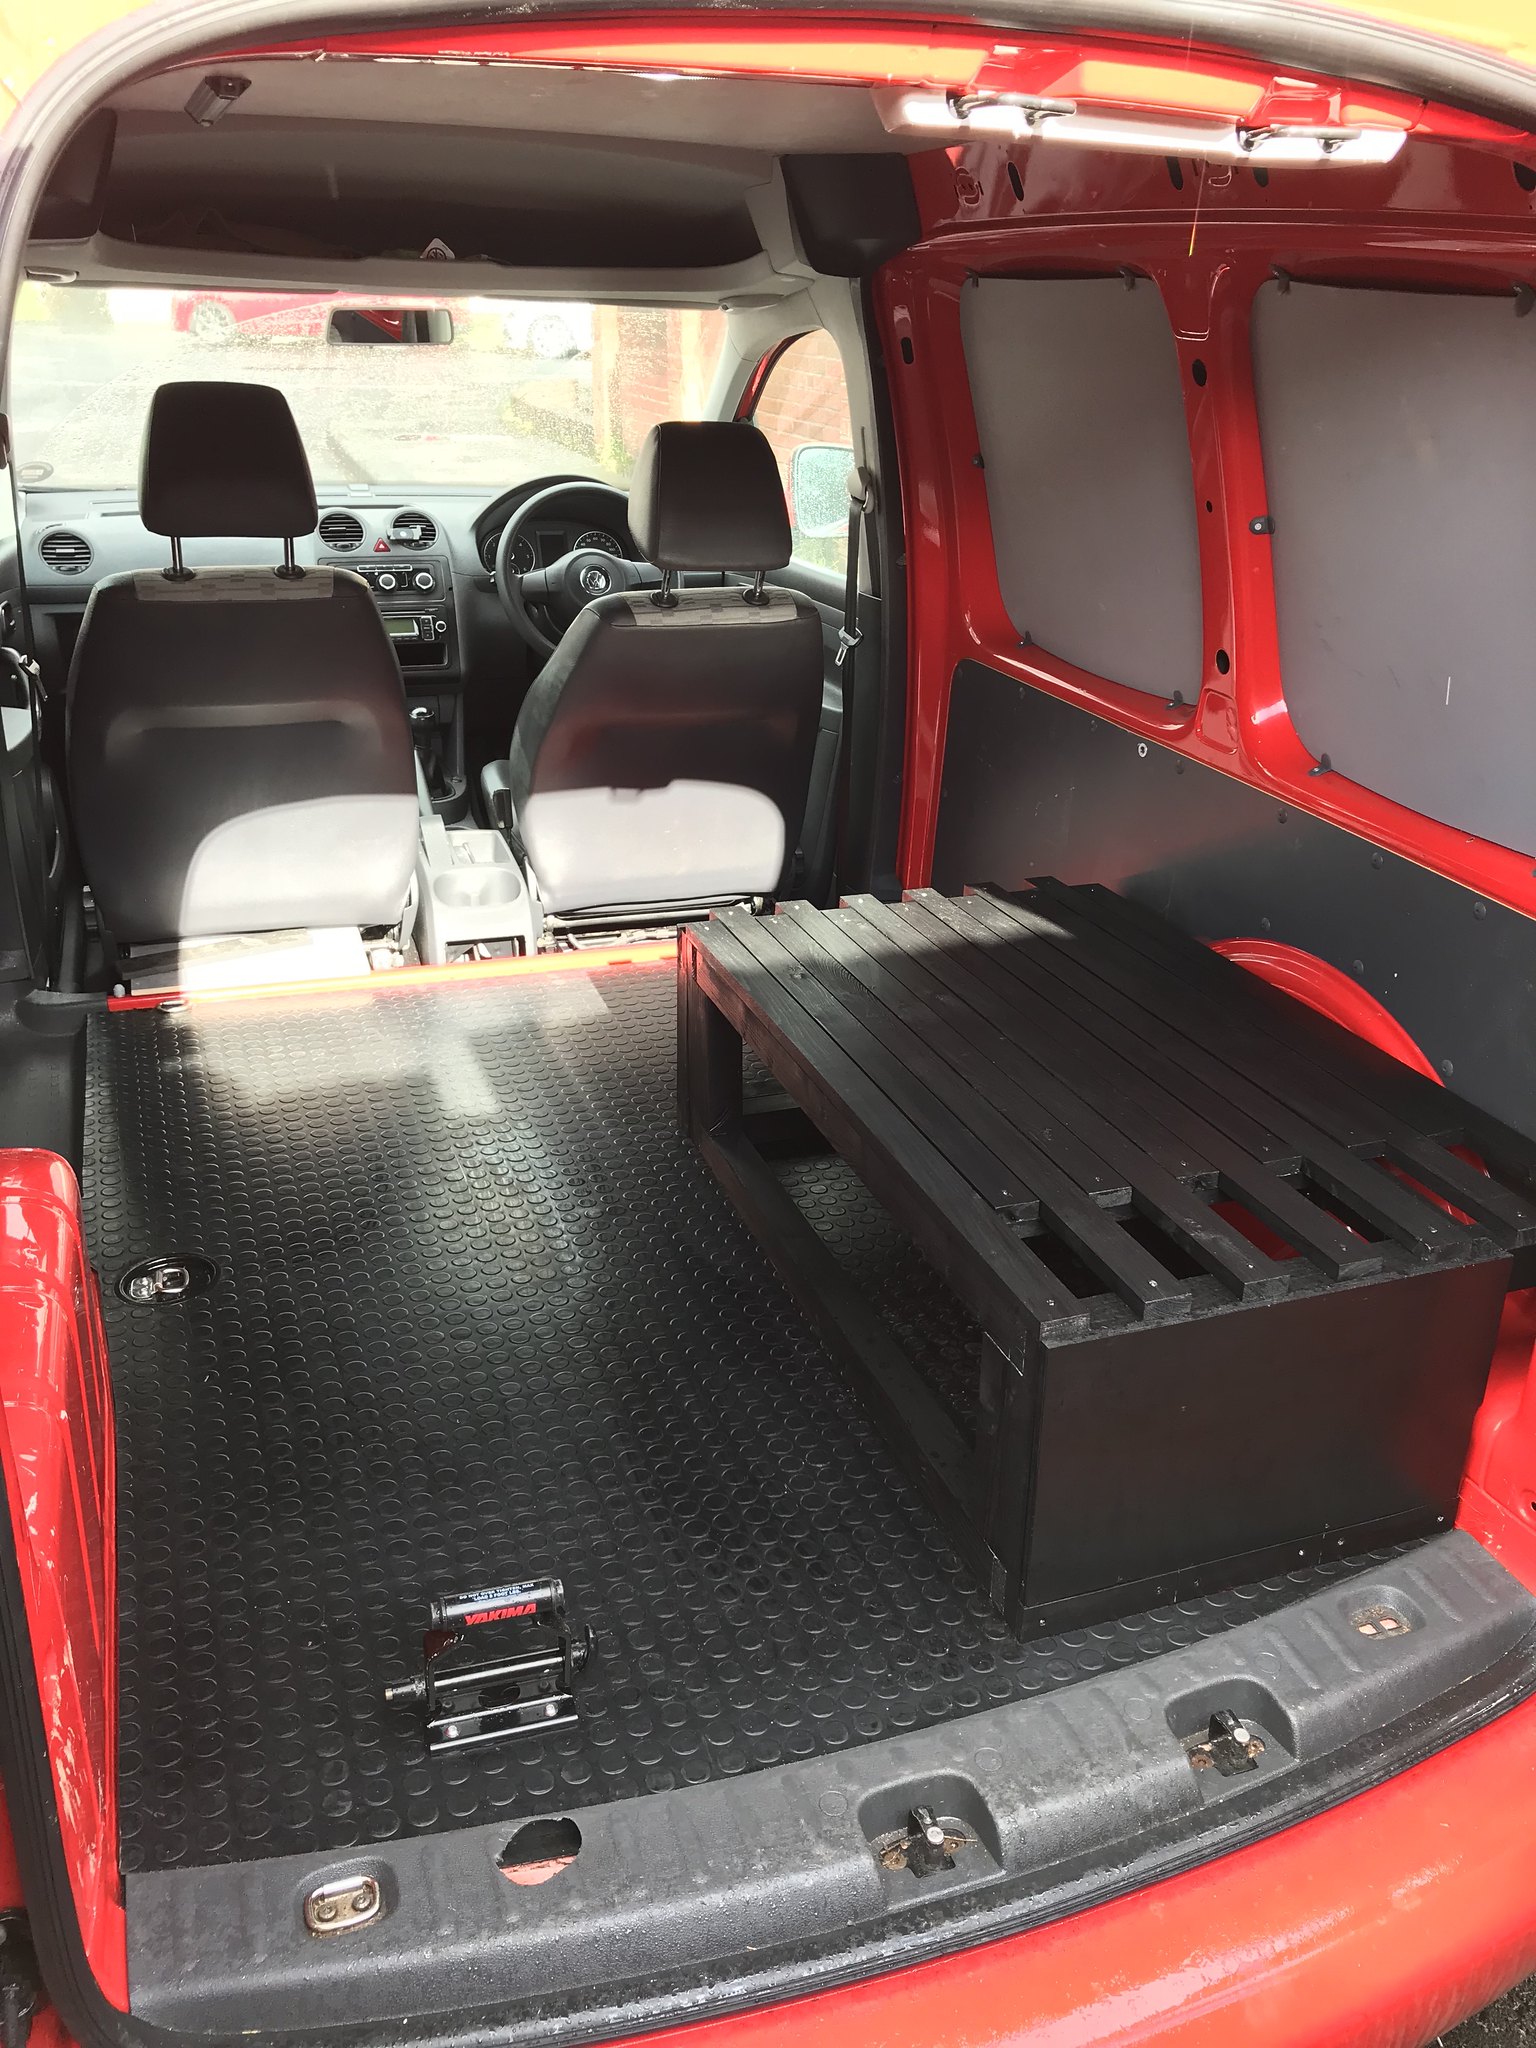 new bits
 by
Alison Clarke, on Flickr
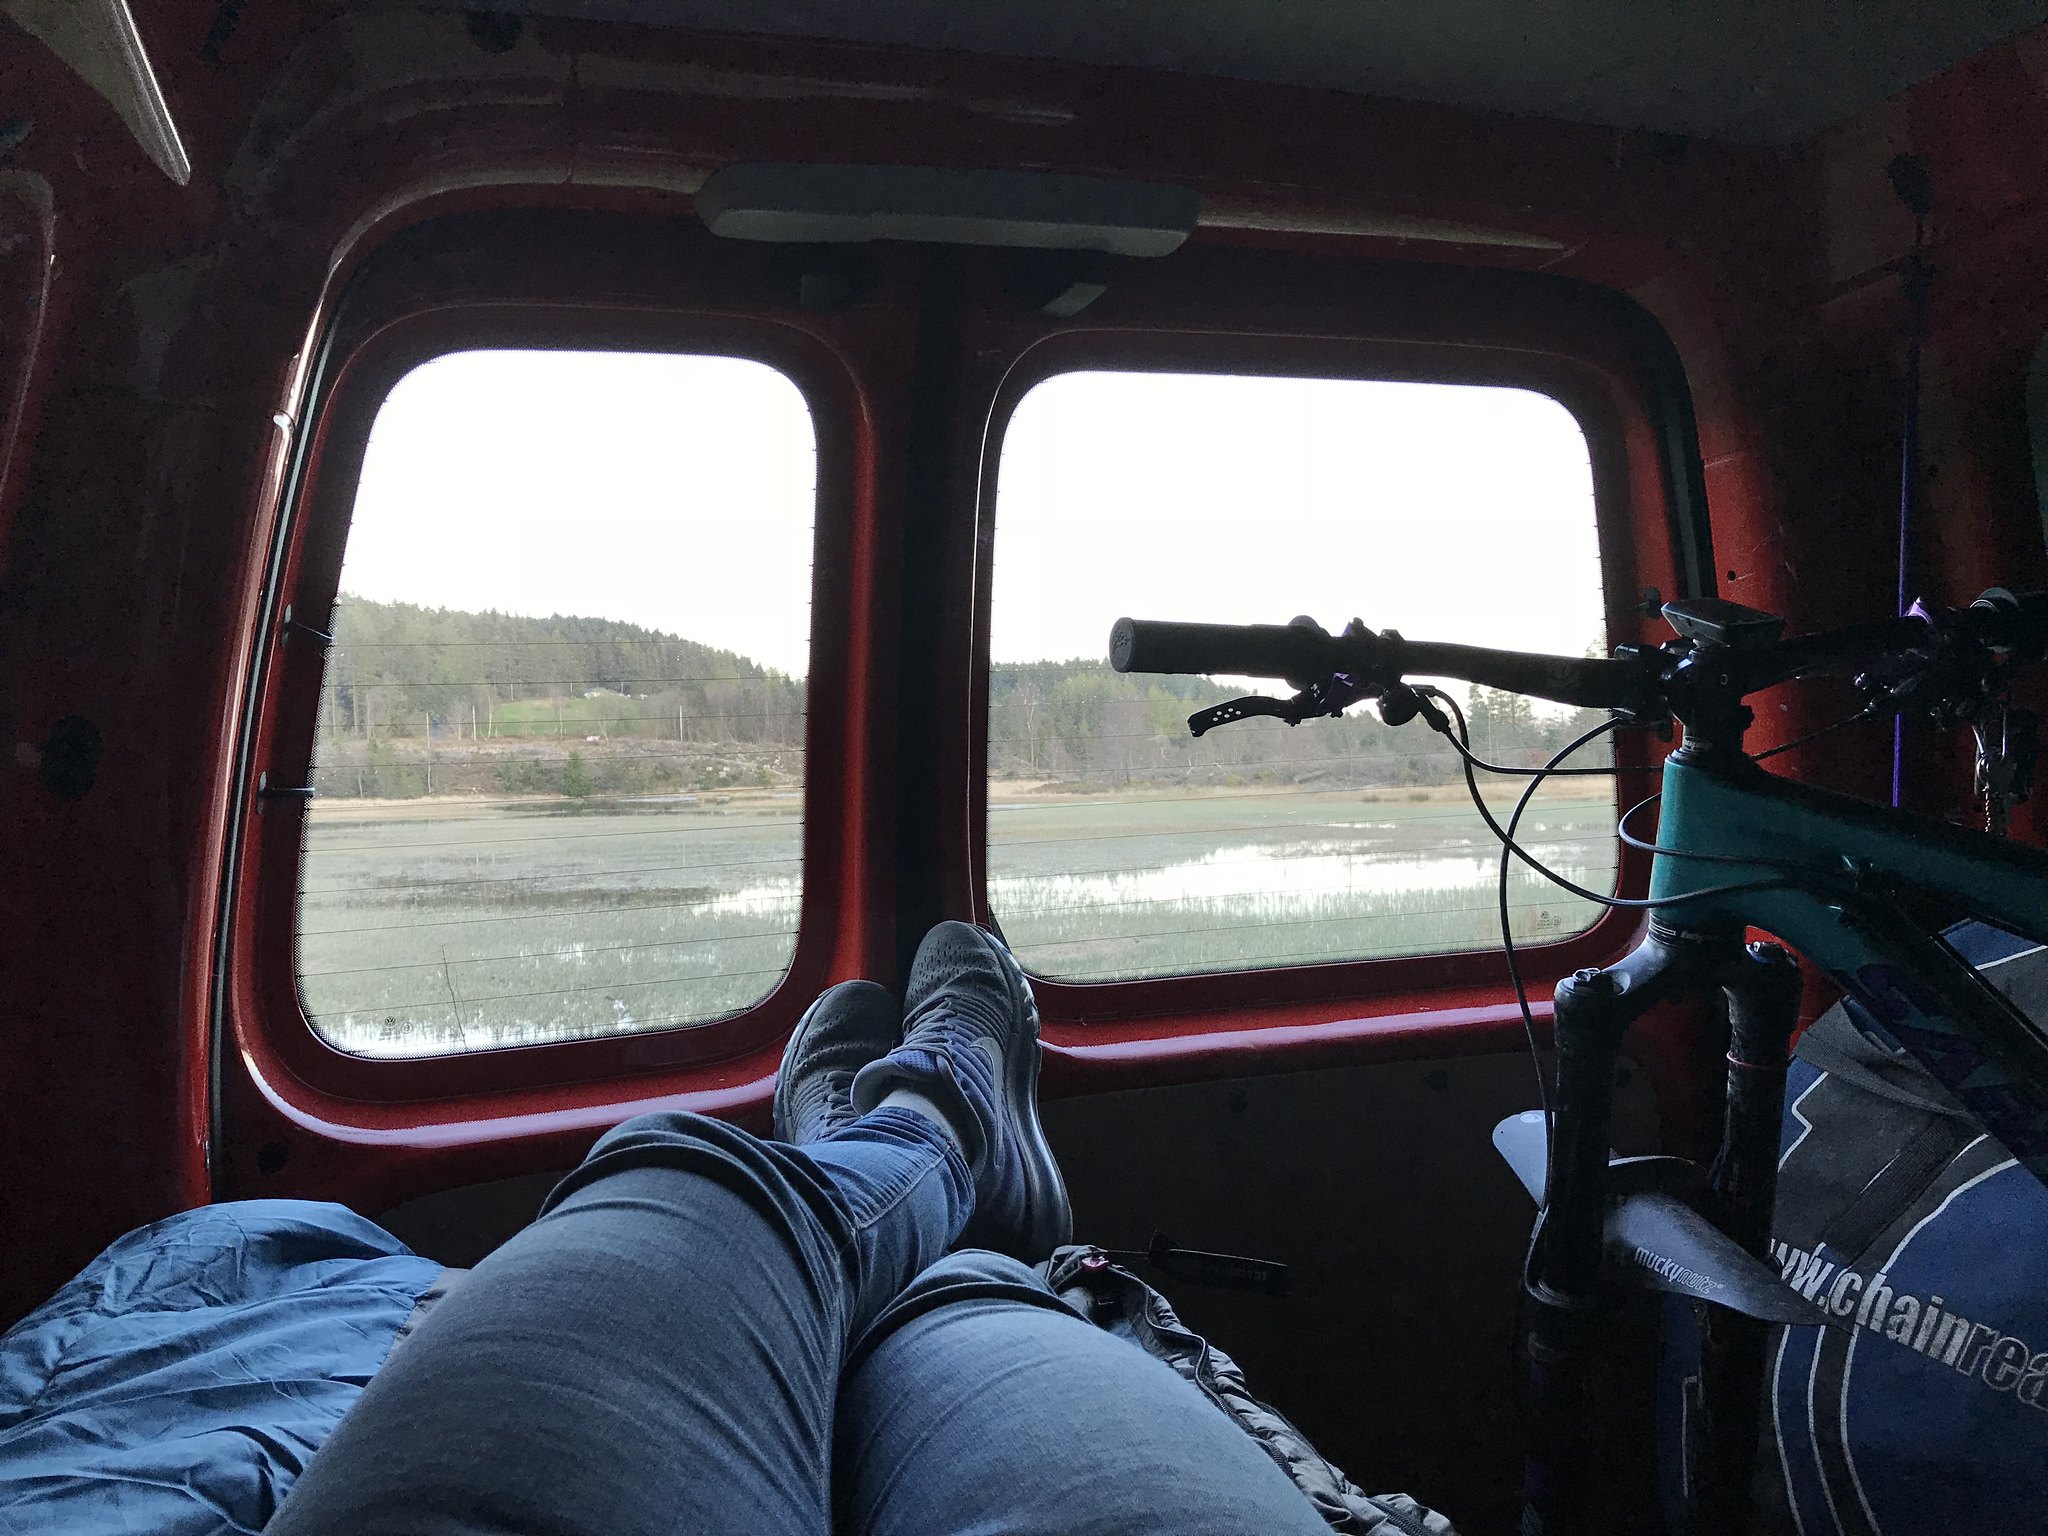 first nights view
 by
Alison Clarke, on Flickr
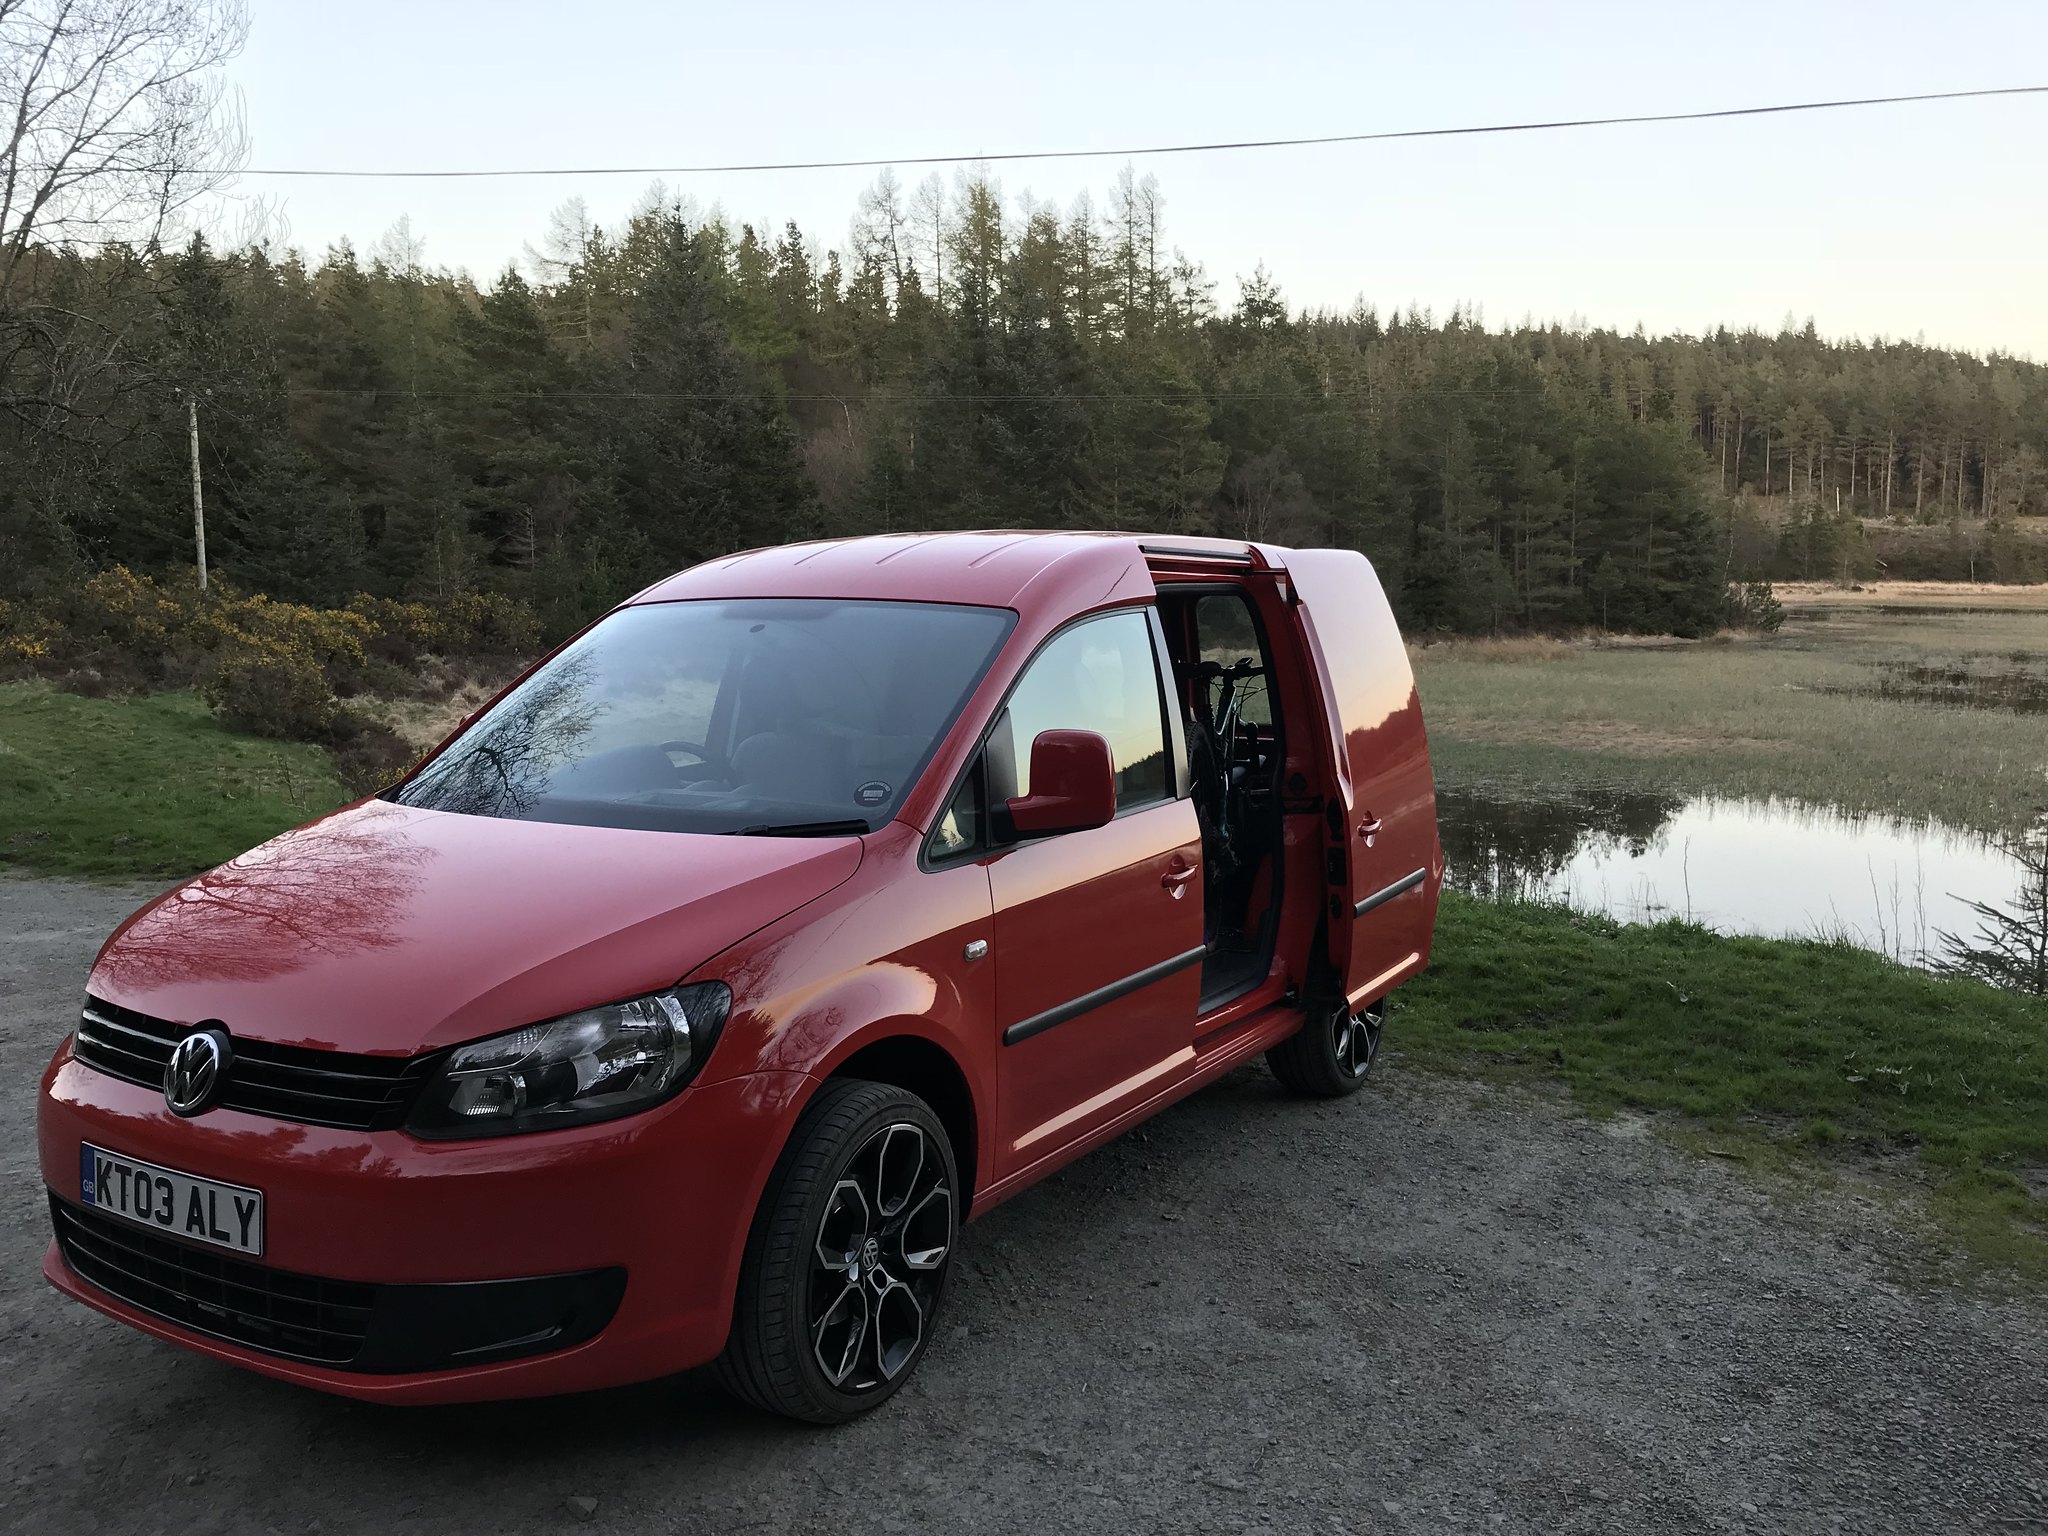 Shiny in the dusk
 by
Alison Clarke, on Flickr
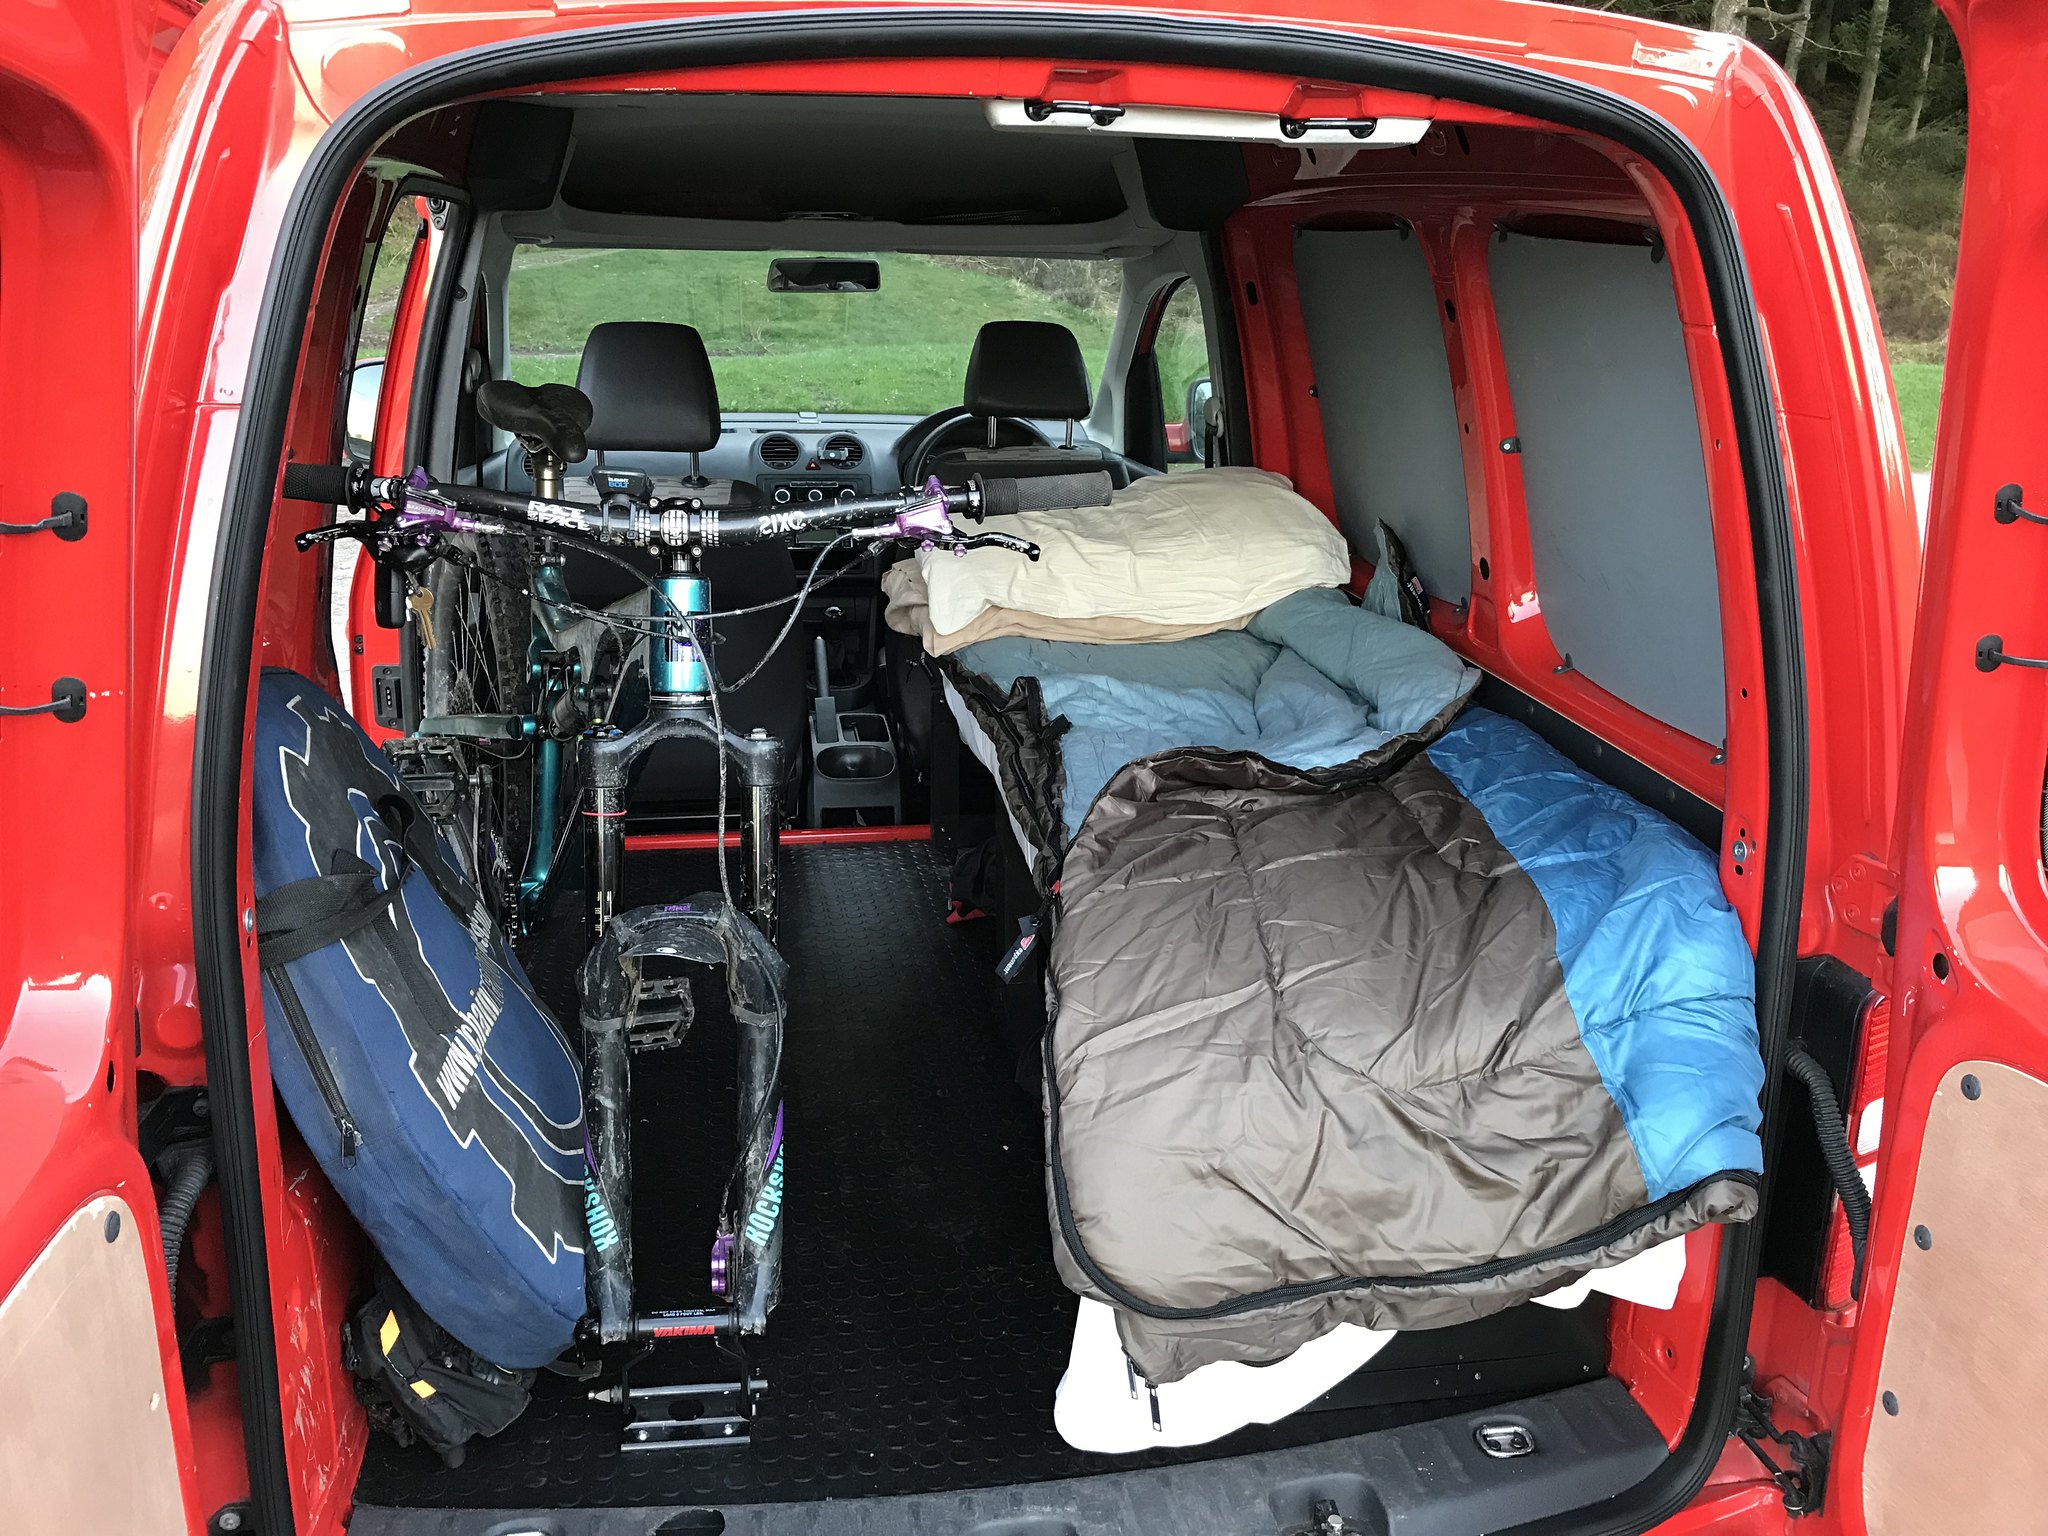 Ready to sleep in
 by
Alison Clarke, on Flickr
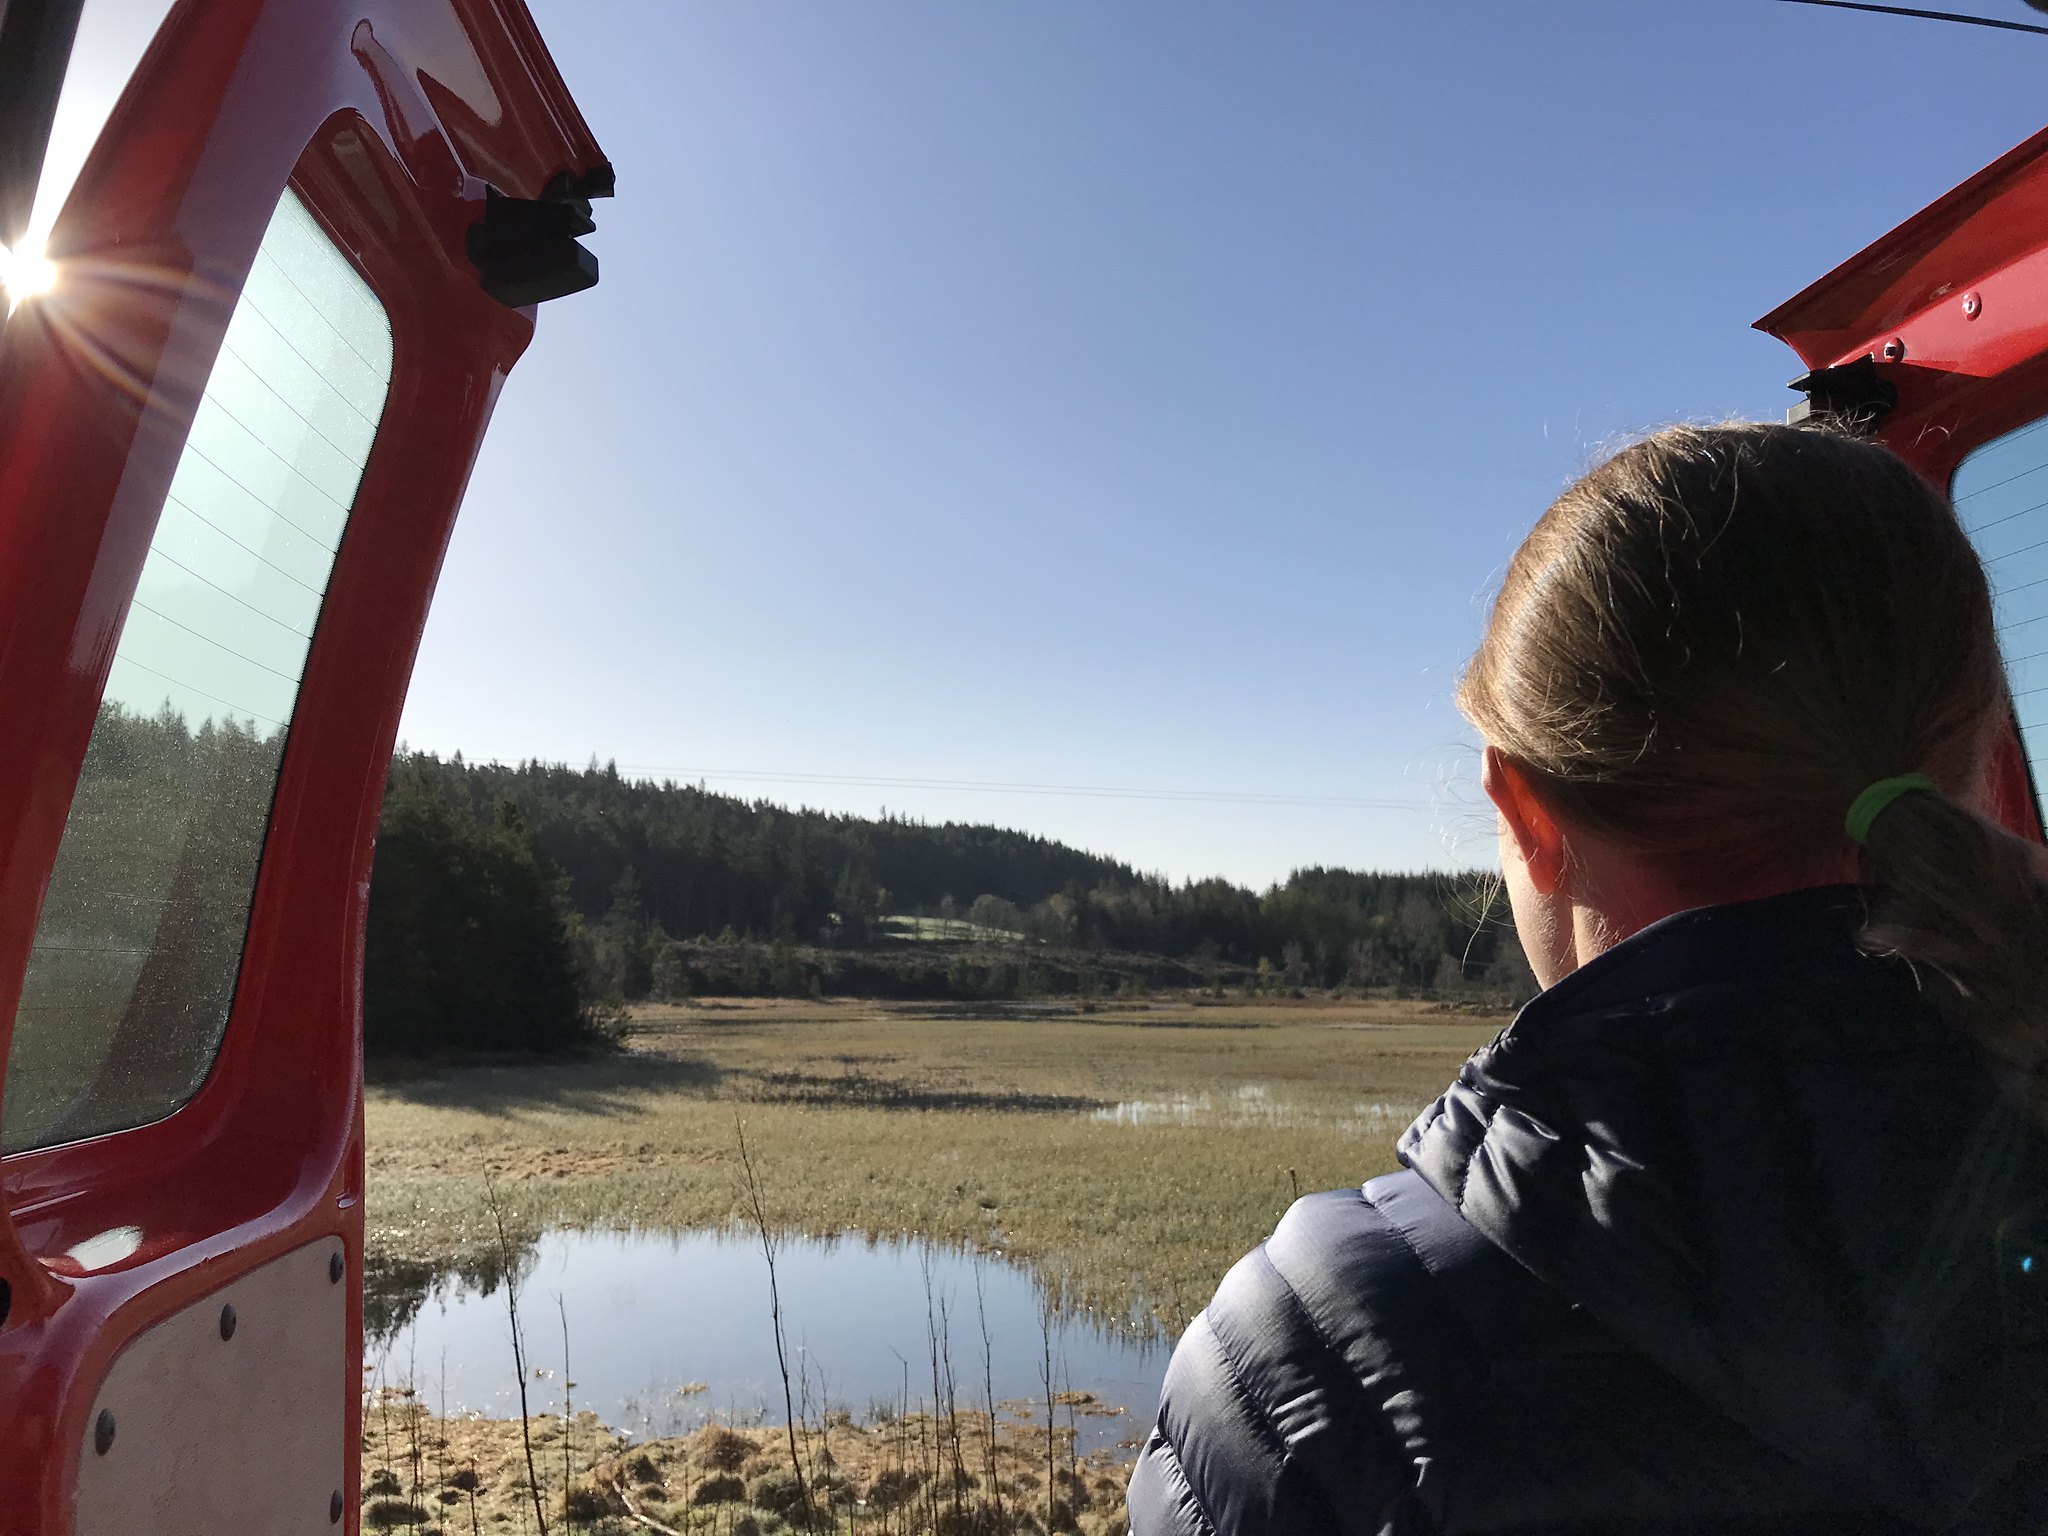 Morning view
 by
Alison Clarke, on Flickr
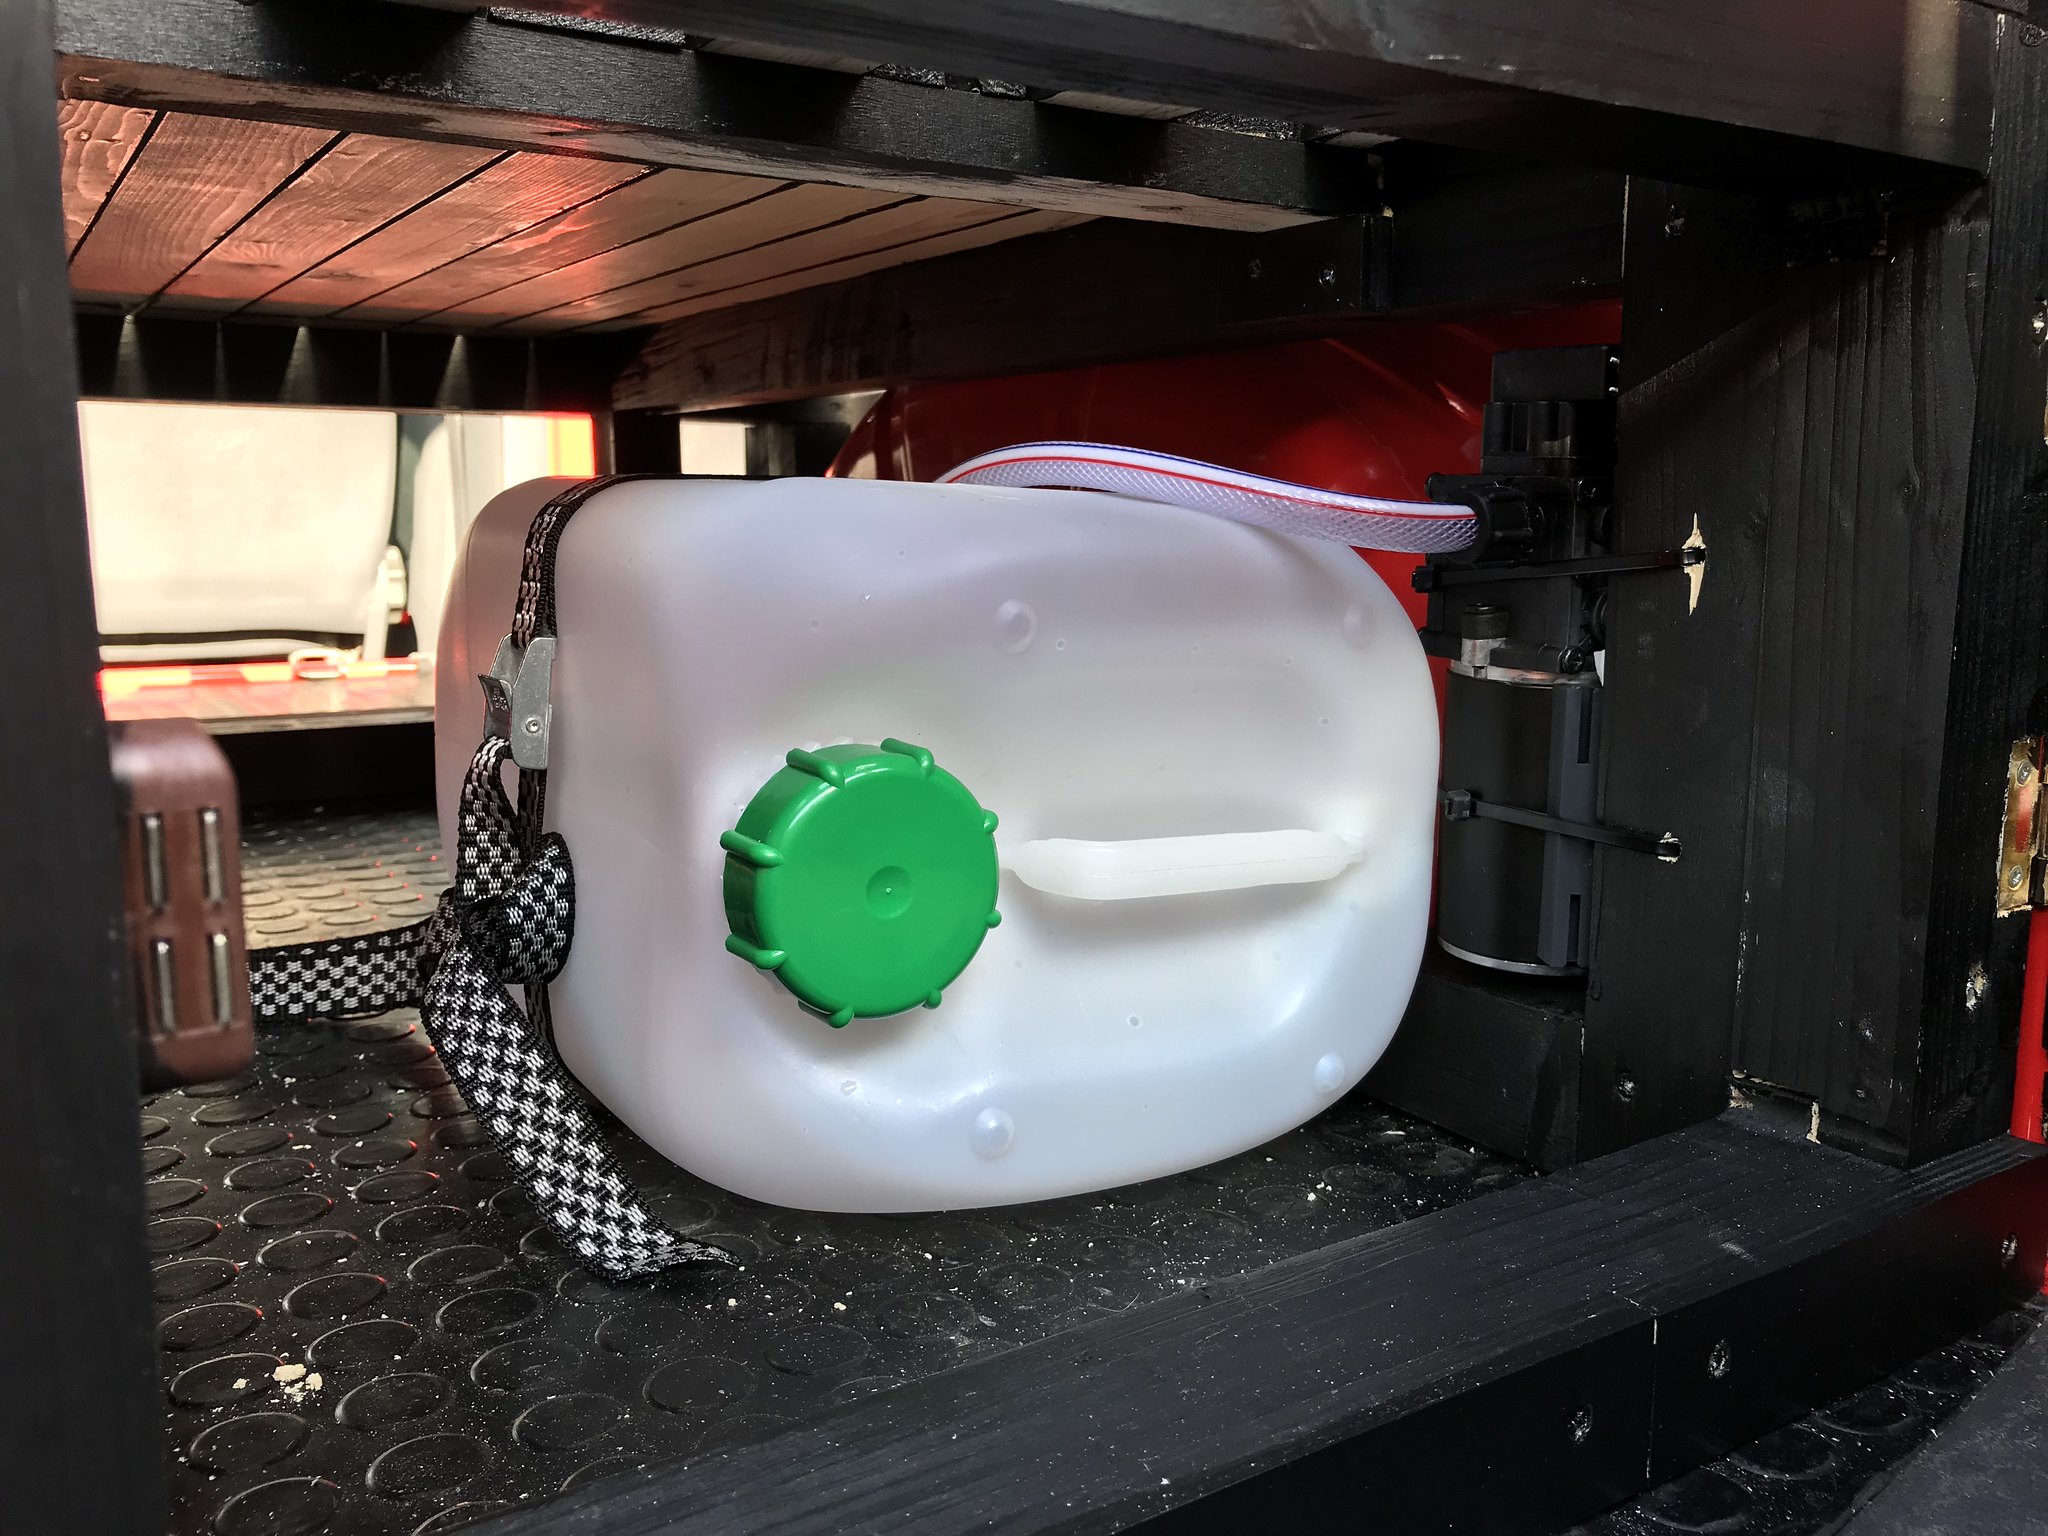 washer plumbed
 by
Alison Clarke, on Flickr
Re: GolfChicks Red Van
Posted: Mon May 28, 2018 6:20 pm
by Golfchick
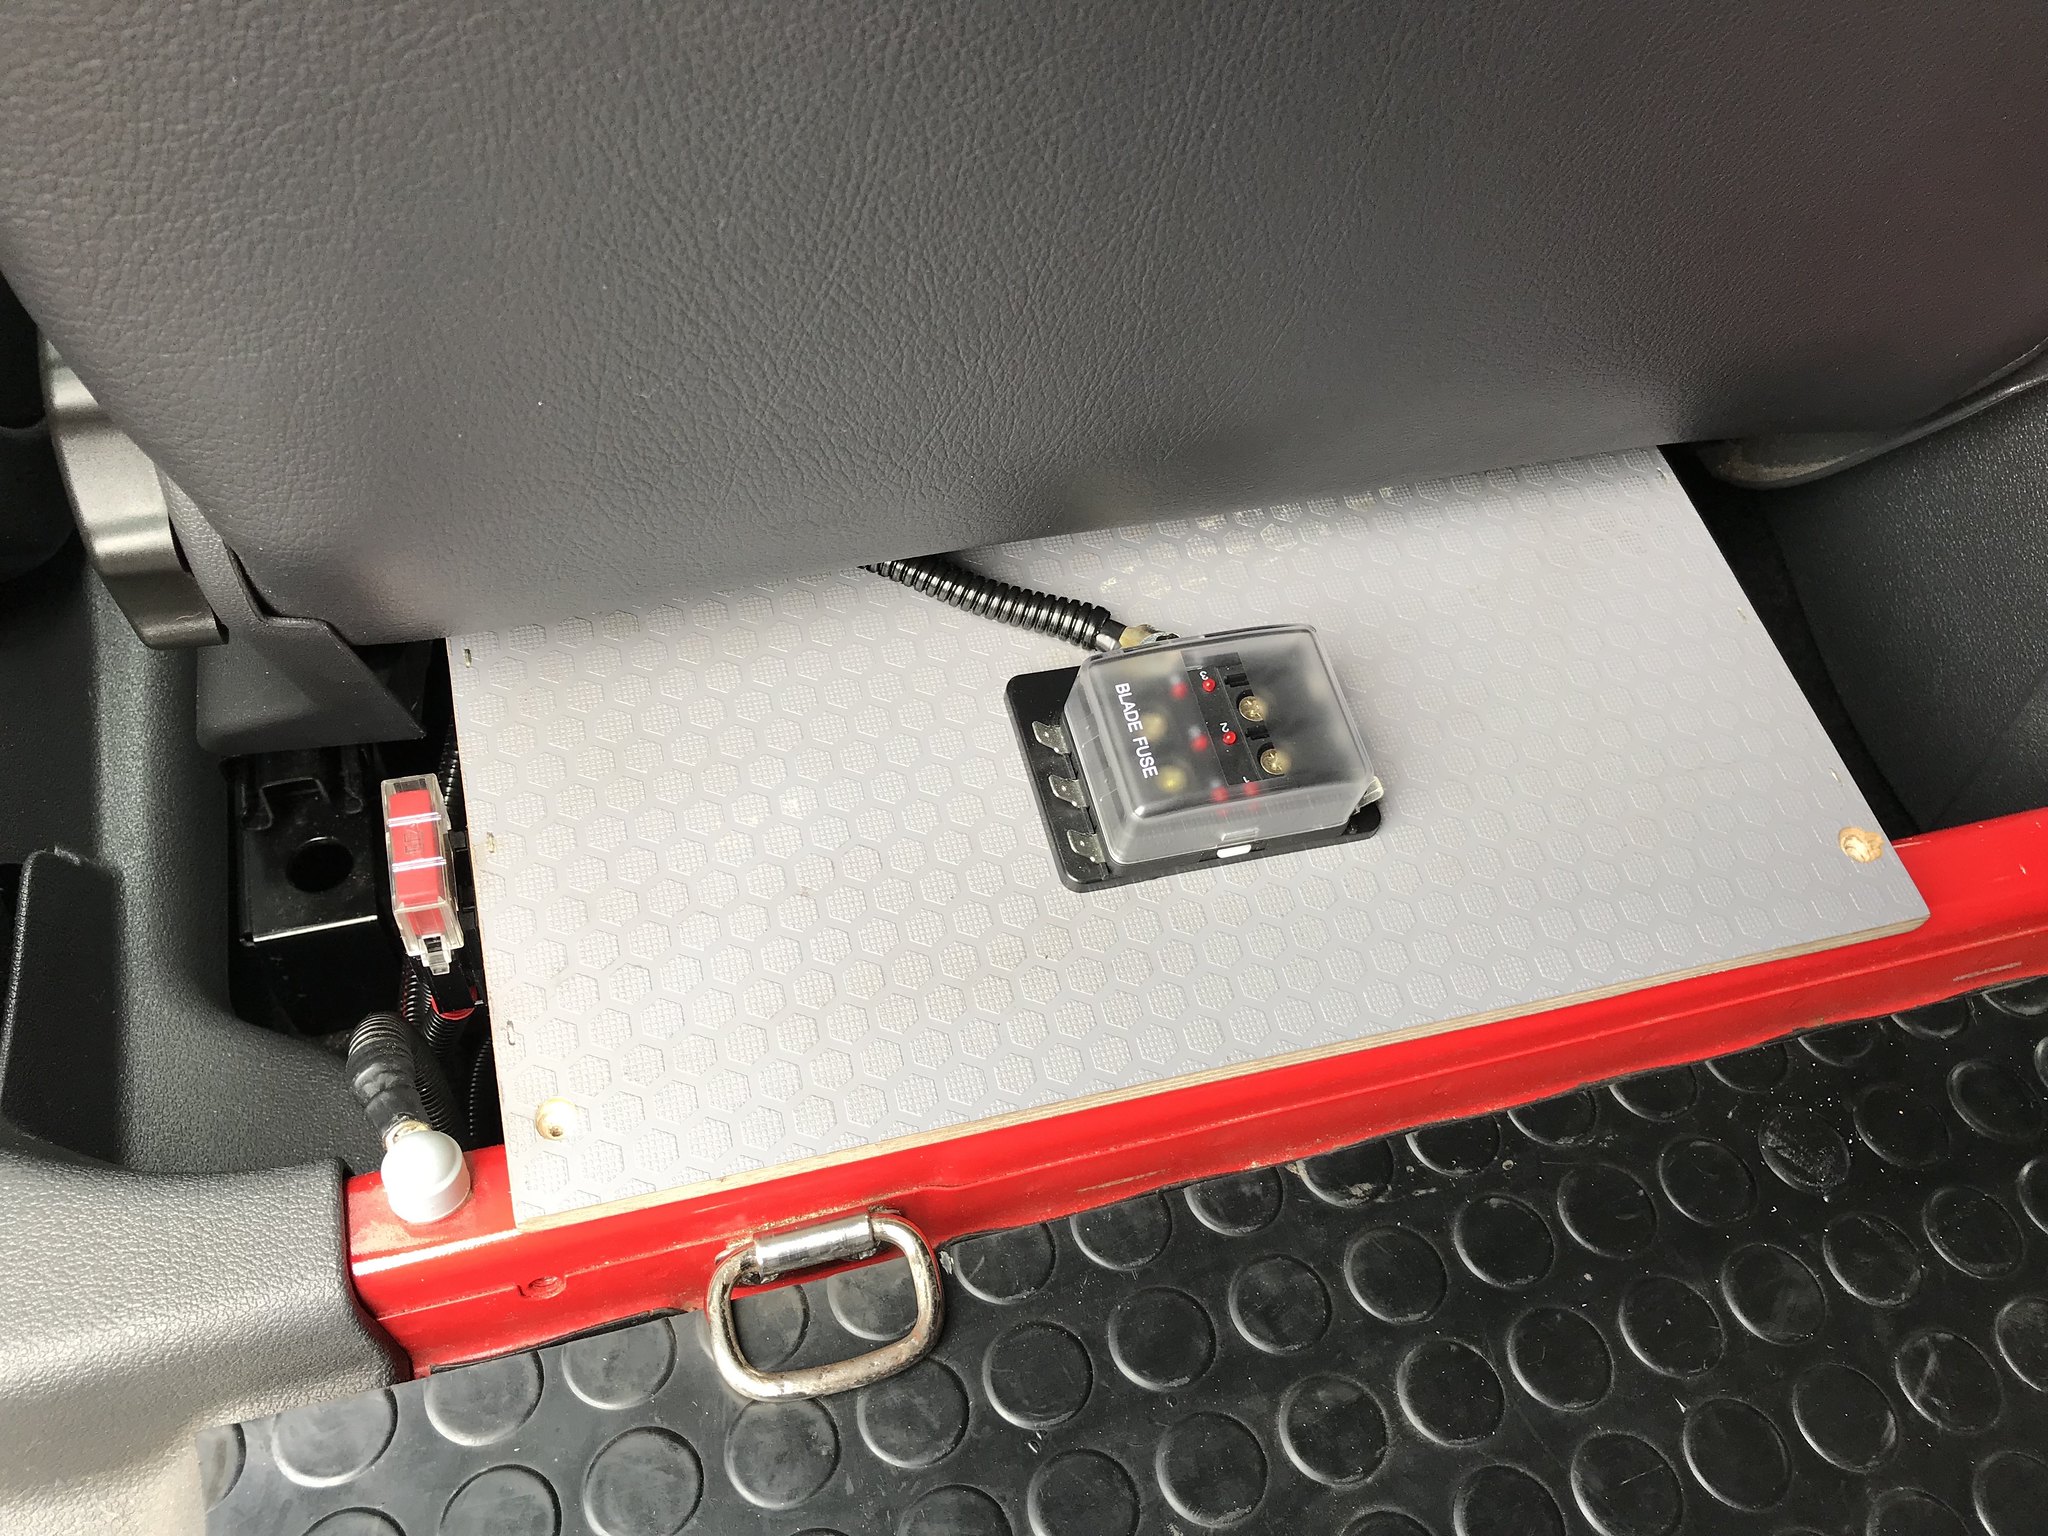
Been a bit of a delay because injector number four went kaput and I've been sulking since. Spent some time today finally wiring in my fusebox on the top of the leisure battery and I've ordered enough wire to run back to the panel above the bed that I'll be putting in.
 fusebux
 by
Alison Clarke, on Flickr
Re: GolfChicks Red Van
Posted: Mon May 28, 2018 6:48 pm
by Liam
great work so far
Re: GolfChicks Red Van
Posted: Tue May 29, 2018 8:06 am
by btaylor2k
Where did u get the front wheel clamp from? Looks ideal for what I need too.
Love the van BTW.. team red for the win

Re: GolfChicks Red Van
Posted: Tue May 29, 2018 2:31 pm
by ed1119
Great neat and tidy work on the van!
I need to add a leisure battery too...just haven’t been brave enough yet!
Re: GolfChicks Red Van
Posted: Tue May 29, 2018 8:22 pm
by SnoodyMcFlude
Nice looking bike and project, similar to the reason that I'm looking at buying a Caddy! I was hoping I could fit my bike in without taking the front wheel off but looking at yours it seems unlikely. I'll be watching this thread to steal ideas though
Re: GolfChicks Red Van
Posted: Wed May 30, 2018 12:43 pm
by Golfchick
You can easily fit a bike in with the front wheel still on but I find this way a lot more stable and secure and also simpler to do from outside the van. Don’t need to get in to load up this way.
The one mount is a saris traps fork mount 9mm for £20 from Halfords. Then the adapter for my mtb is Yakima 15mm adapter for £35. I found this a cheaper way than any alternative but there’s a few different options out there.
Re: GolfChicks Red Van
Posted: Thu May 31, 2018 7:27 pm
by Golfchick
Really chuffed with my seat covers, sent the fabric over to my mum in France and it arrived back today. She's done a cracking job, aint mums brill! Refitted my roof lining in the load area today as well, now have six dinky LEDs fitted which will be powered off the leisure battery once I buy the necessary switch panel.
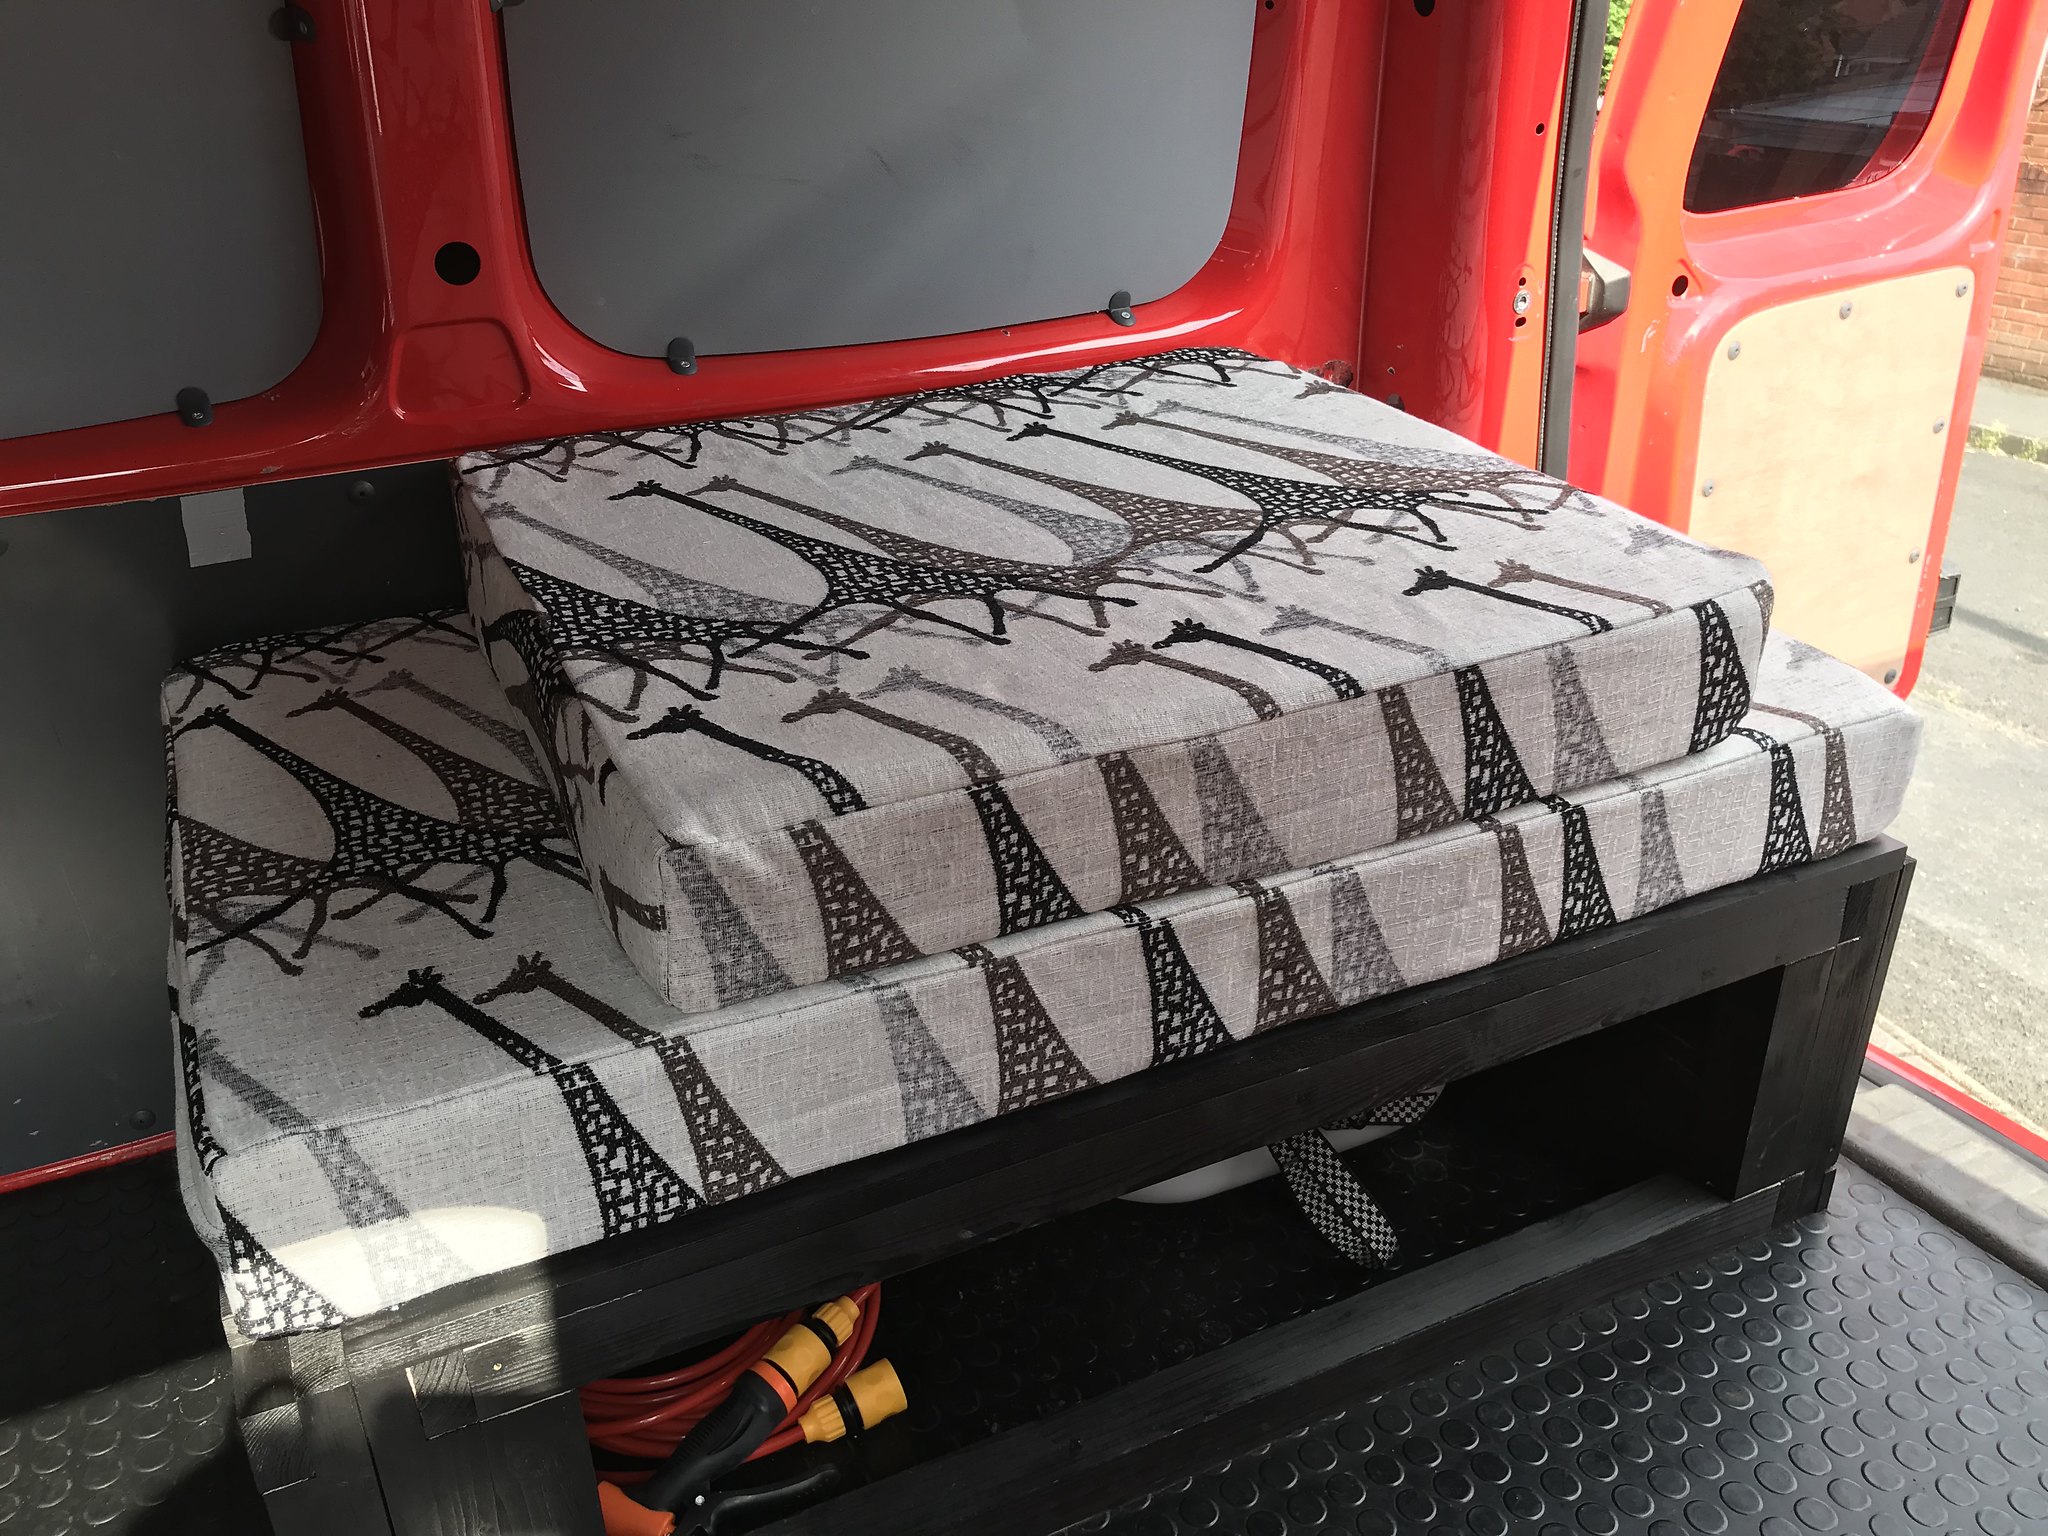 IMG_1188
 by
Alison Clarke, on Flickr
 IMG_1188
 by
Alison Clarke, on Flickr
 IMG_1188
 by
Alison Clarke, on Flickr
Re: GolfChicks Red Van
Posted: Thu May 31, 2018 11:41 pm
by Liam
great work alison keep it up
Re: GolfChicks Red Van
Posted: Fri Jun 01, 2018 9:30 am
by ConnorL
Looks awesome mate, wanting to do something similar with mine once purchased.
Dog bike and van life

Re: GolfChicks Red Van
Posted: Sat Jun 23, 2018 7:28 pm
by Golfchick
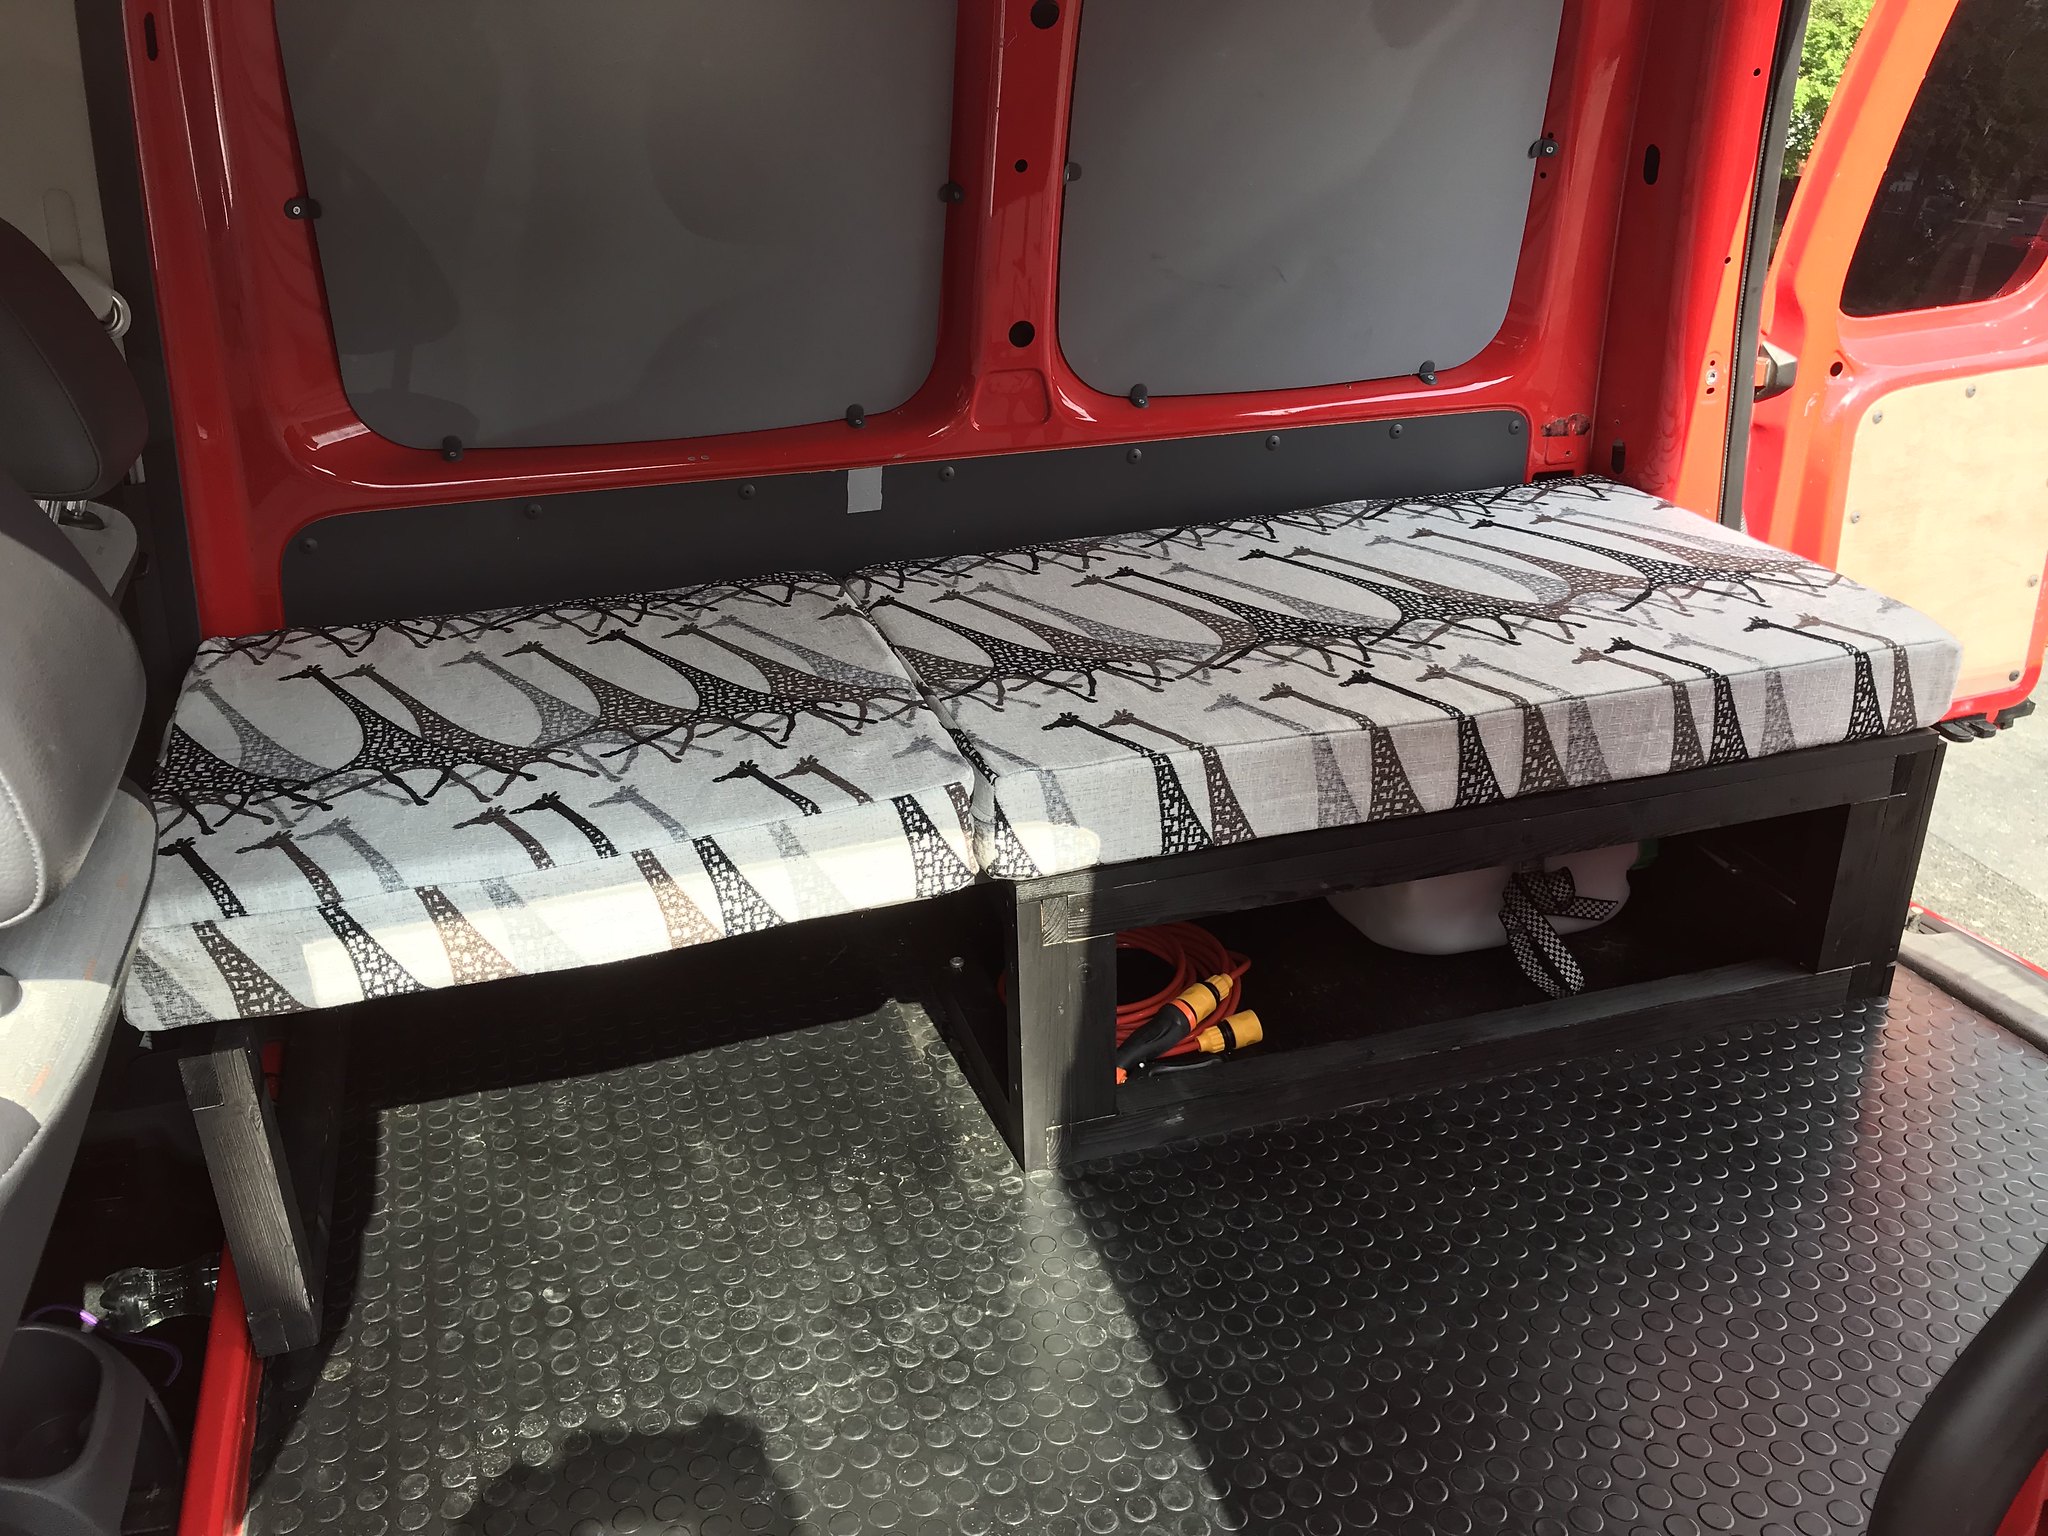
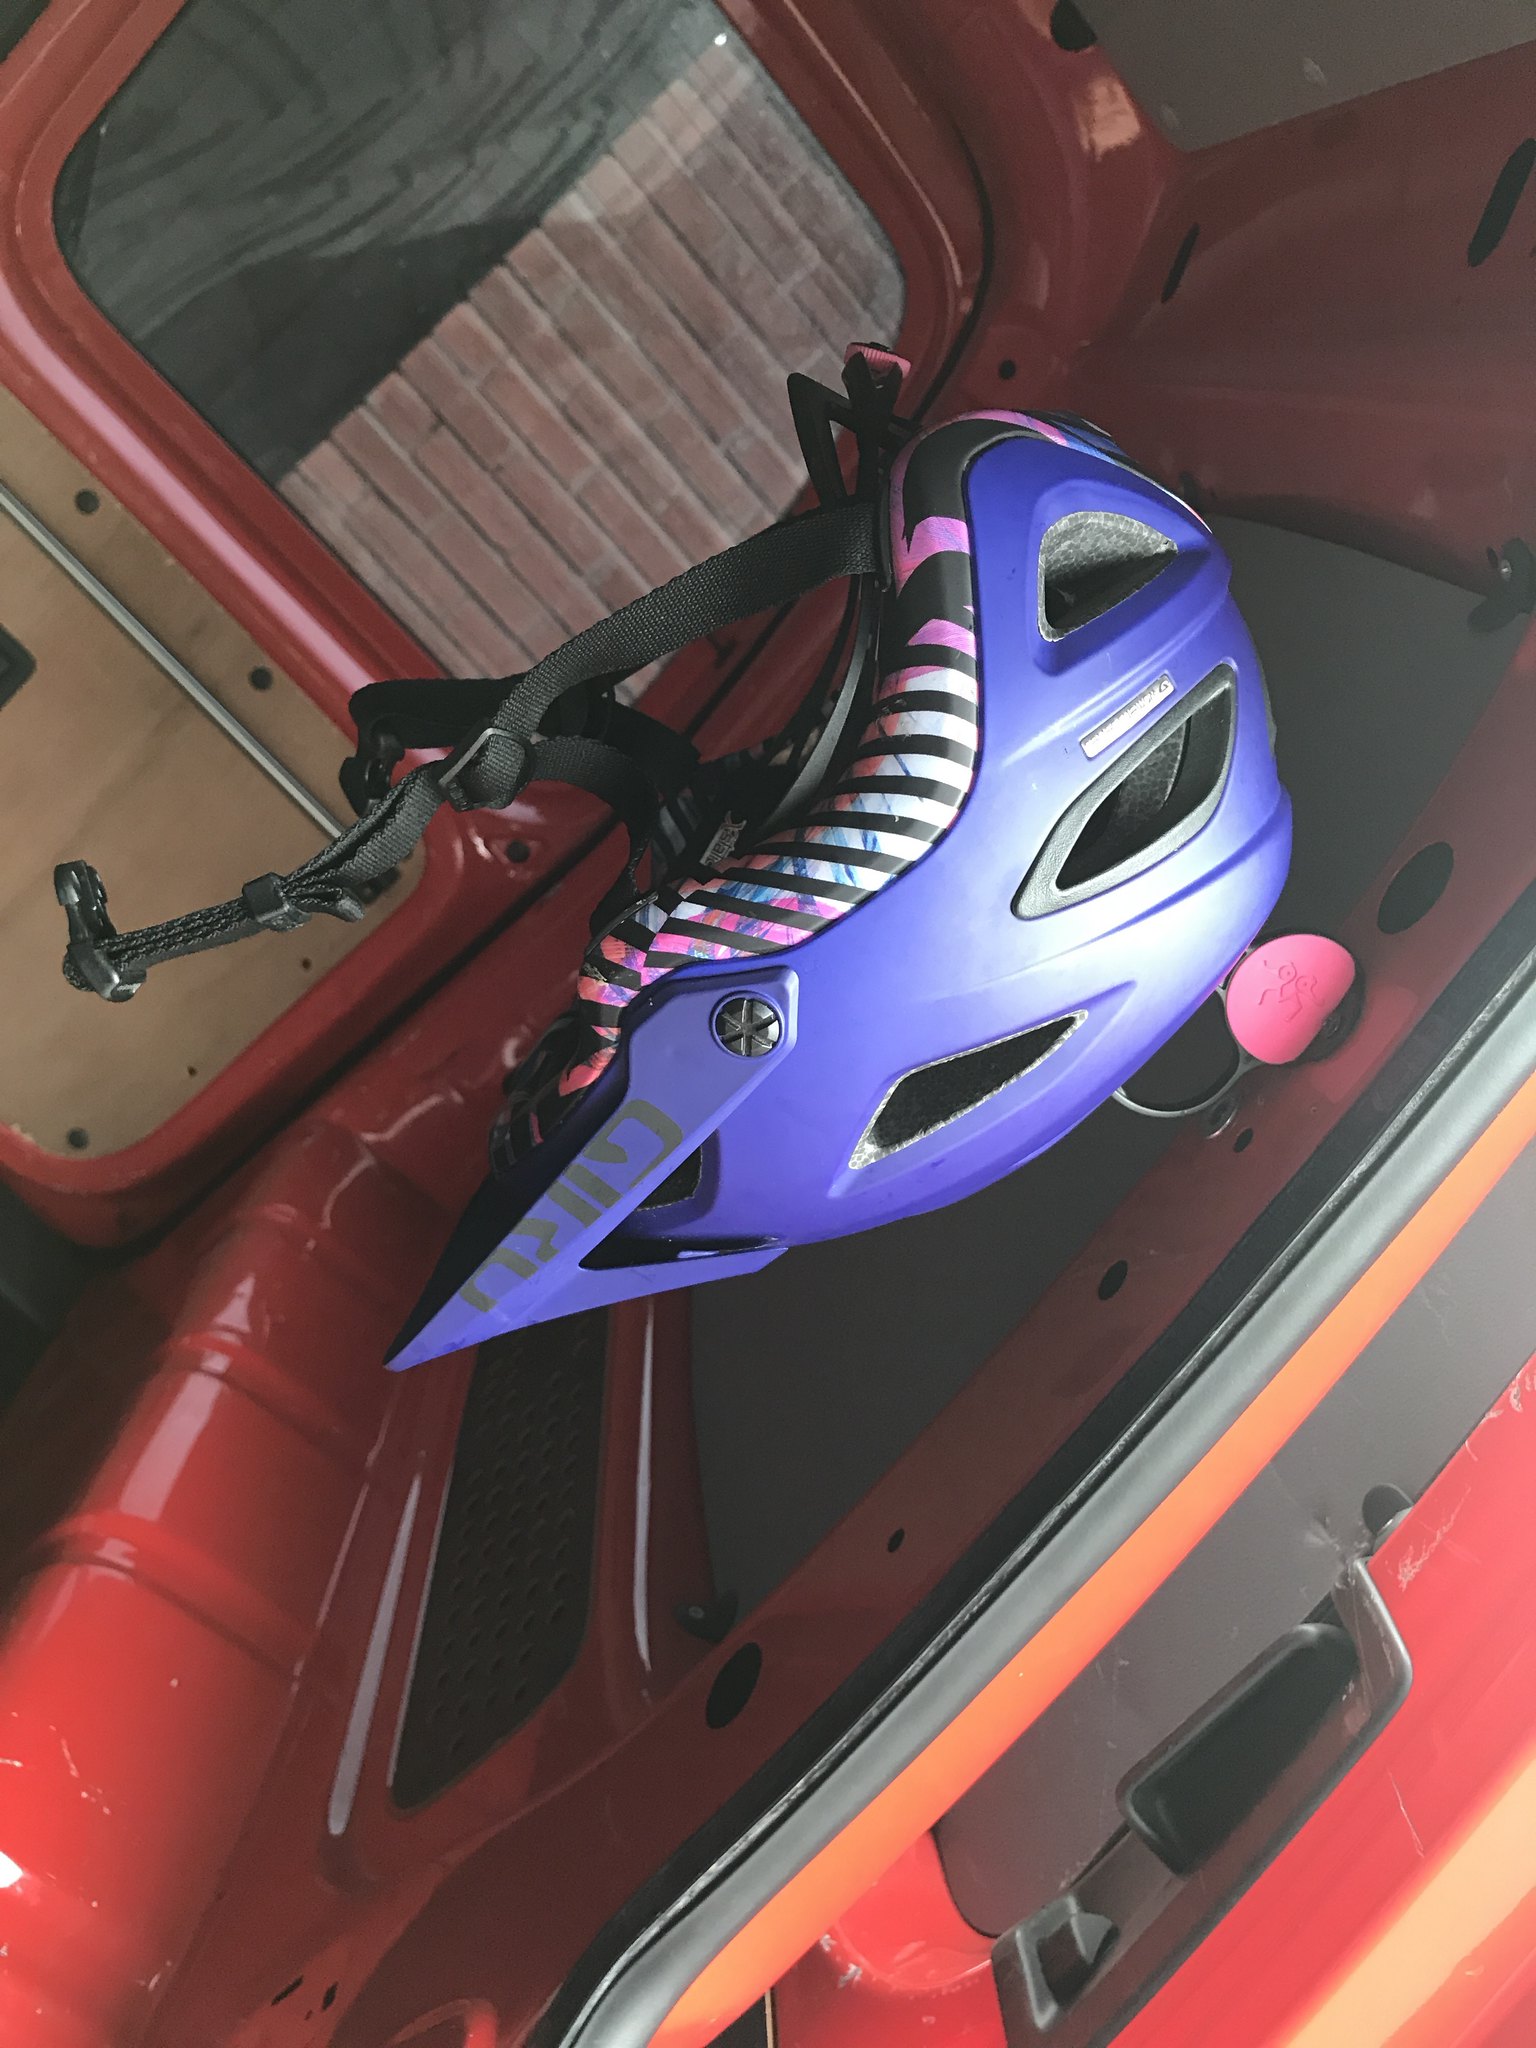
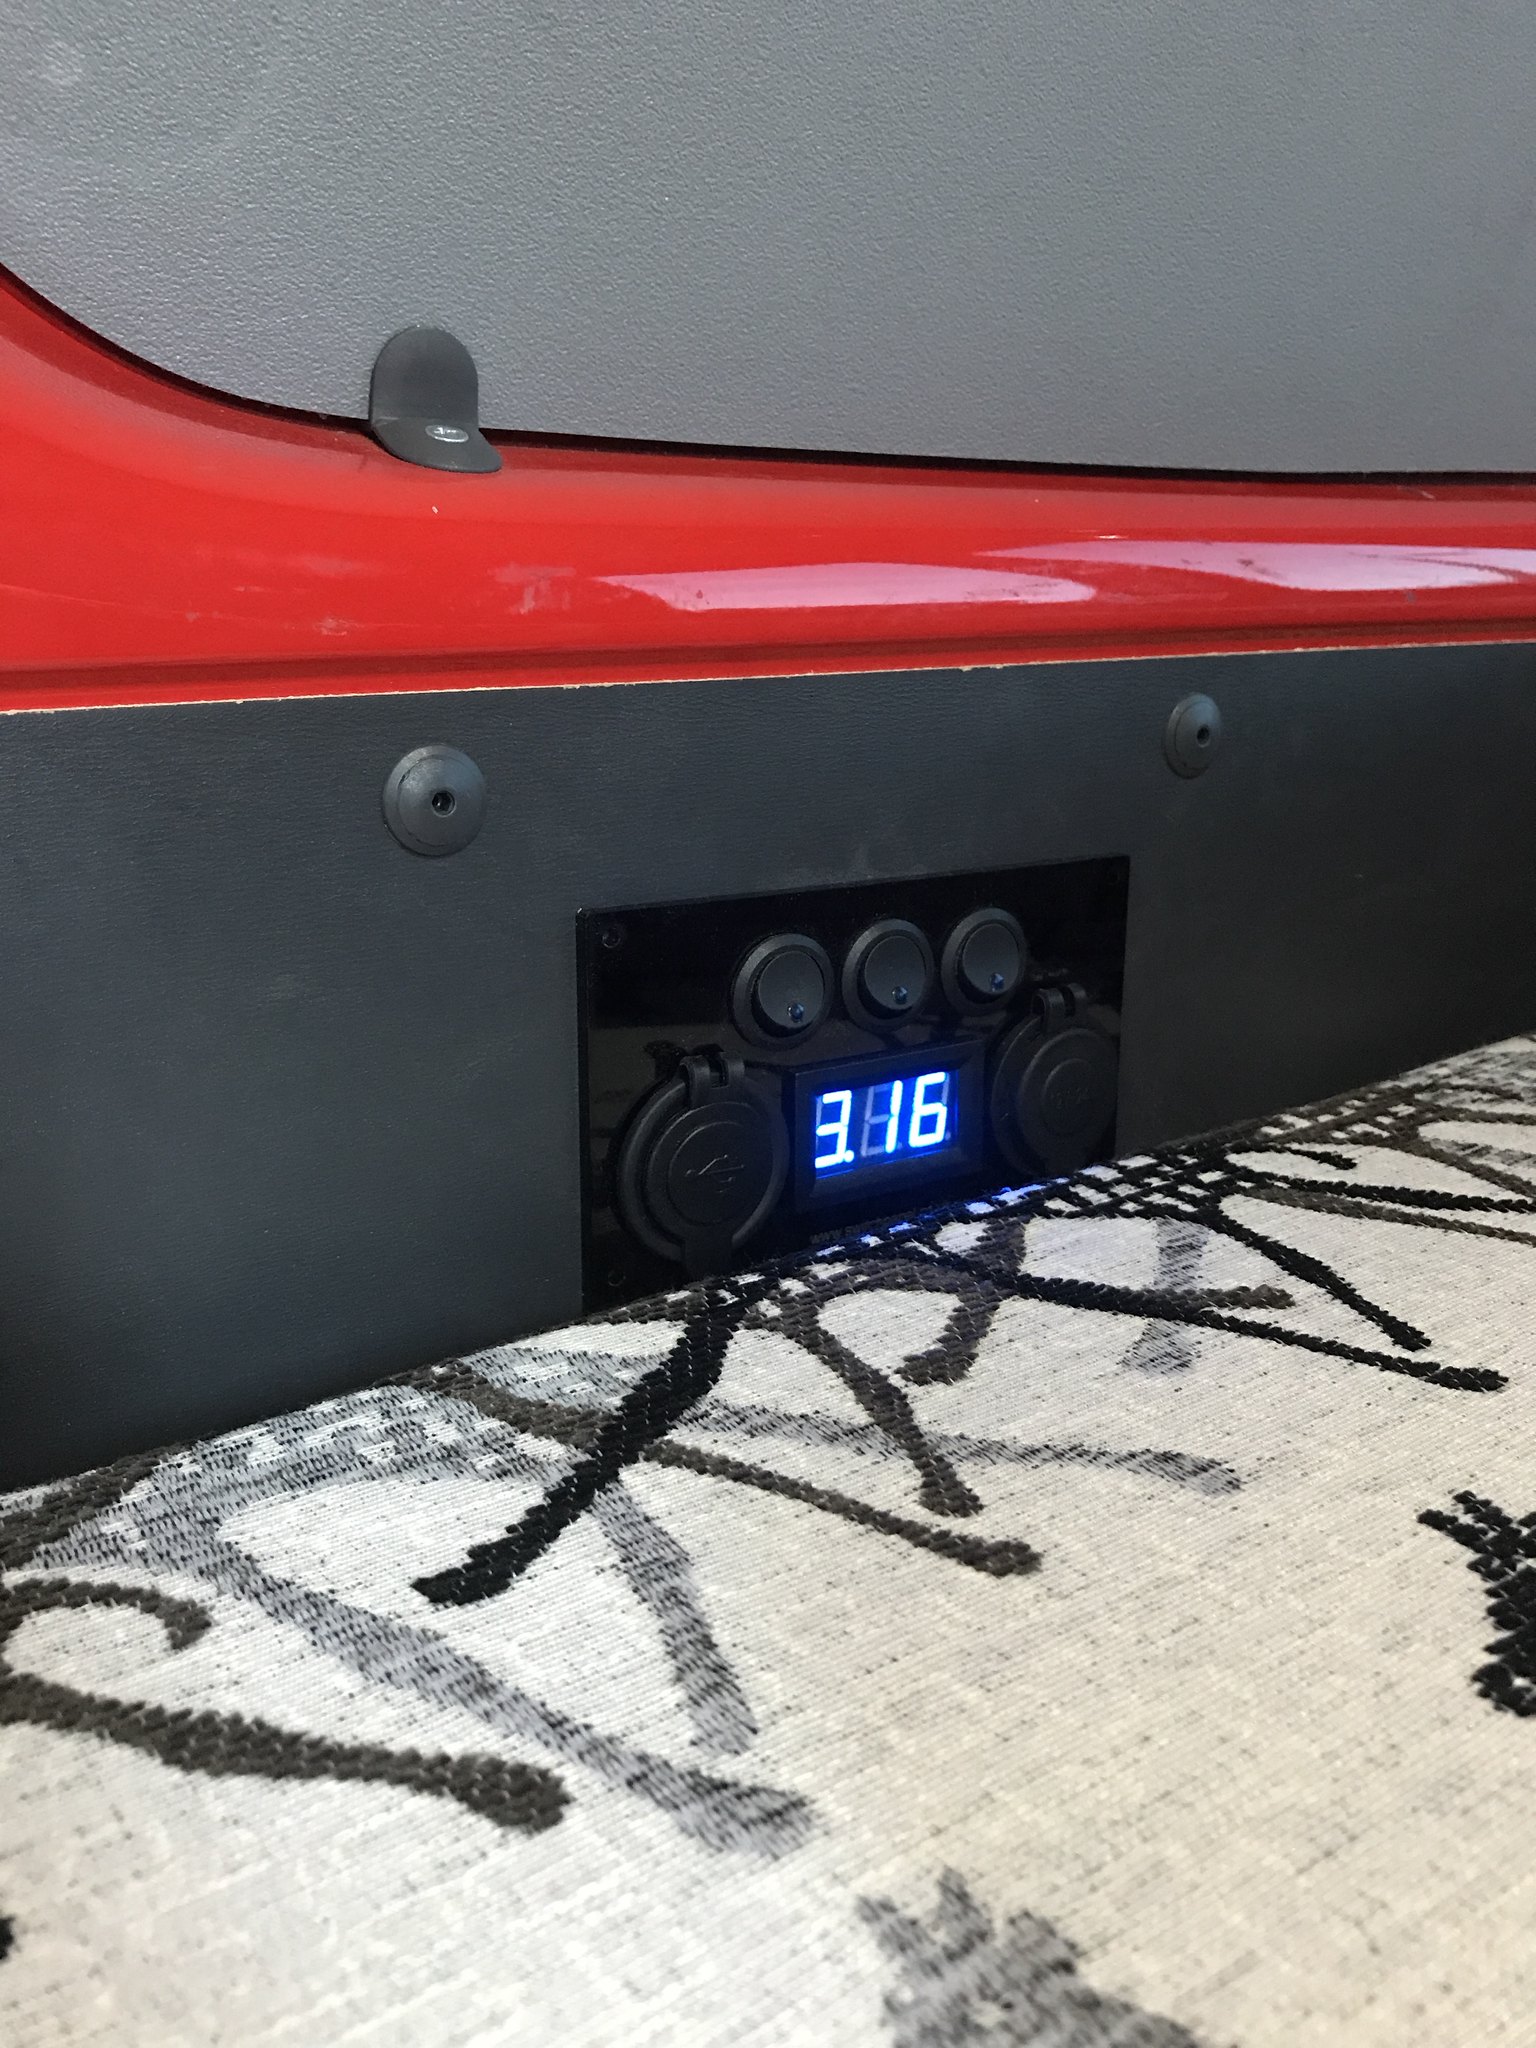
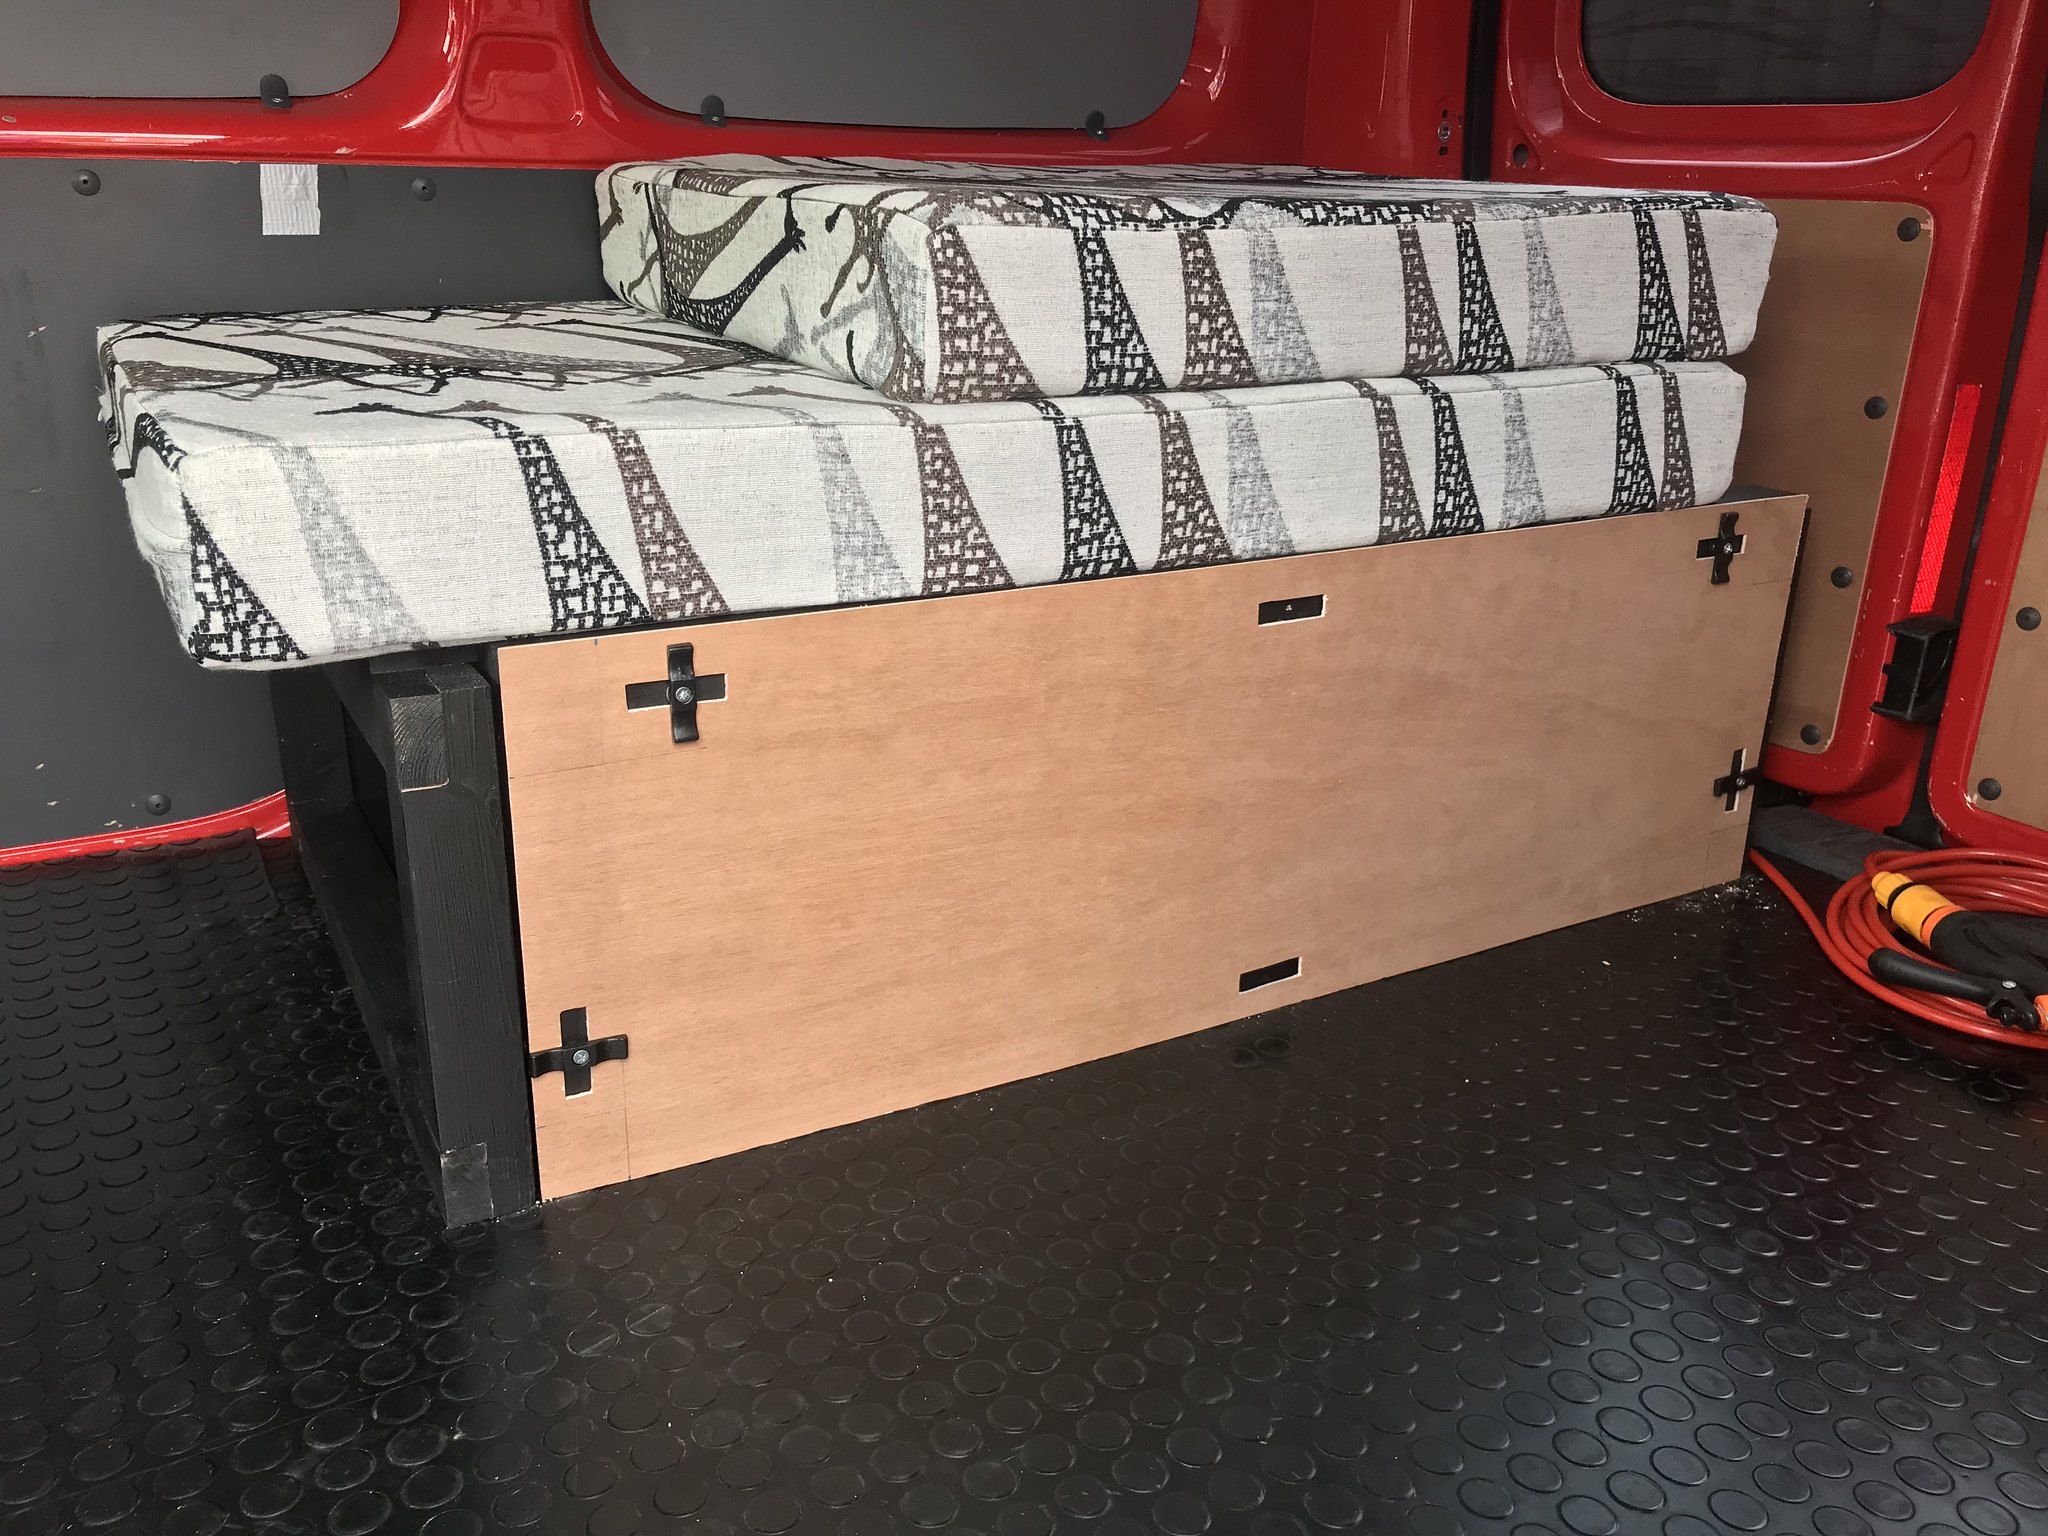
Few more jobs done. Friend told me about nifty little mount for helmet that screws in place so got on the side of my van now. Stop helmets from rolling around and means it can be drying out after use.
Also ordered and wired up my switch panel which runs off my leisure battery. Really happy with this, means I can run my lights and charge my phone without worrying.
Also started the job of the side panel for the bed unit. Originally I was just going to cover it in stretch carpet and secure it in place but it's really handy being able to completely access the underneath of the bed so I've used some thumb turn catches so the panel can be taken off easily.
Really tempted to order some carpet now even before sound deadening so that I can start to get some bits covered up. The panel especially as that colour will do my head in! Got some retro fit tweeters on their way so that'll be the next job.
 IMG_1491
 by
Alison Clarke, on Flickr
 IMG_1491
 by
Alison Clarke, on Flickr
 IMG_1491
 by
Alison Clarke, on Flickr