Crs_b's Caddy - The Daily
Posted: Wed Dec 05, 2018 9:35 pm
As I’m starting to spend a bit more time on the caddy, I thought I best start up a build thread  It started like anyone else with multiple car projects, and I told myself this was going to be my daily driver and that I wouldn't mess with it... I managed to hold off the urge for 2 and a half years which is a personal best
I bought it back in July 2016 looking like this


When I first bought the caddy it had the following mods:
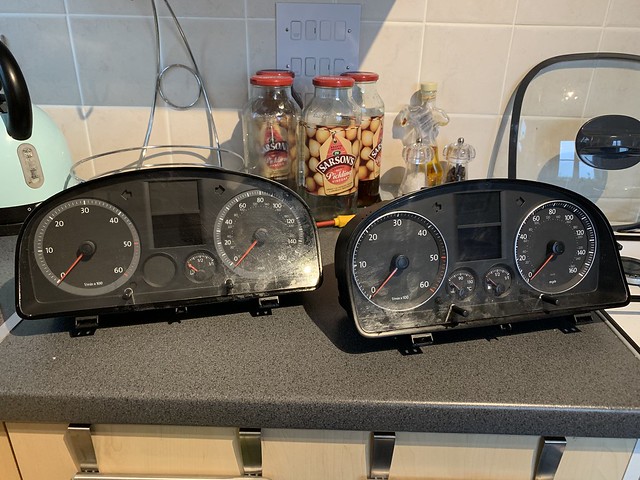
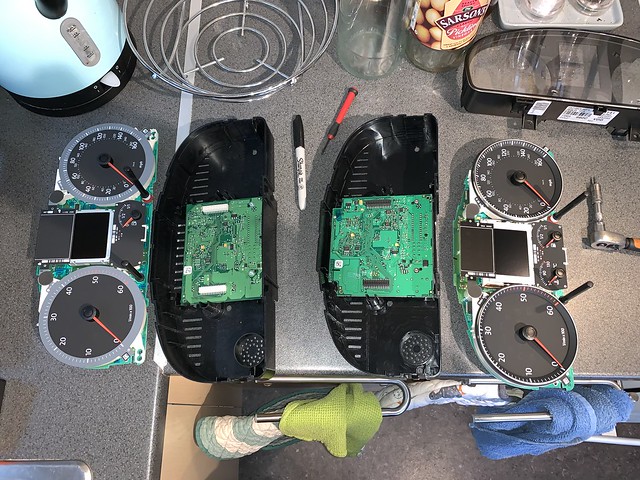
- Touran dash and centre console
- Touran sport headlights
- Mk4 Golf GTI seats (apparently)
- Heko wind deflectors
- Tinted rear and side lights
- Tinted rear windows
- Rear wiper delete
- Ply lined and carpeted load area
- Green Lino flooring (now removed)
- Green side and number plate lights (now removed)
- Shelving (now removed)
- Reversing camera
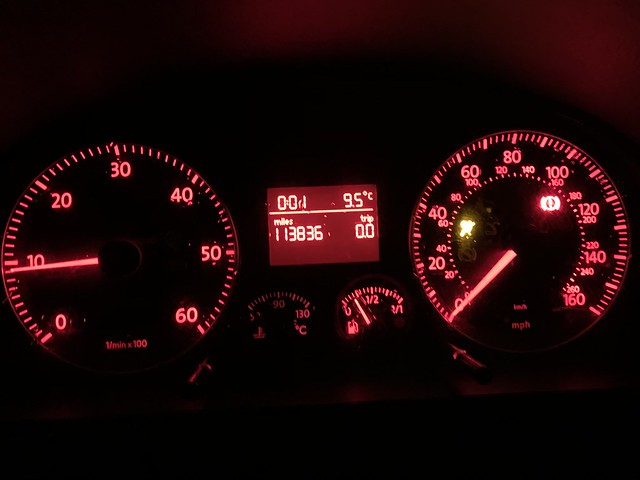
- Engine has been remapped (to god knows what as I was given no readouts )
Since then I have done the following:
- Fitted a Double din head unit
- Made a folding bed in the back
- Removed the folding bed in the back
- Changed all green lights to white
- Removed the green lino and replaced for carpet
- Replaced the melted rear door trim that holds the license plate lights
- Repaired the reversing camera
- Put some baddly break dust covered Mercedes alloys on to use the tyres up
- Clutch and cam belt change
- Various bushings
- Fitted 1 Touran door card and electric window
So here’s a picture of the caddy in its current state...
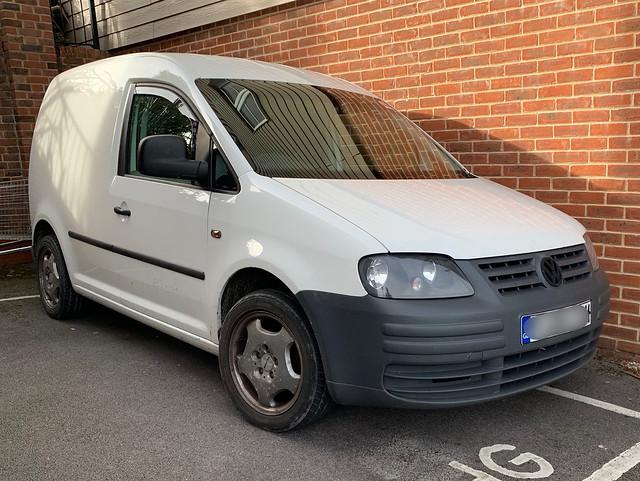
Not much has changed but it’s looking pretty sorry for itself so I thought it was time to give it some loving.
We started the summer off with a (cramped) camping trip

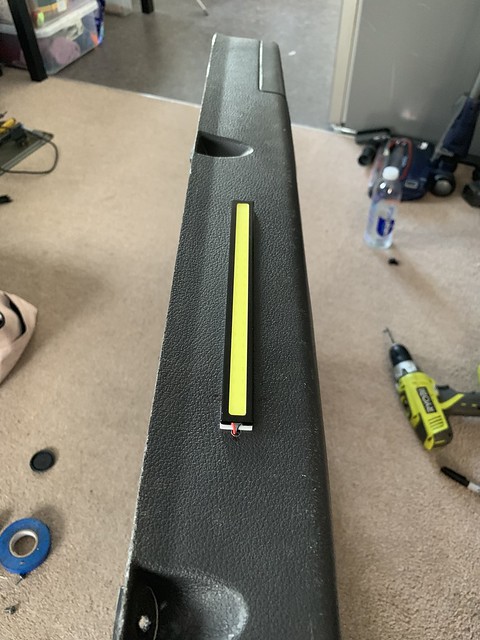
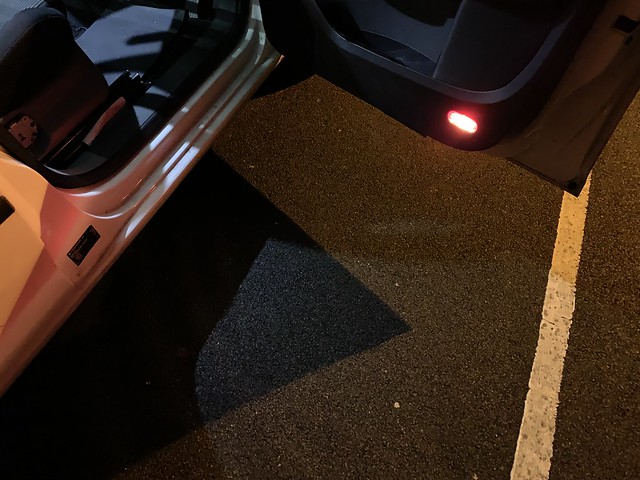
The first thing I did was replace the rear number plate light holder, as the person who had it previously to me had green lights everywhere and fitted some awful green number plate bulbs which had huge resistors which I'm guessing overheated by looking at this

I then picked up these 18” Audi Segment (I think thats the right name) alloys last month which will be getting a refurb and a new set of tyres

And I came across a Touran that’s being scrapped and I’ve managed to get quite a bit of stuff off it, I made sure i got the touran seat bases just incase i decide to upgrade my seats in the future, didn't see the need to now because the seats in it are very comfy.

I gave it all a good clean, the misses wasn't best pleased with where I chose to wash everything though

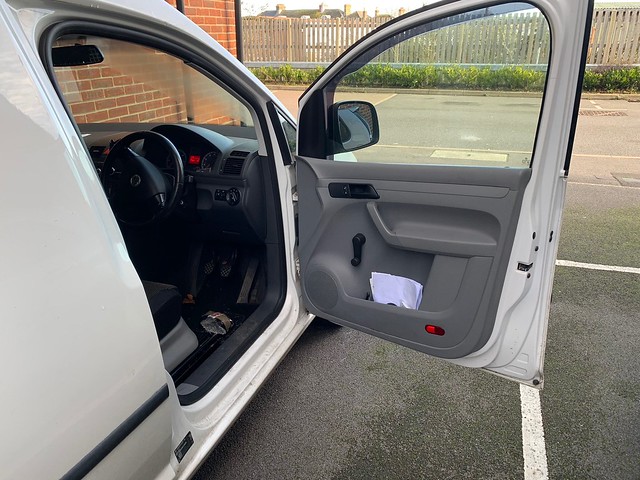
I started by replacing the flooring for carpet and changing the grey centre console and arm rest for black ones which was a nice straight forward job.


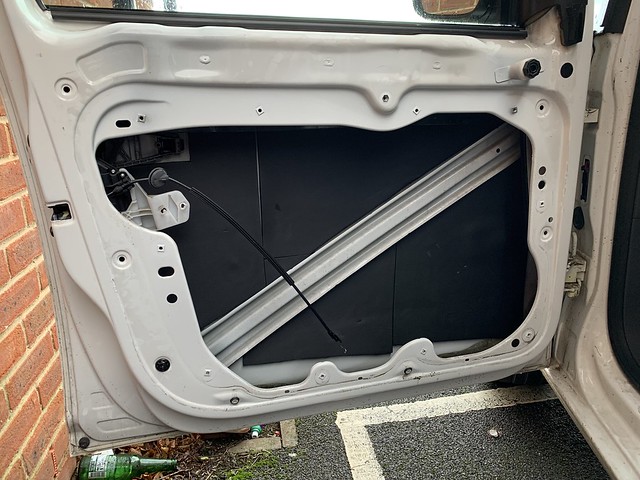
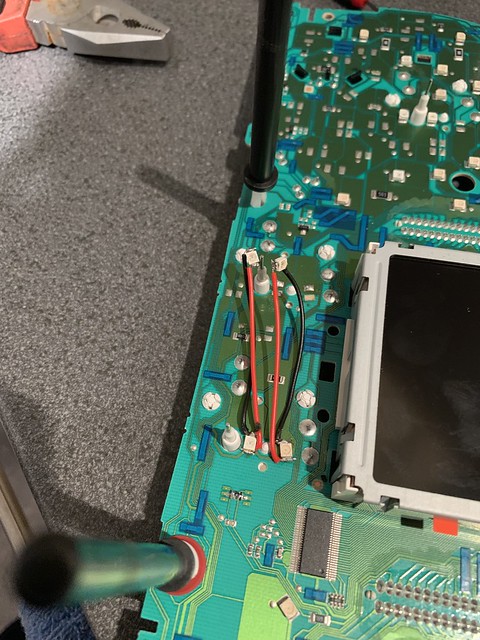
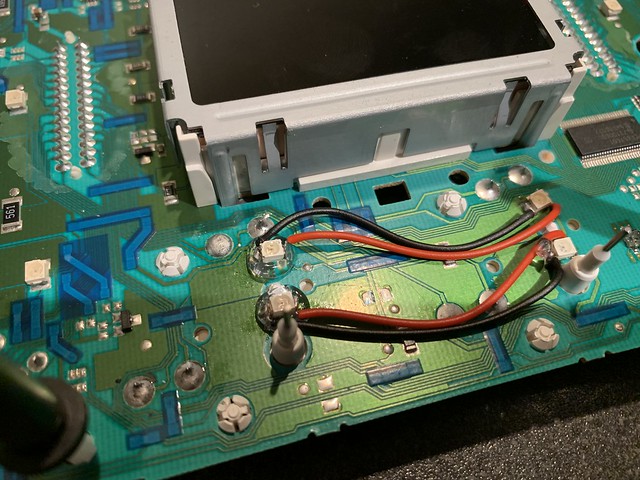
I then moved onto the door cards and electric windows which was semi straight forward, so far I only have the drivers window done as I lost the light, perks of not having a workshop
When I first got the door cards they were pretty scratched from what looked like dog claws, I read up online that taking a heat gun to the plastic gets rid of the marks and it worked a treat!
Before

After

Once I had a dry day I actually got a chance to fit it all, I added some sticky back sound deadening foam to the doors which seems to of helped a bit with road noise
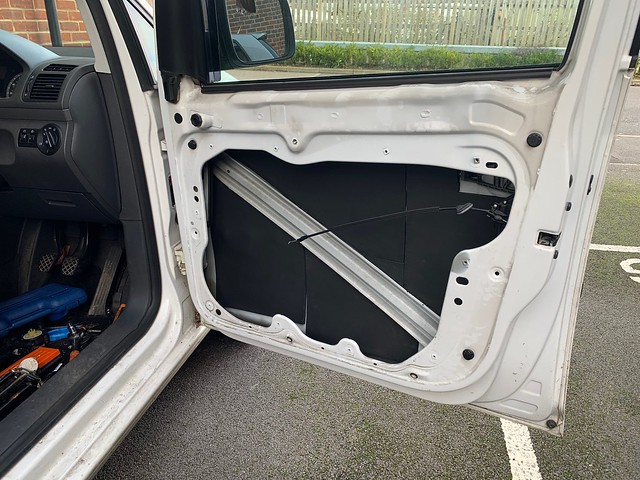
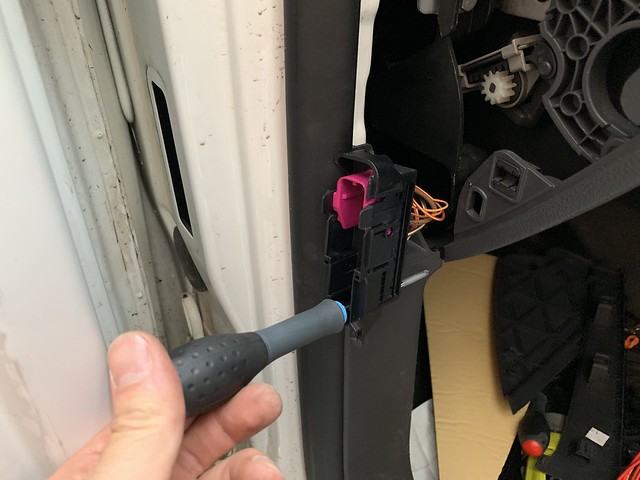
Added in a live for the window motor

And after all that it worked perfectly!

Until I get some better weather I won't be doing a lot, next step is to get the passenger window in, get the wheels refurbed and i'll be ordering a set of ST X coilovers in the next few days.
After that I plan on getting a Touran front bumper, a colour coded rear bumper and colour coding various things on the van so it shouldn't take too much longer to finish it, after all it is only a daily
I bought it back in July 2016 looking like this
When I first bought the caddy it had the following mods:
- Touran dash and centre console
- Touran sport headlights
- Mk4 Golf GTI seats (apparently)
- Heko wind deflectors
- Tinted rear and side lights
- Tinted rear windows
- Rear wiper delete
- Ply lined and carpeted load area
- Green Lino flooring (now removed)
- Green side and number plate lights (now removed)
- Shelving (now removed)
- Reversing camera
- Engine has been remapped (to god knows what as I was given no readouts
Since then I have done the following:
- Fitted a Double din head unit
- Made a folding bed in the back
- Removed the folding bed in the back
- Changed all green lights to white
- Removed the green lino and replaced for carpet
- Replaced the melted rear door trim that holds the license plate lights
- Repaired the reversing camera
- Put some baddly break dust covered Mercedes alloys on to use the tyres up
- Clutch and cam belt change
- Various bushings
- Fitted 1 Touran door card and electric window
So here’s a picture of the caddy in its current state...
Not much has changed but it’s looking pretty sorry for itself so I thought it was time to give it some loving.
We started the summer off with a (cramped) camping trip
The first thing I did was replace the rear number plate light holder, as the person who had it previously to me had green lights everywhere and fitted some awful green number plate bulbs which had huge resistors which I'm guessing overheated by looking at this
I then picked up these 18” Audi Segment (I think thats the right name) alloys last month which will be getting a refurb and a new set of tyres
And I came across a Touran that’s being scrapped and I’ve managed to get quite a bit of stuff off it, I made sure i got the touran seat bases just incase i decide to upgrade my seats in the future, didn't see the need to now because the seats in it are very comfy.
I gave it all a good clean, the misses wasn't best pleased with where I chose to wash everything though
I started by replacing the flooring for carpet and changing the grey centre console and arm rest for black ones which was a nice straight forward job.
I then moved onto the door cards and electric windows which was semi straight forward, so far I only have the drivers window done as I lost the light, perks of not having a workshop
When I first got the door cards they were pretty scratched from what looked like dog claws, I read up online that taking a heat gun to the plastic gets rid of the marks and it worked a treat!
Before
After
Once I had a dry day I actually got a chance to fit it all, I added some sticky back sound deadening foam to the doors which seems to of helped a bit with road noise
Added in a live for the window motor
And after all that it worked perfectly!
Until I get some better weather I won't be doing a lot, next step is to get the passenger window in, get the wheels refurbed and i'll be ordering a set of ST X coilovers in the next few days.
After that I plan on getting a Touran front bumper, a colour coded rear bumper and colour coding various things on the van so it shouldn't take too much longer to finish it, after all it is only a daily