My Red Startline
Posted: Fri Jun 19, 2020 4:00 pm
Hello everyone,
First - quietening things down a bit
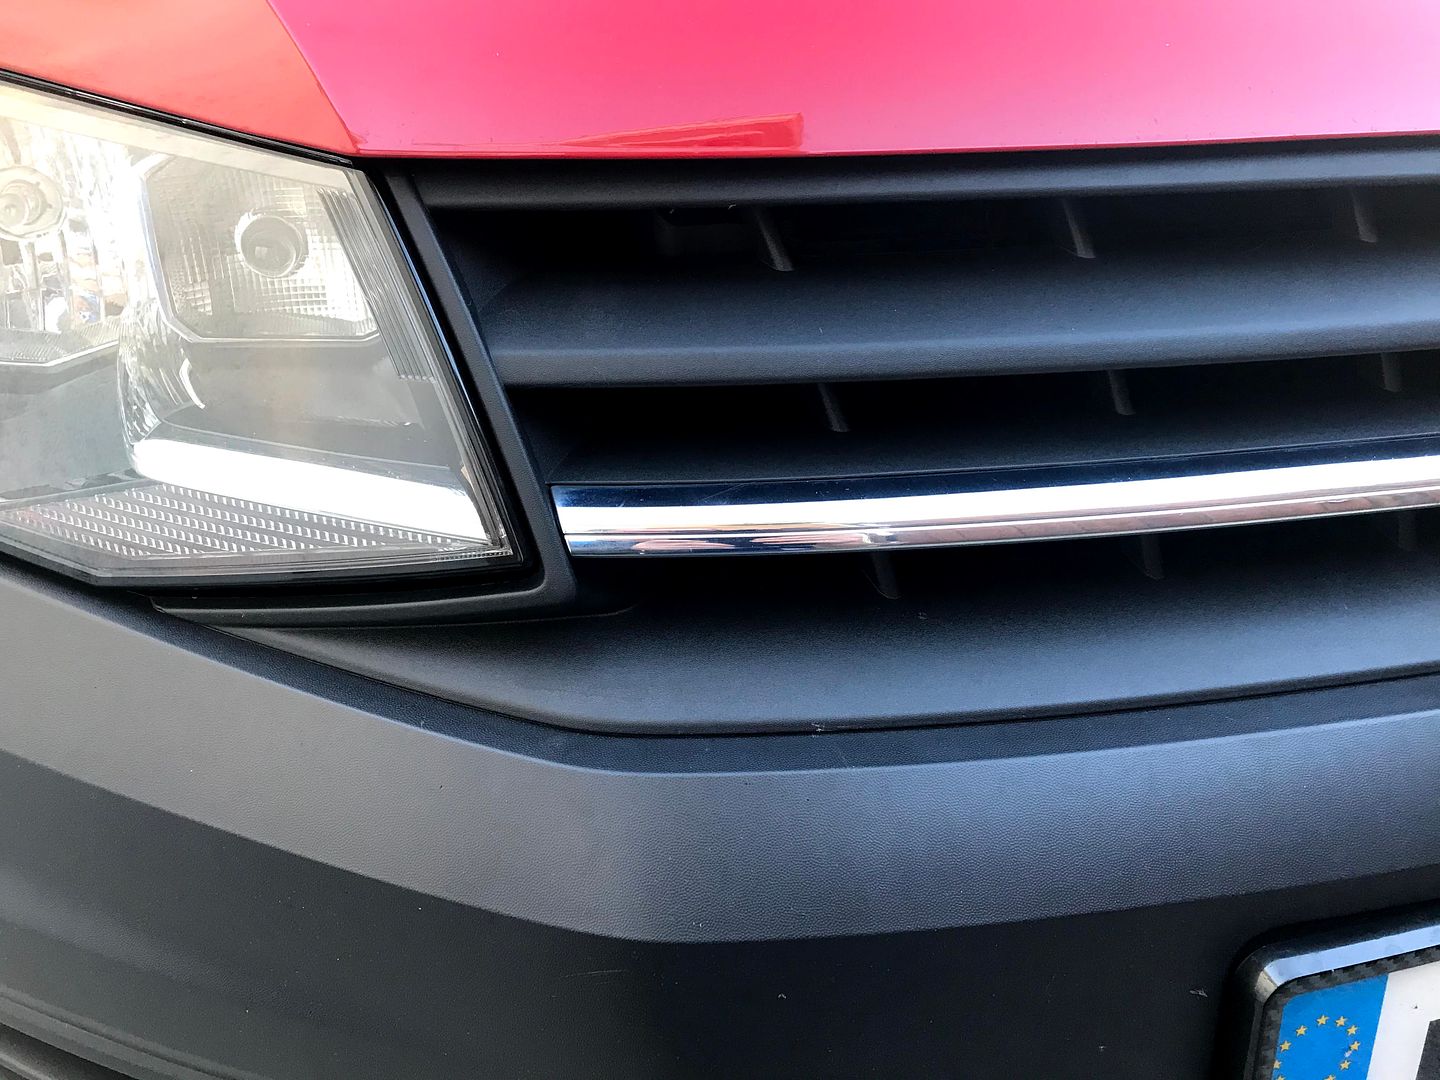
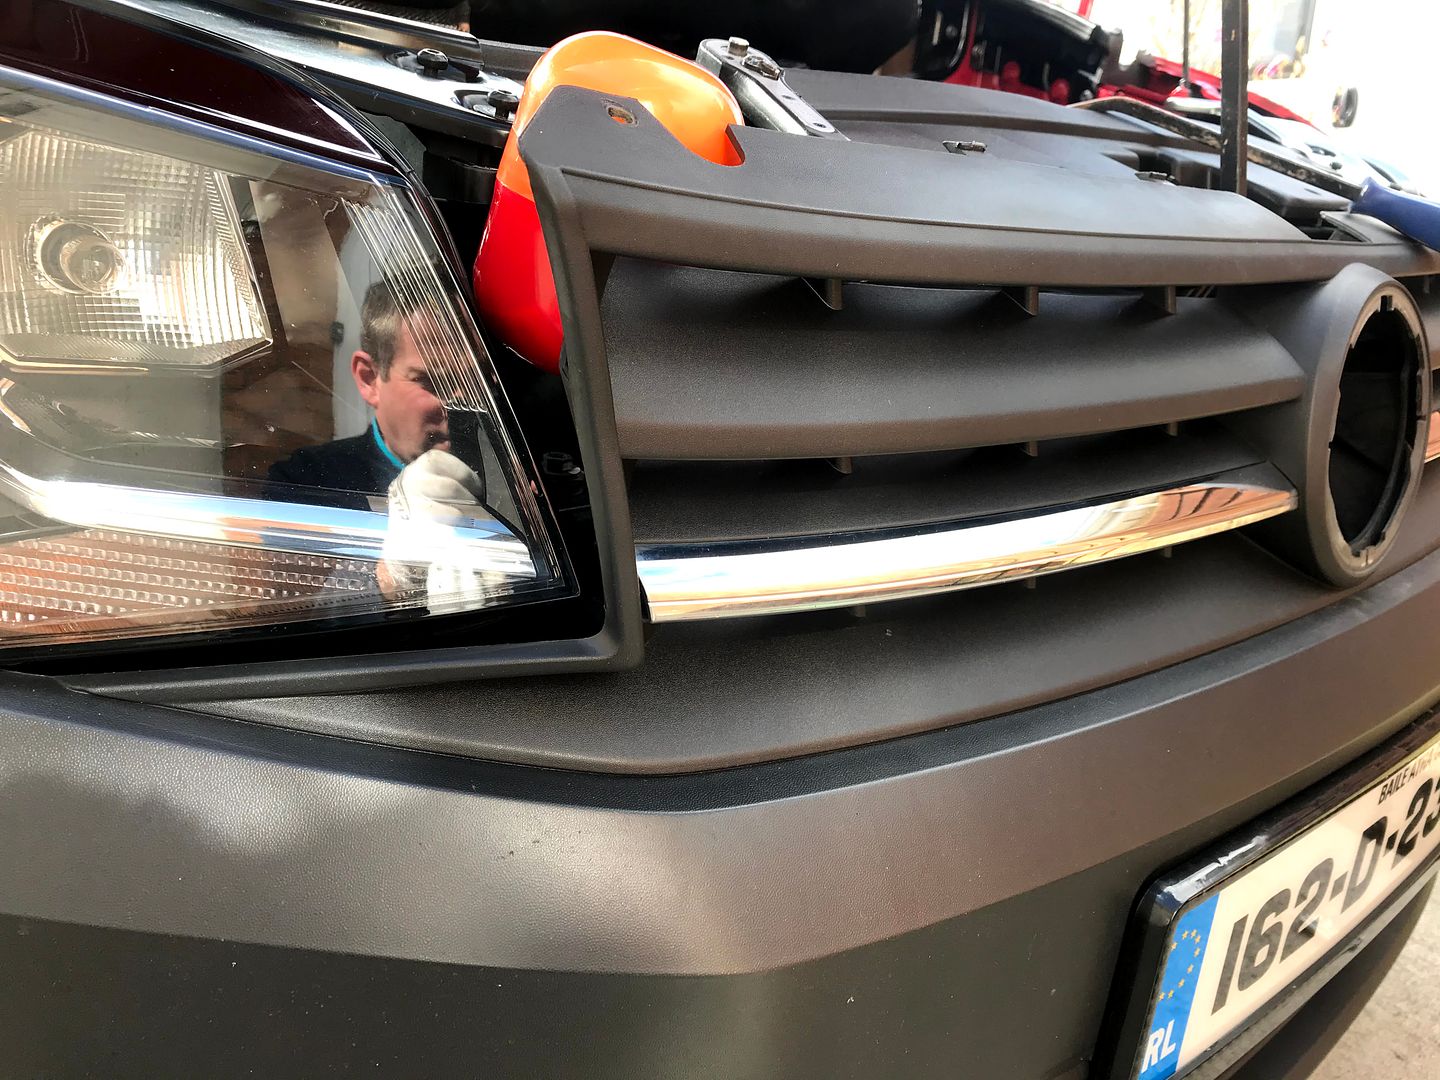
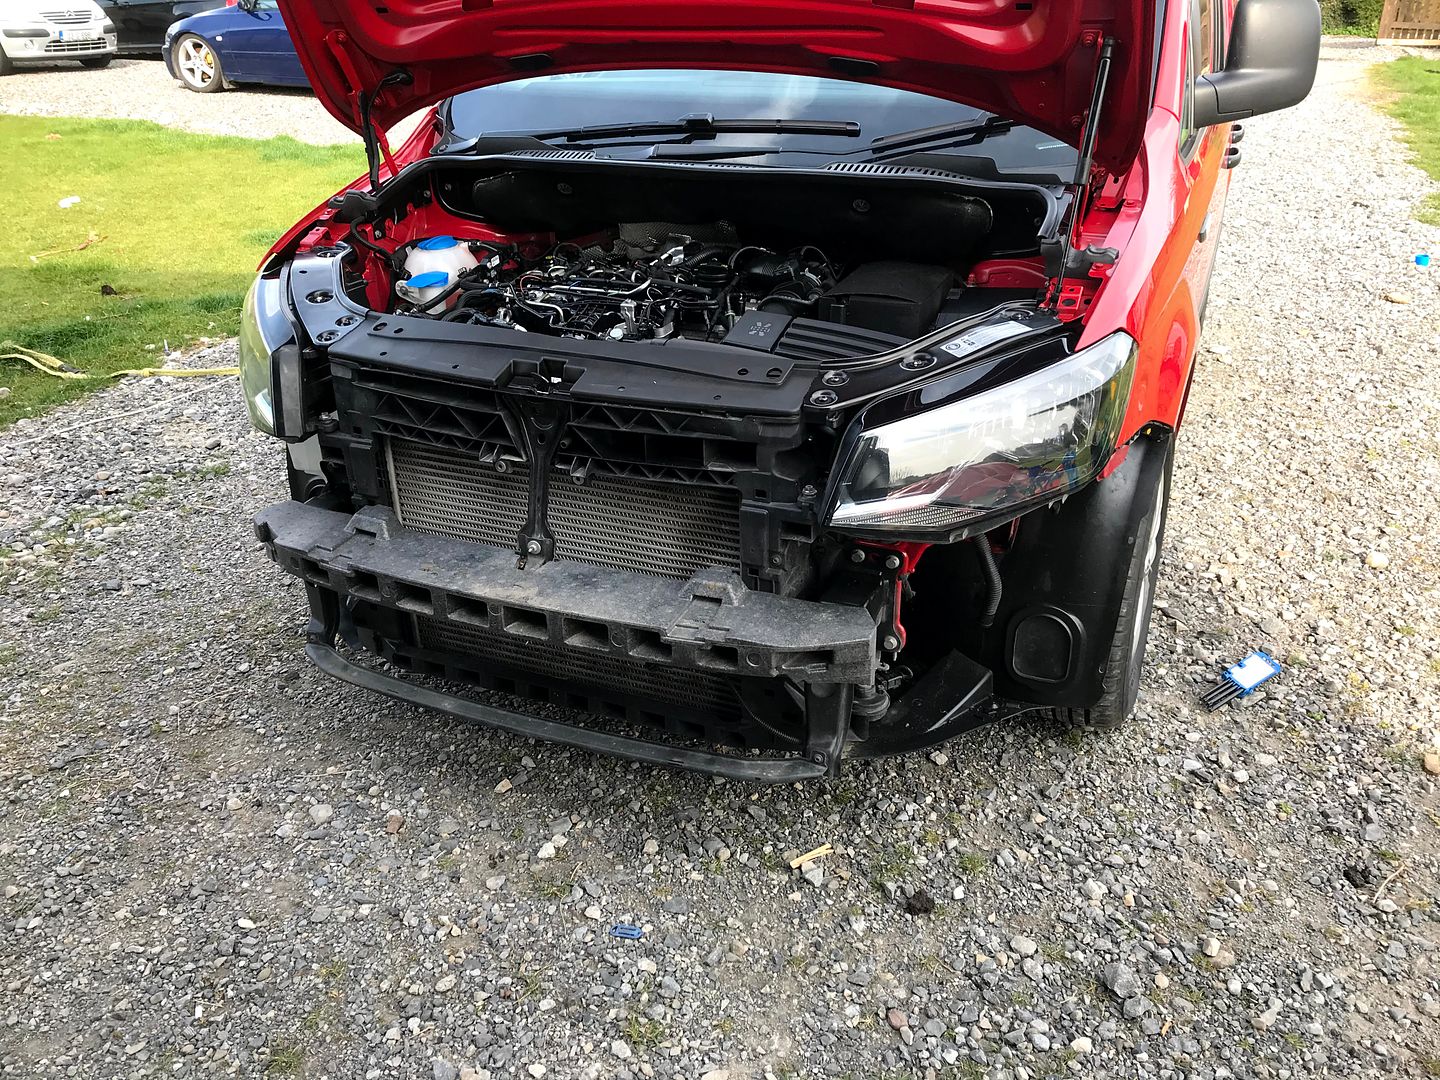
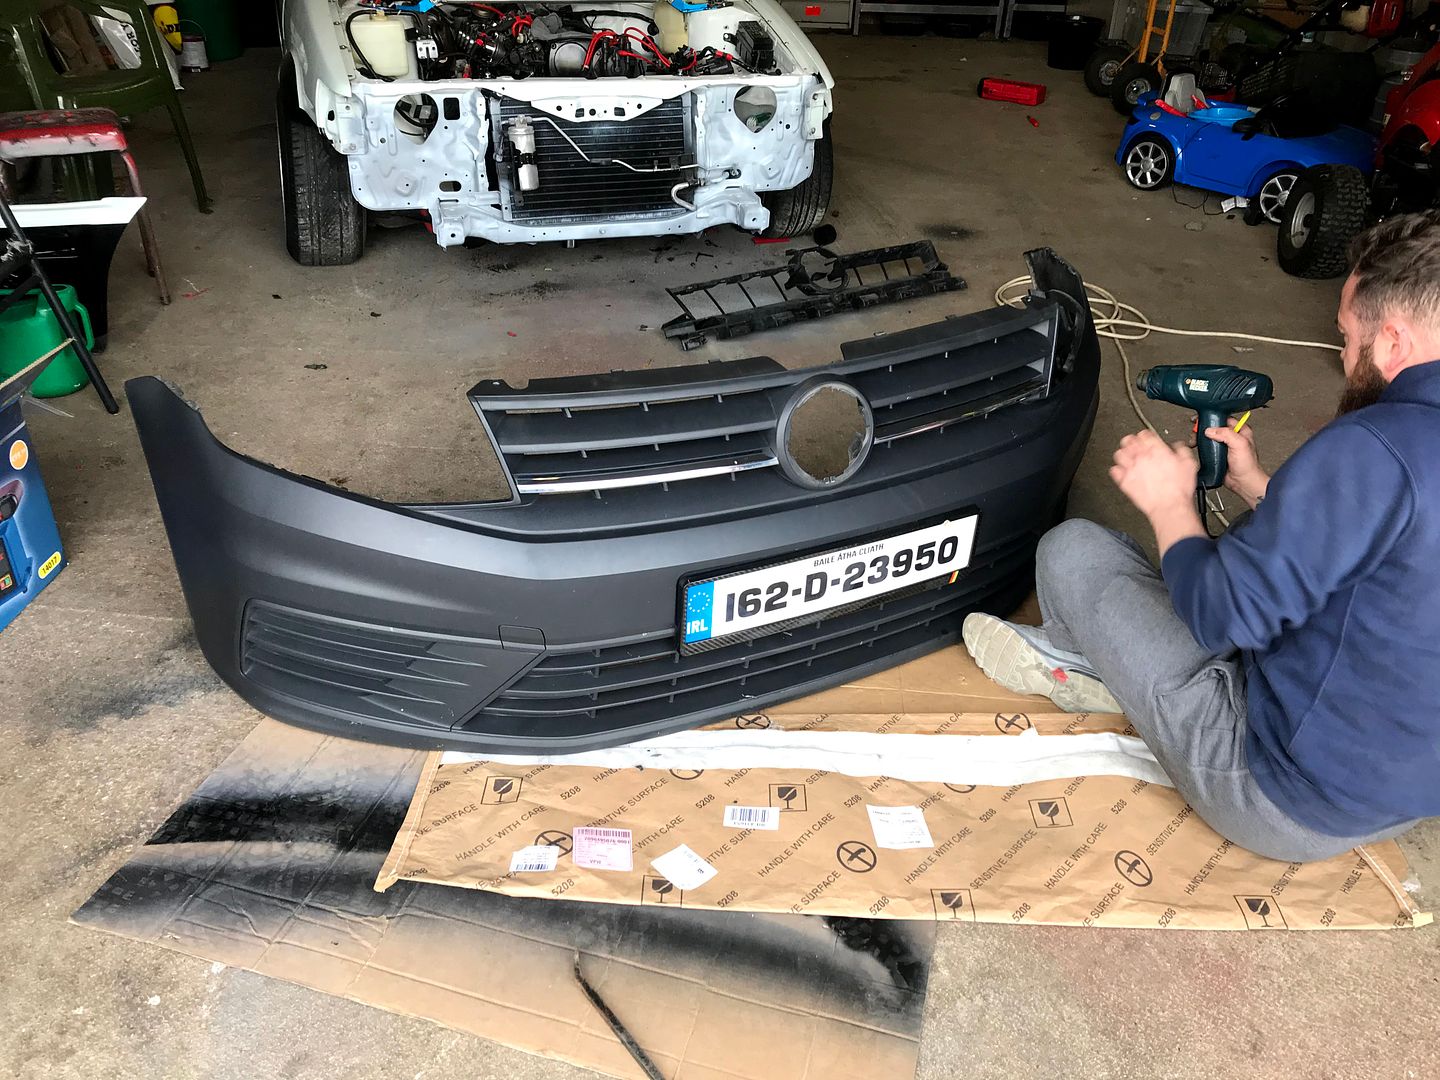
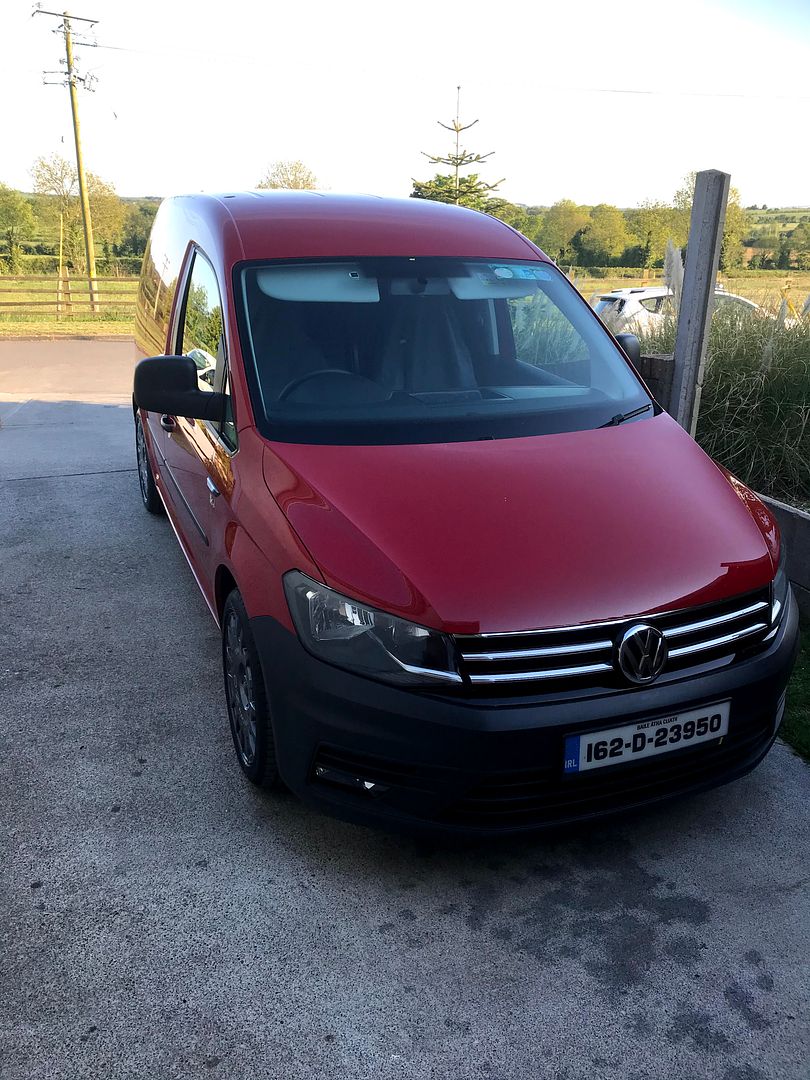
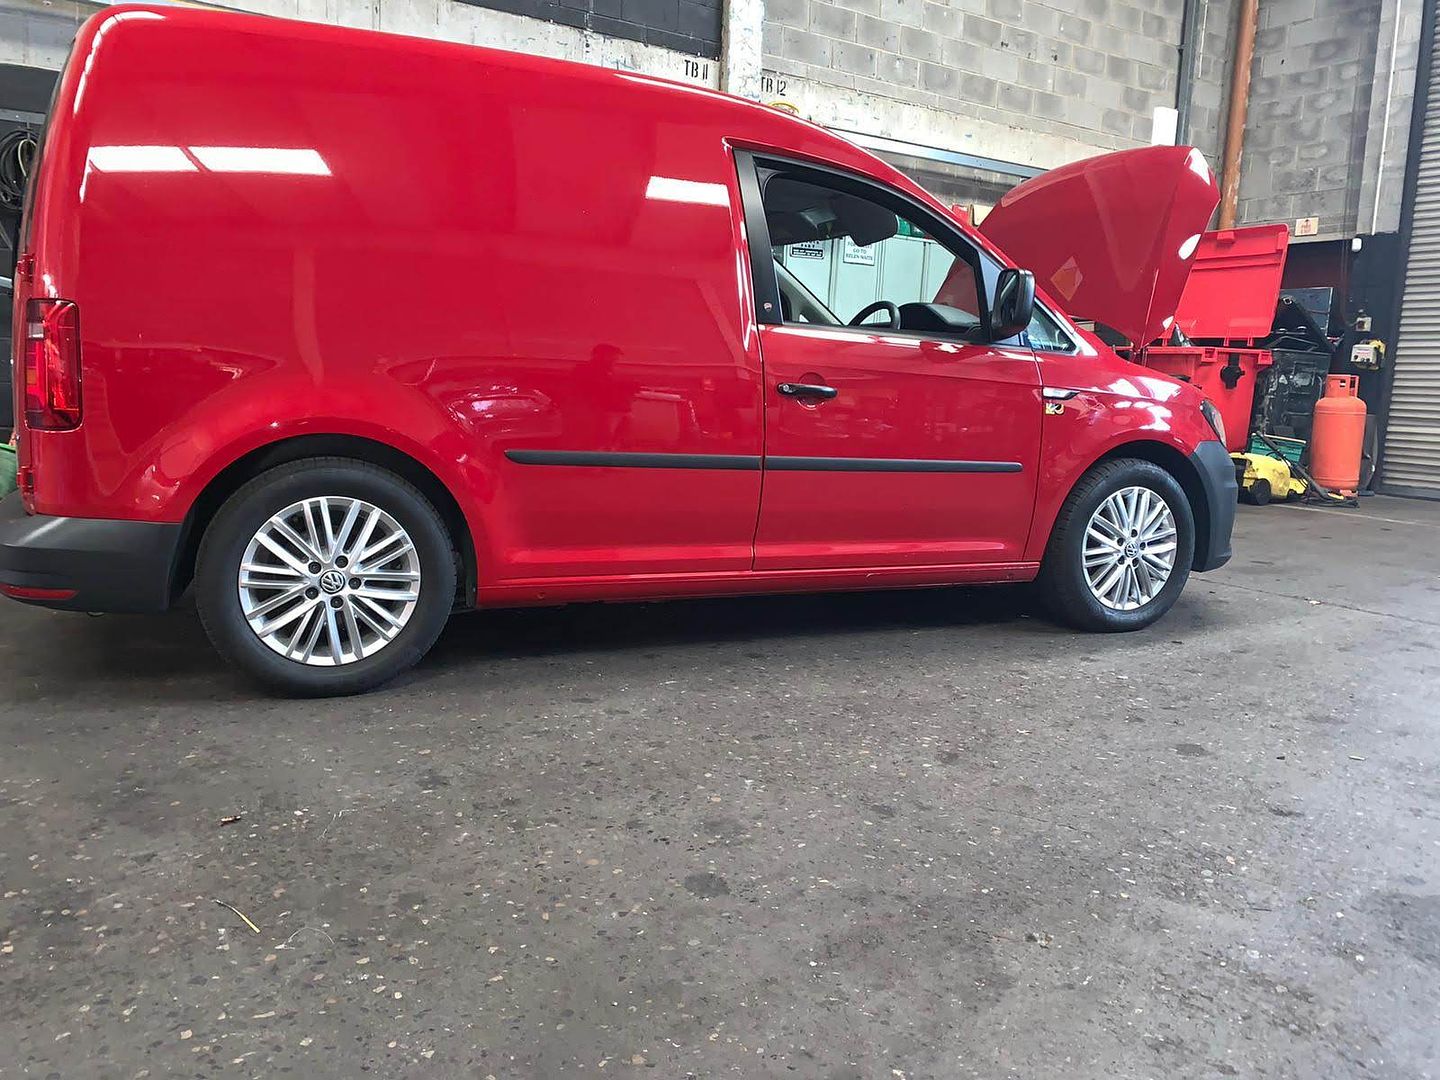
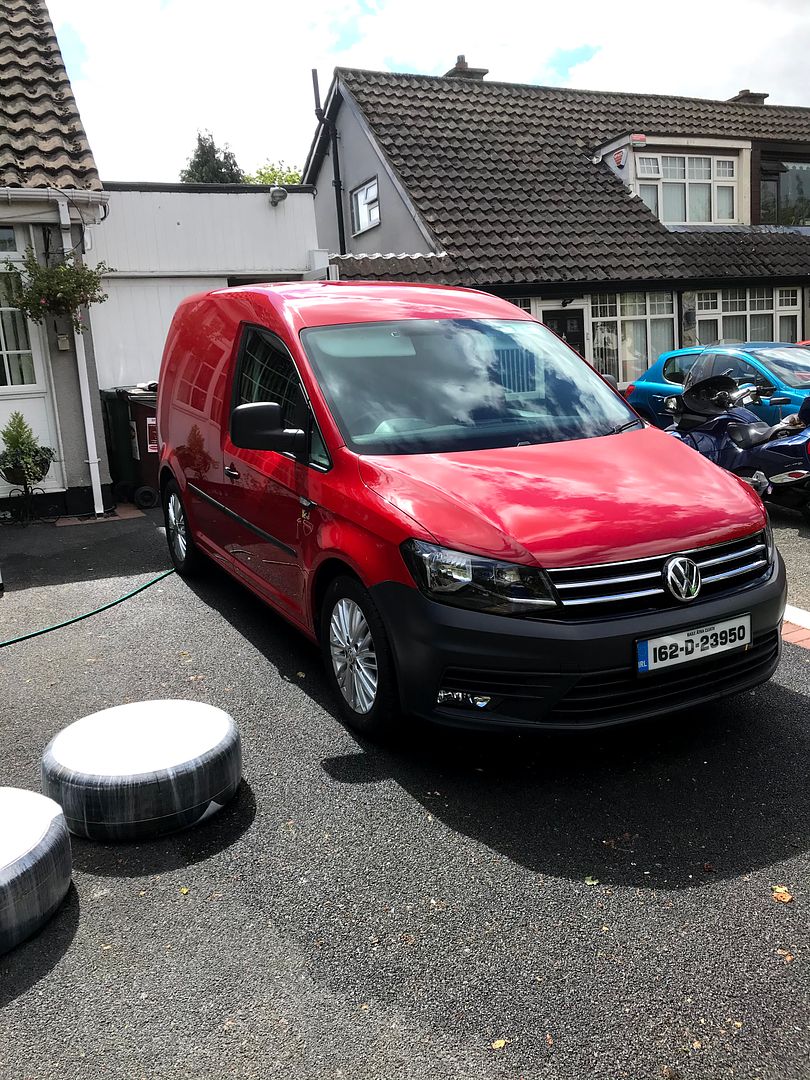
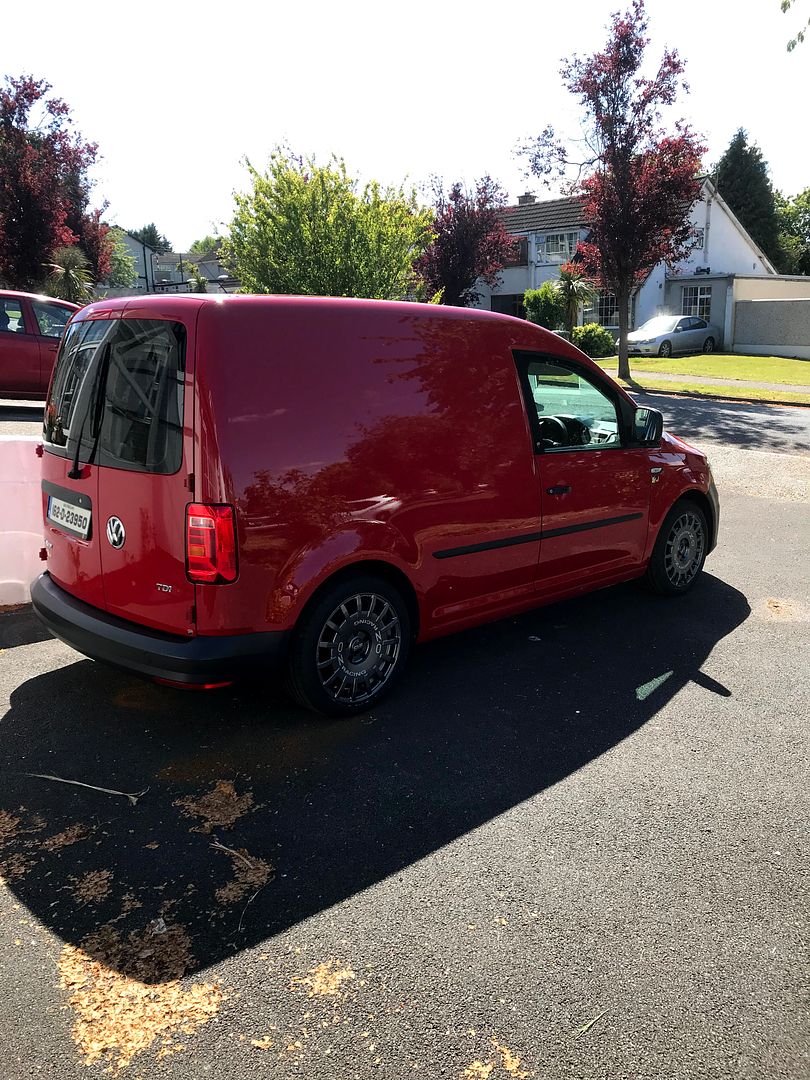
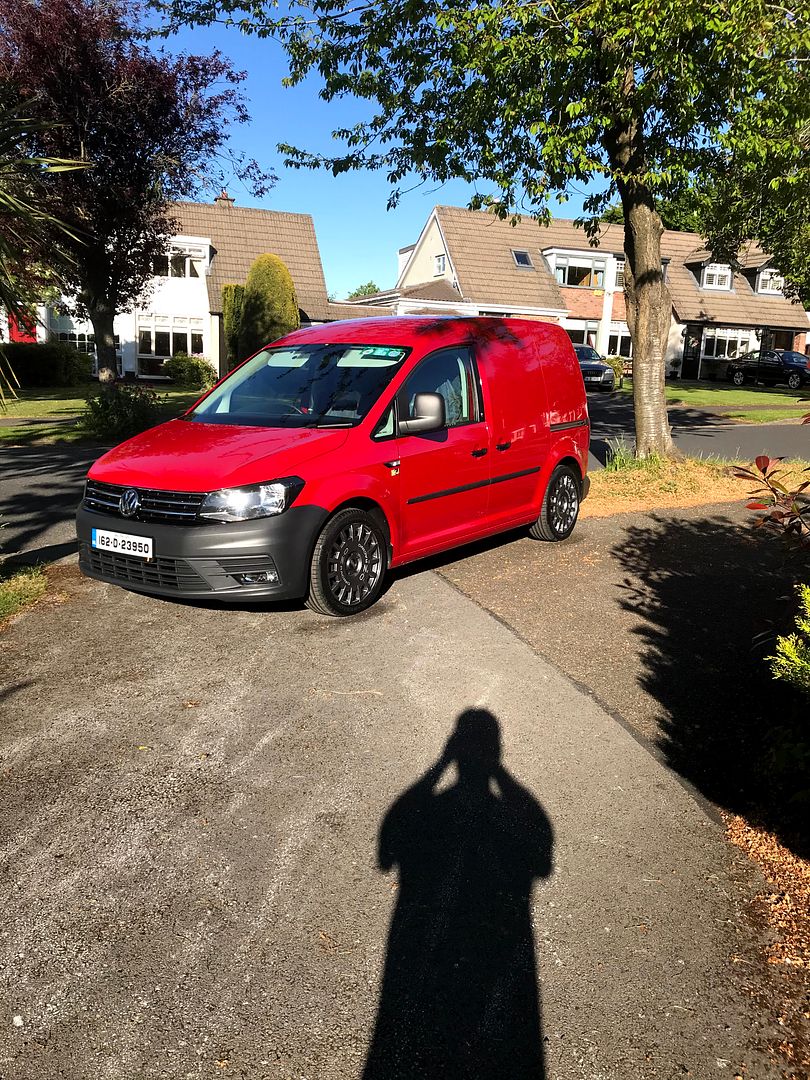
I just thought I would share with you the stages I went through to get my van to where is at now. I bought it when it was a year old with only 35 miles on it pre registered. I got it for a great price and I love it. Its a 1.6tdi 102 and I have owned all engines. I have done the whole lot with cars and bikes and decided I wanted a fully functional van - that in my opinion was built for me. Its taken me 3 years to decide and get to where I am. I am far from finished but I will keep you posted.
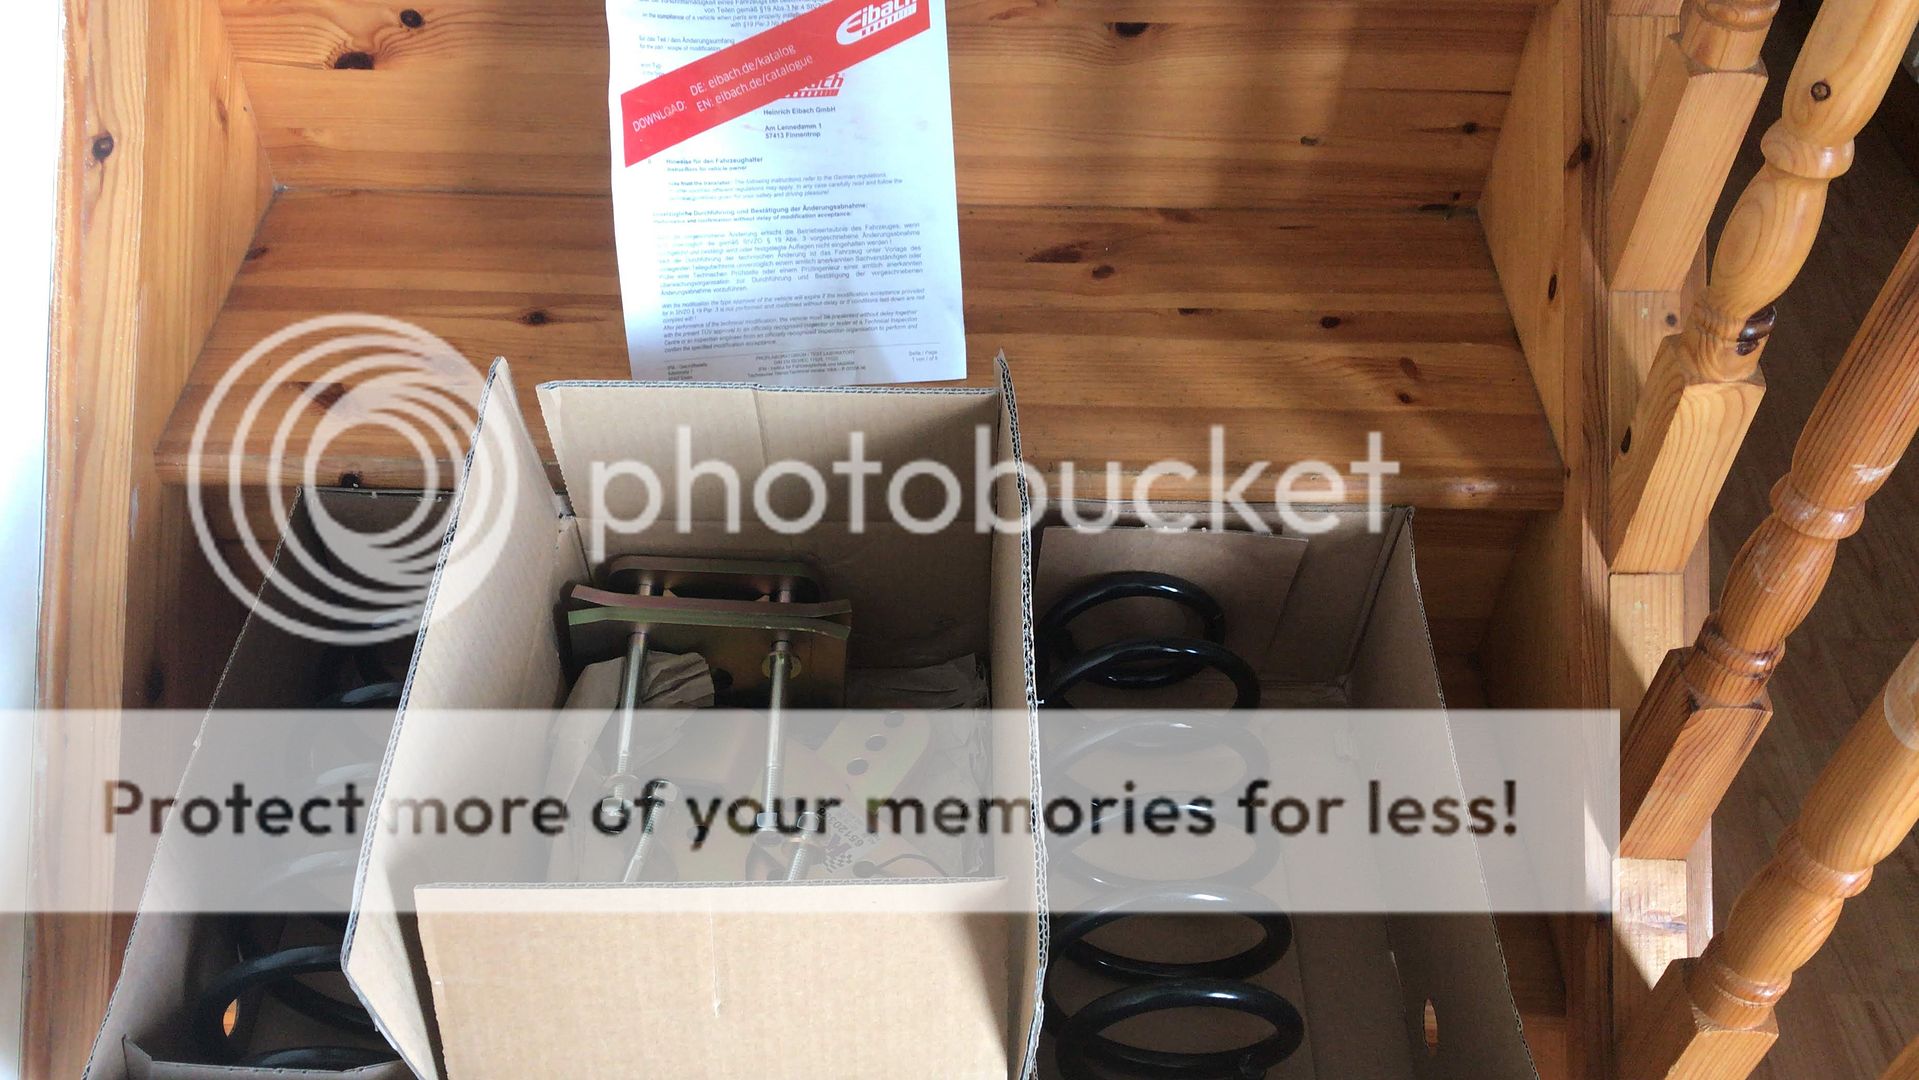
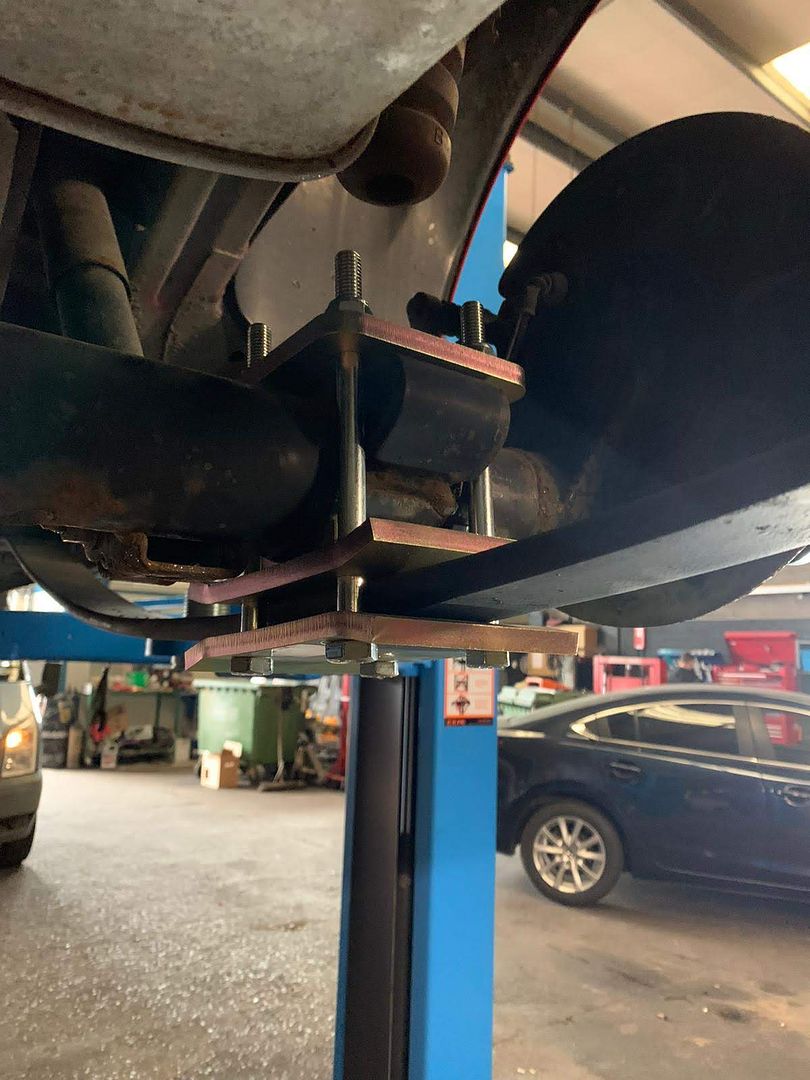
Ground clearance is critical and practicality important.
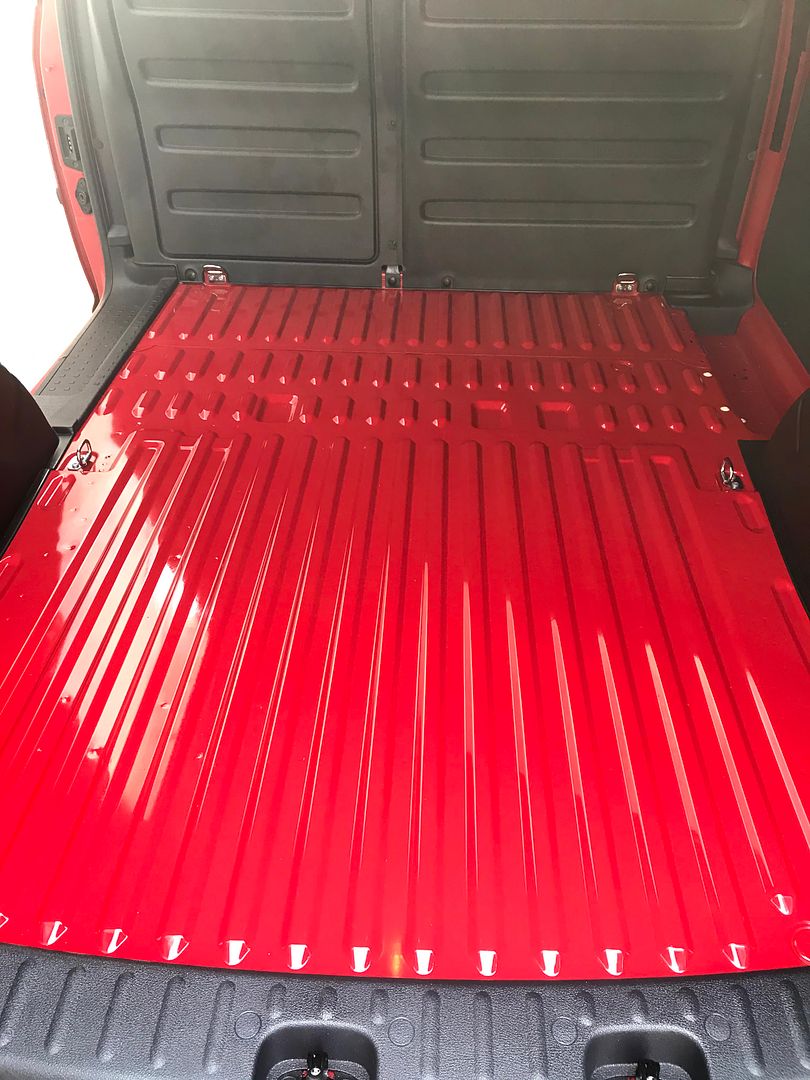
I have never used the rear cargo area.
First up was making it a bit quieter. I am 51 and have well over a million miles under my belt so I knew what I wanted but making things affordable and in everyone's reach was the plan. Might not be to everyone's taste but that's what makes us all different.
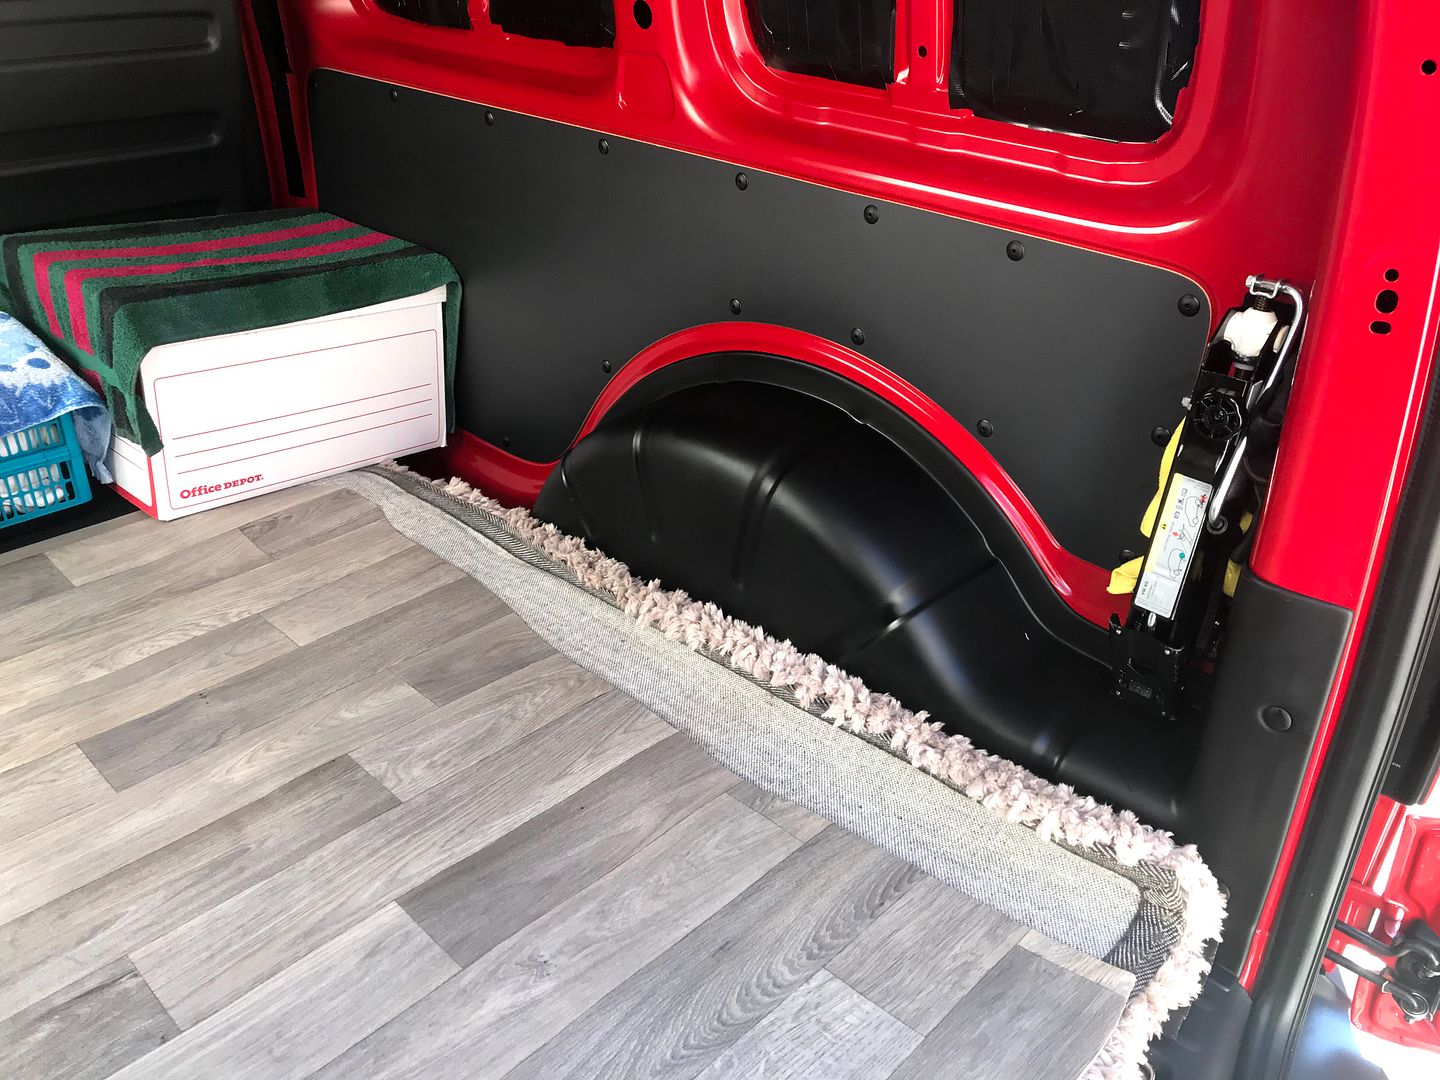
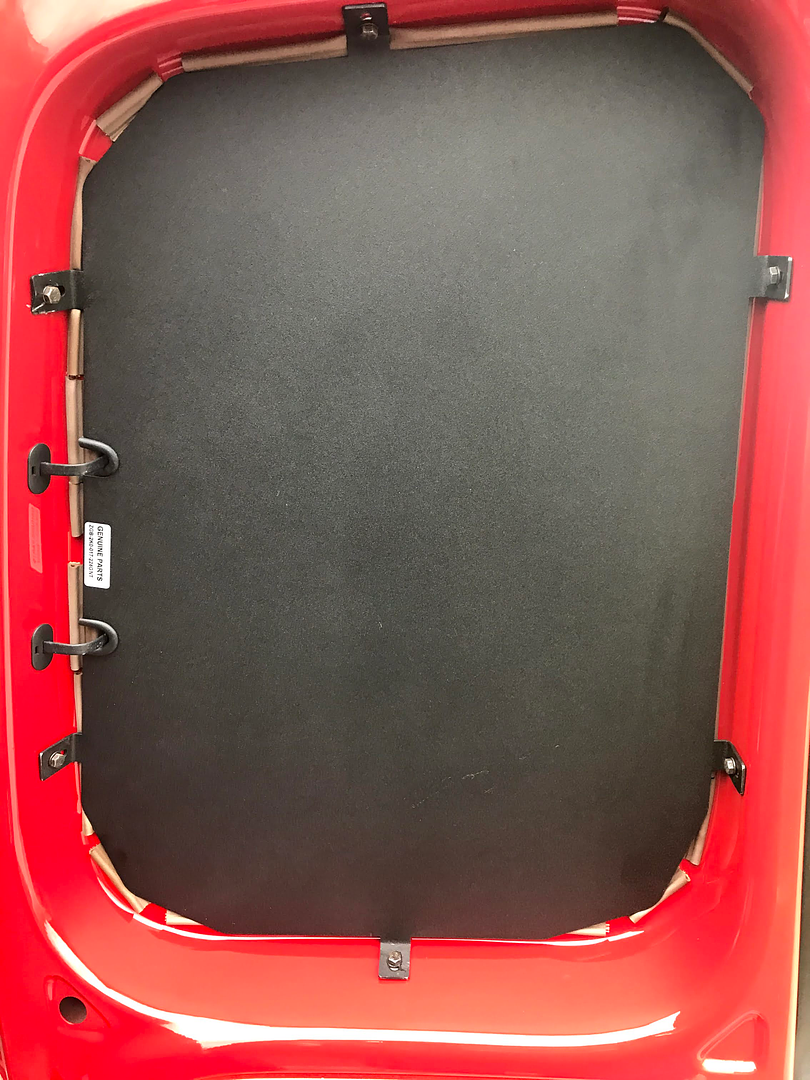
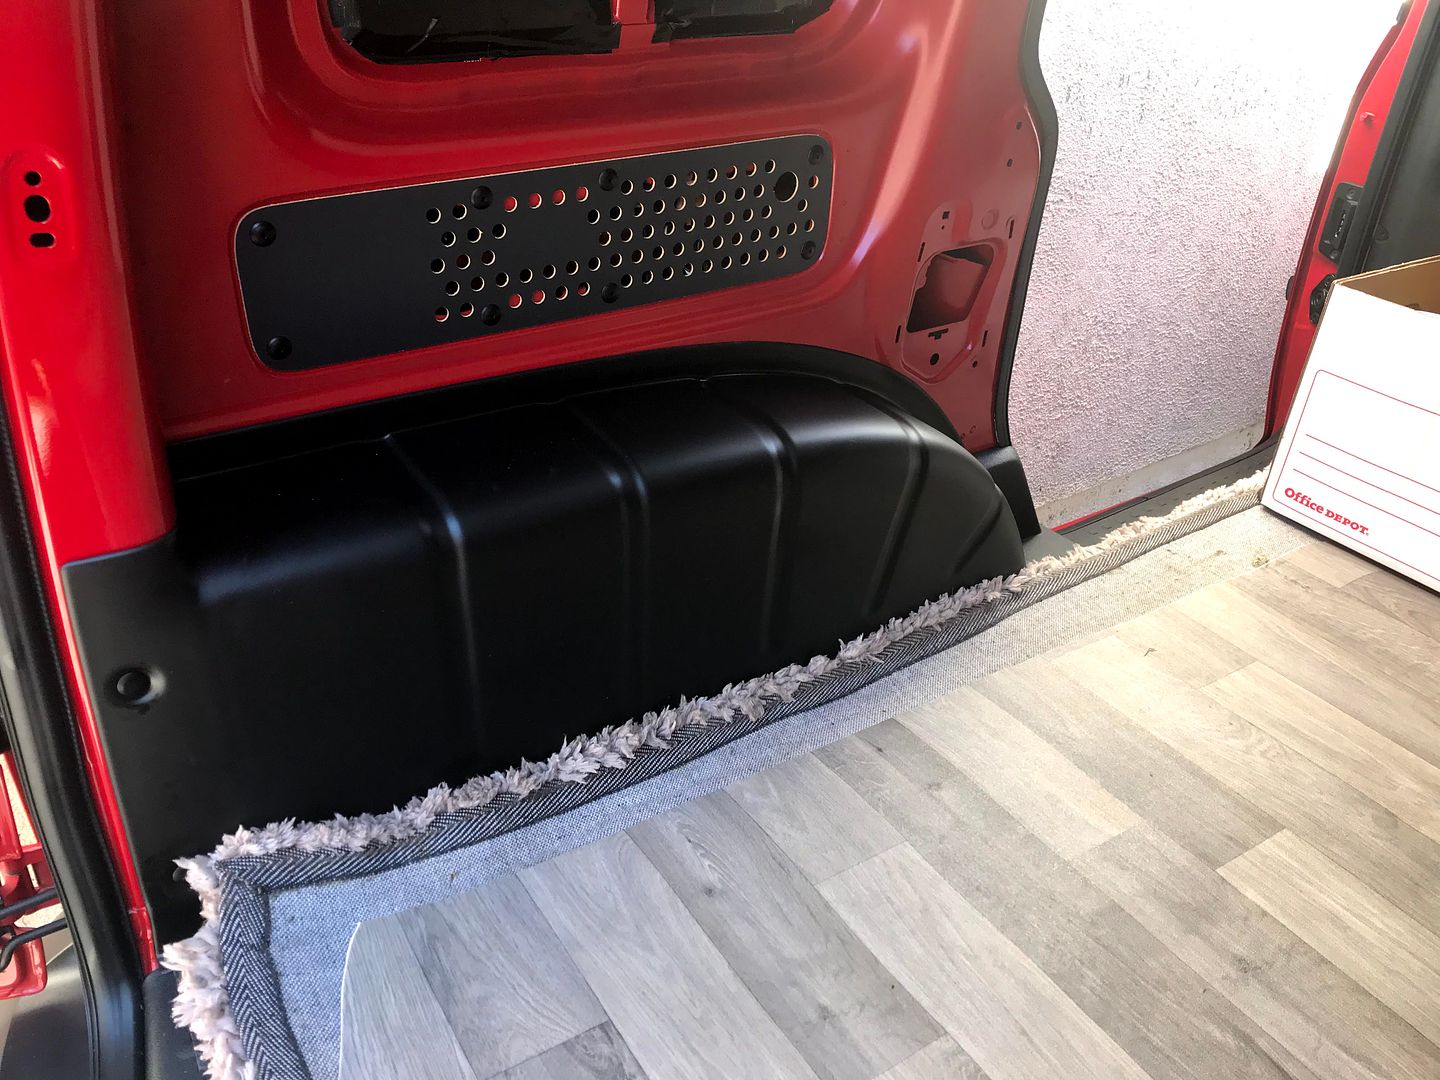
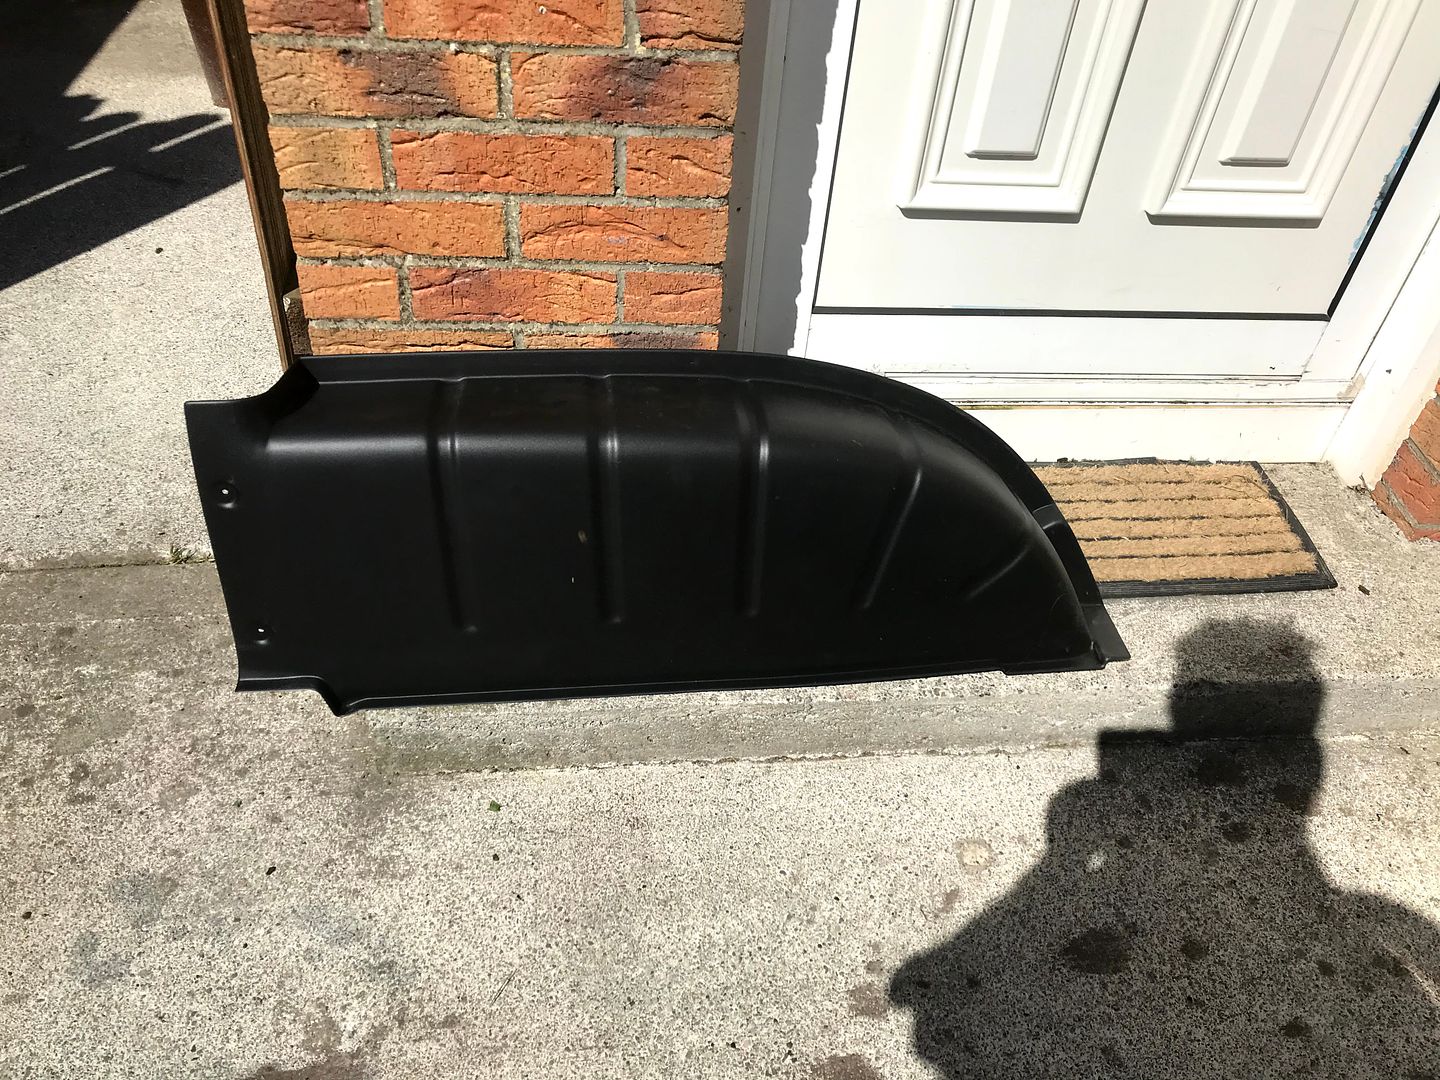
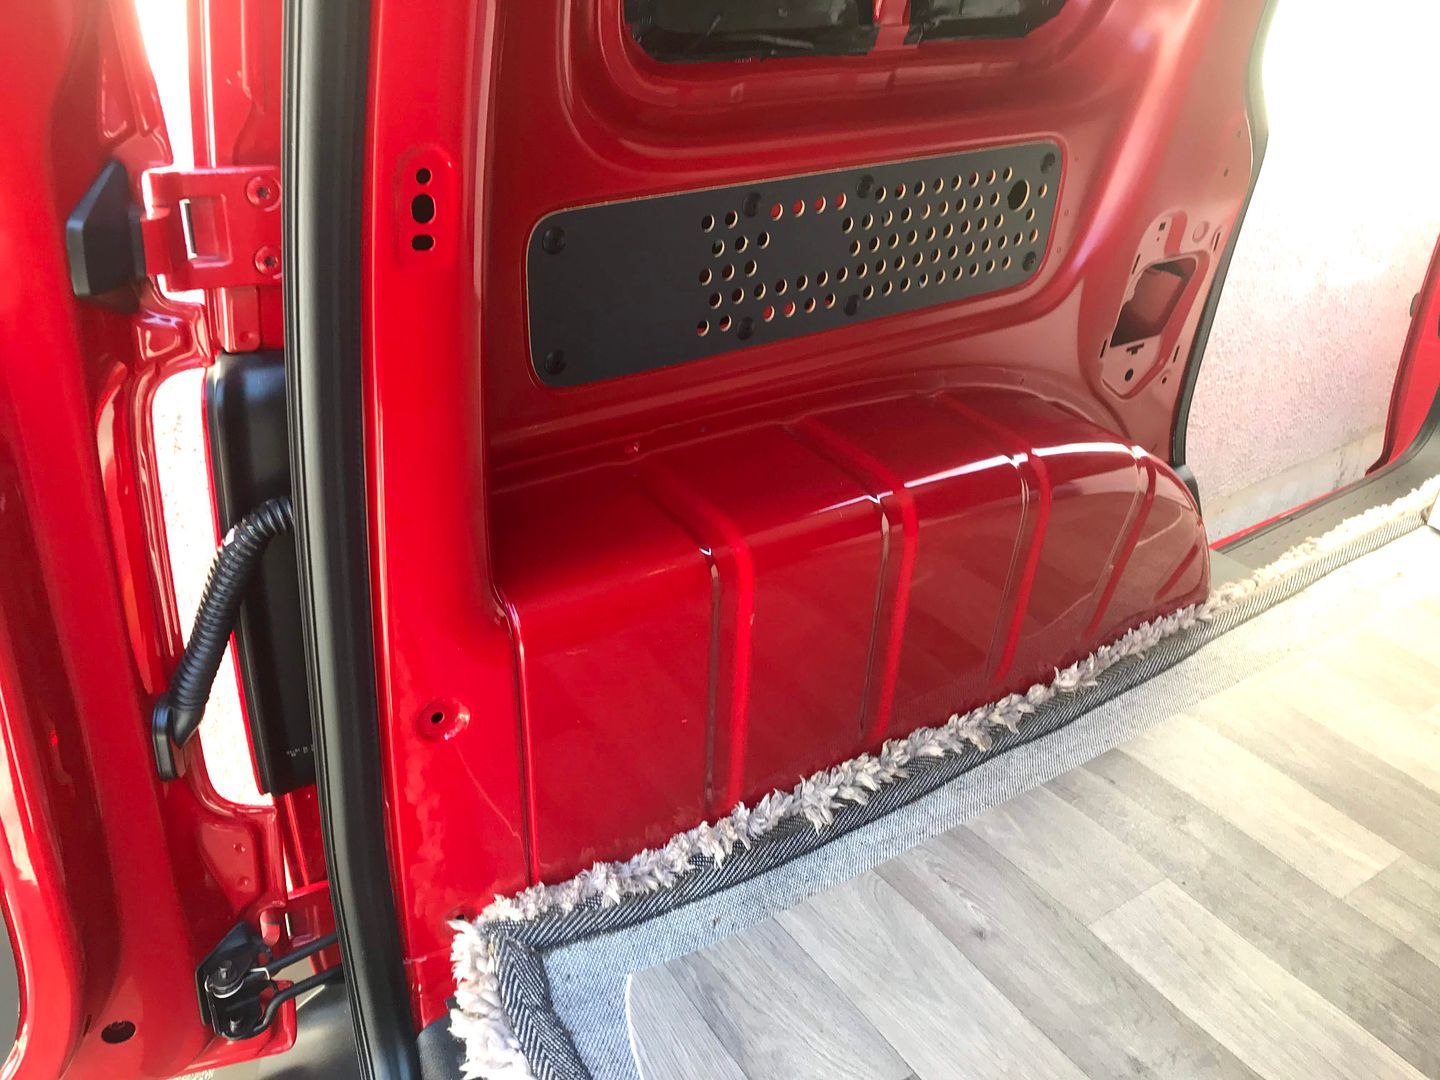
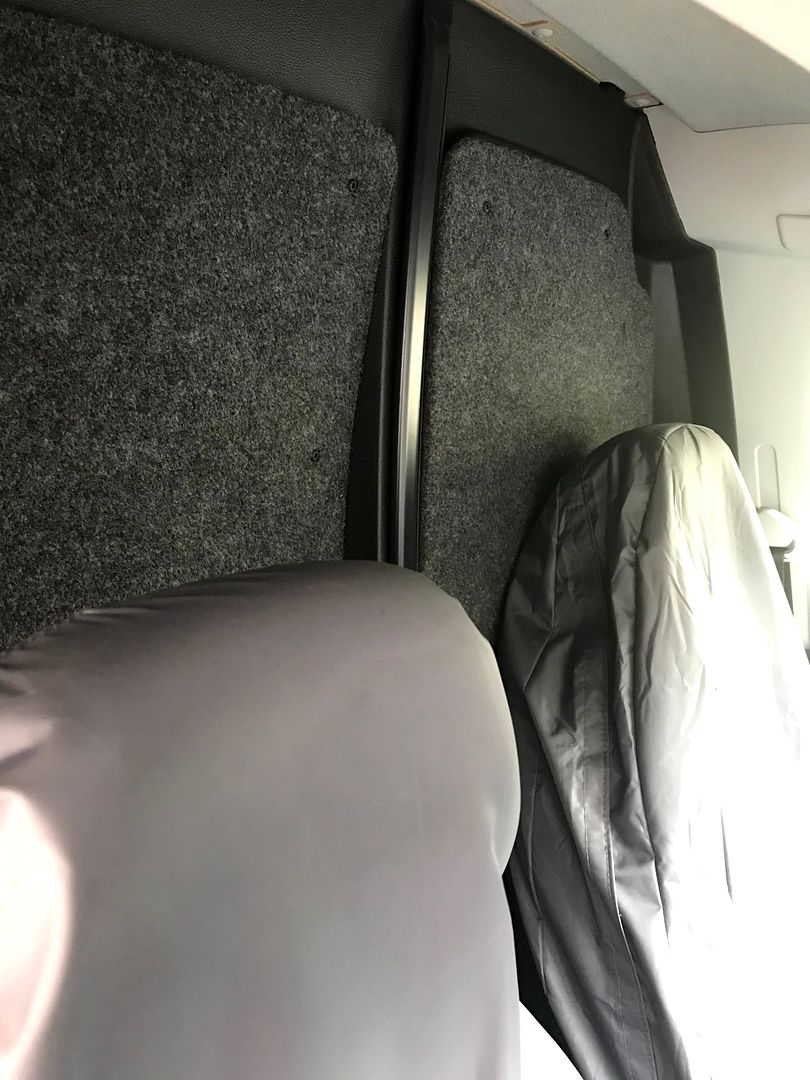
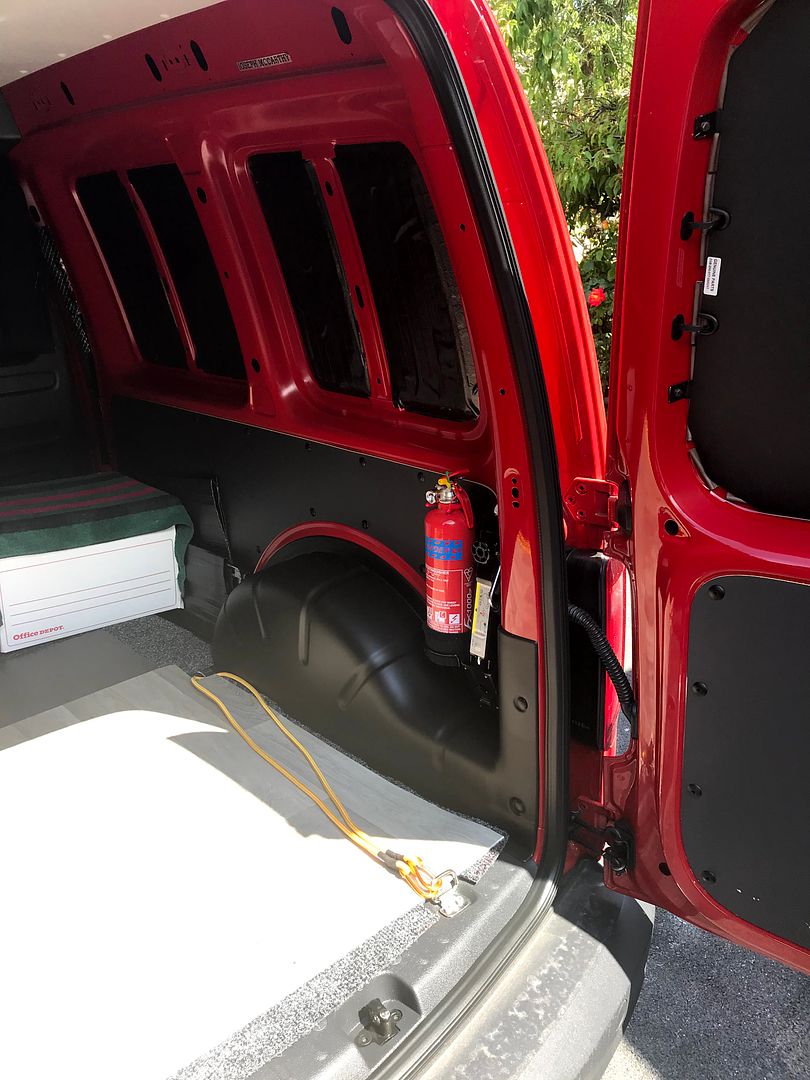
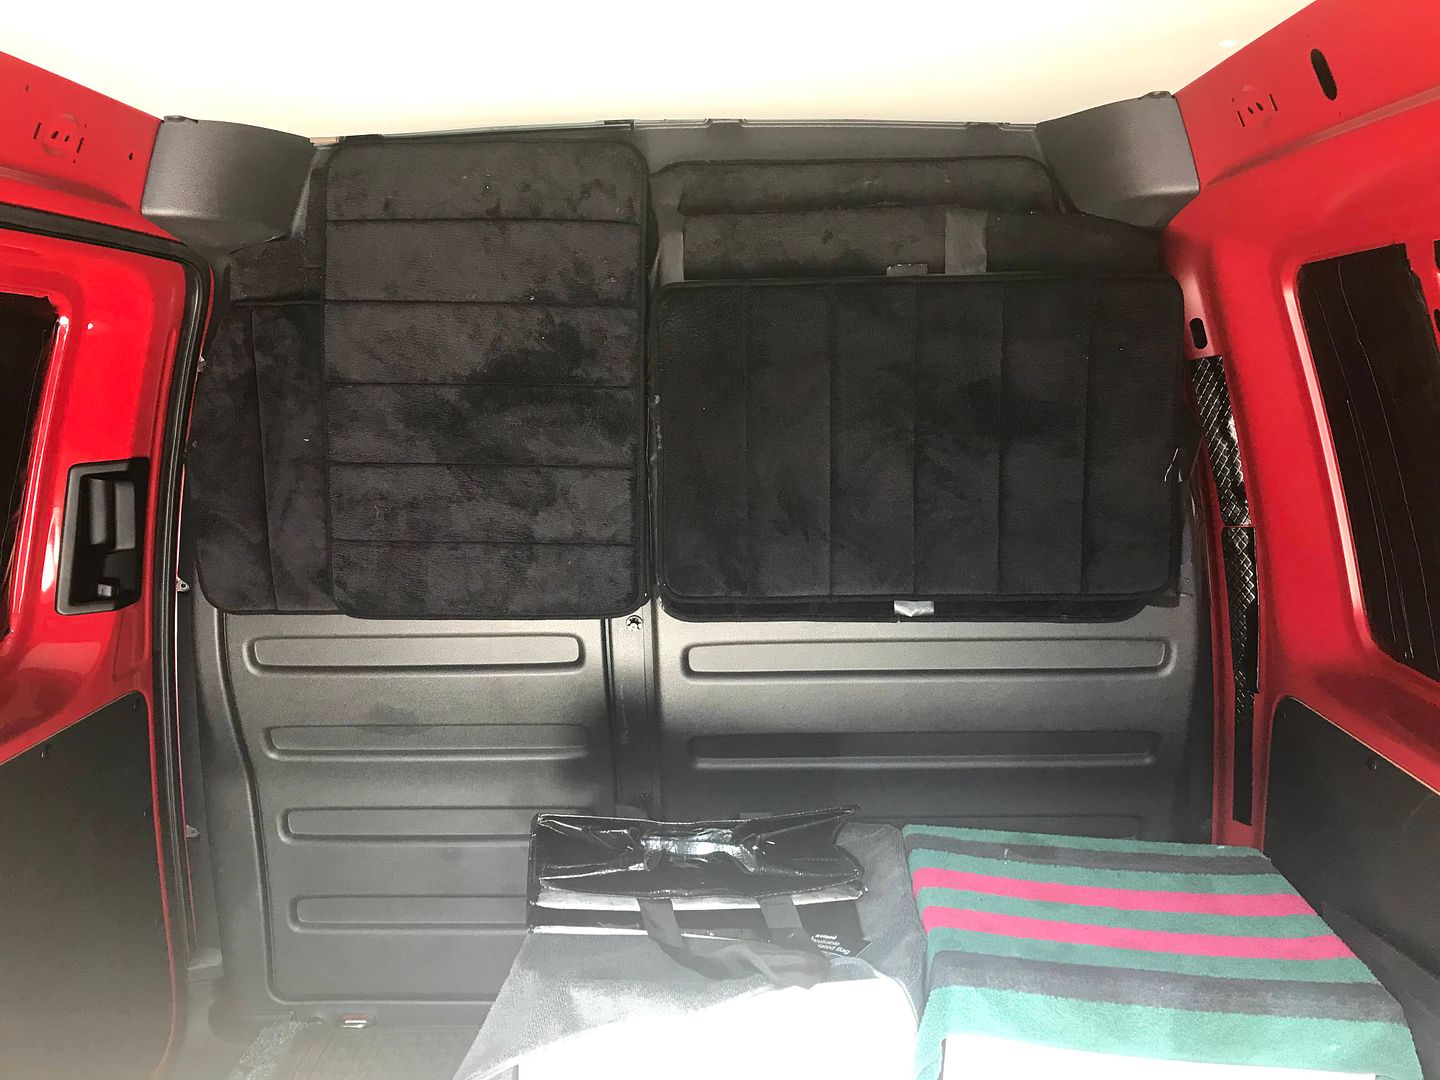
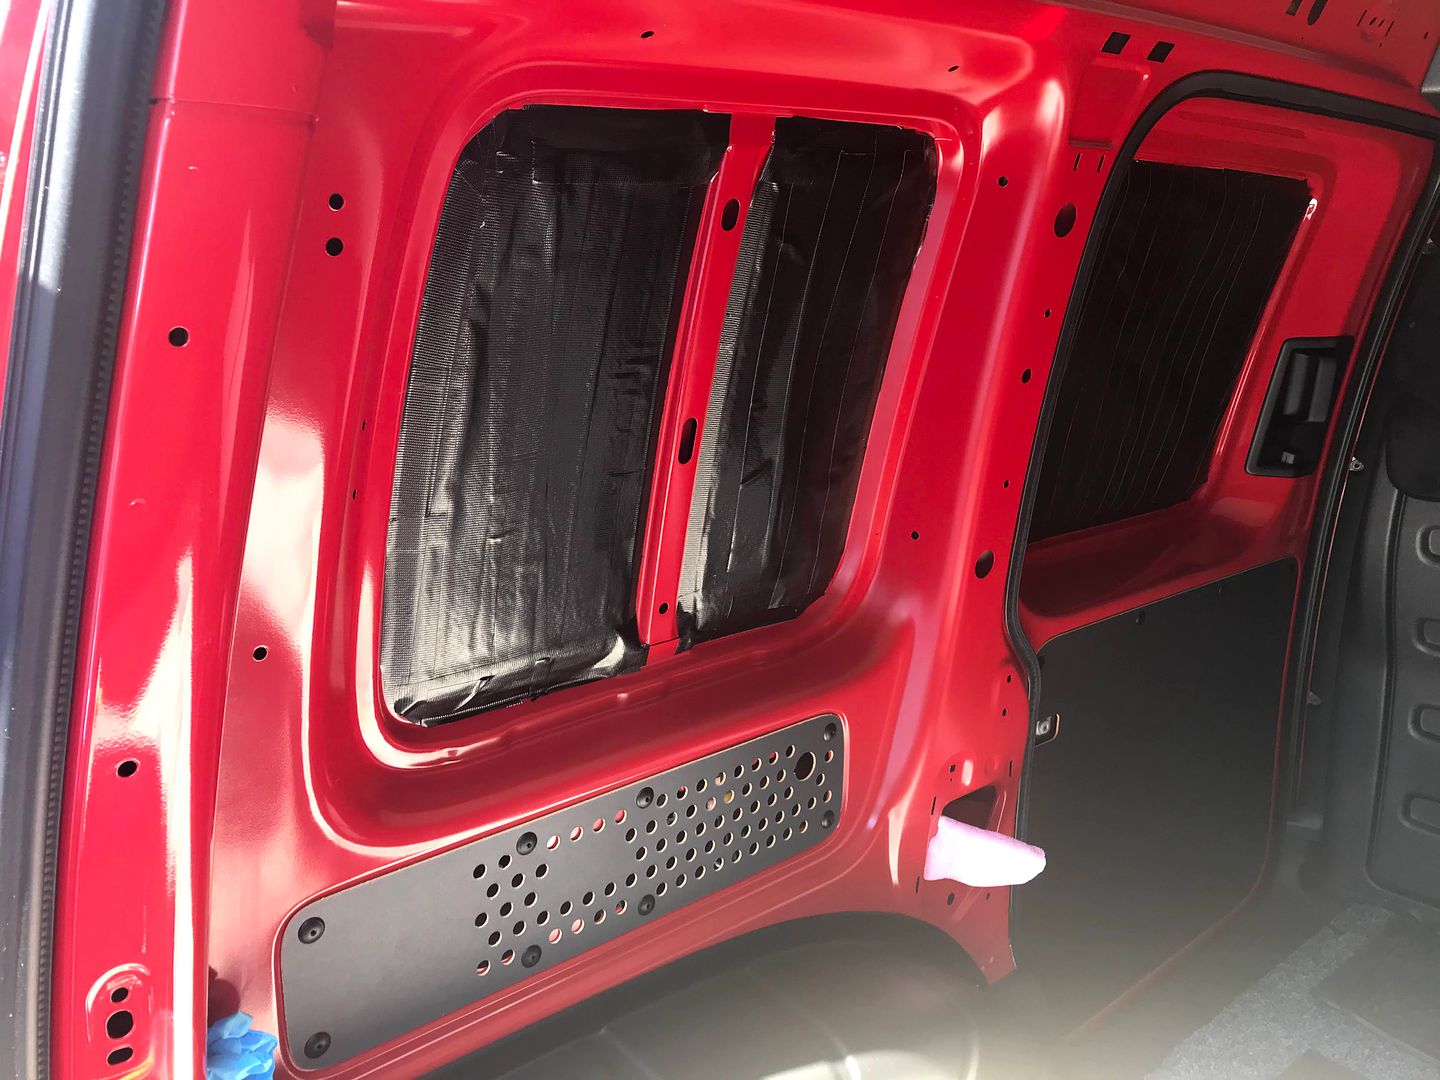
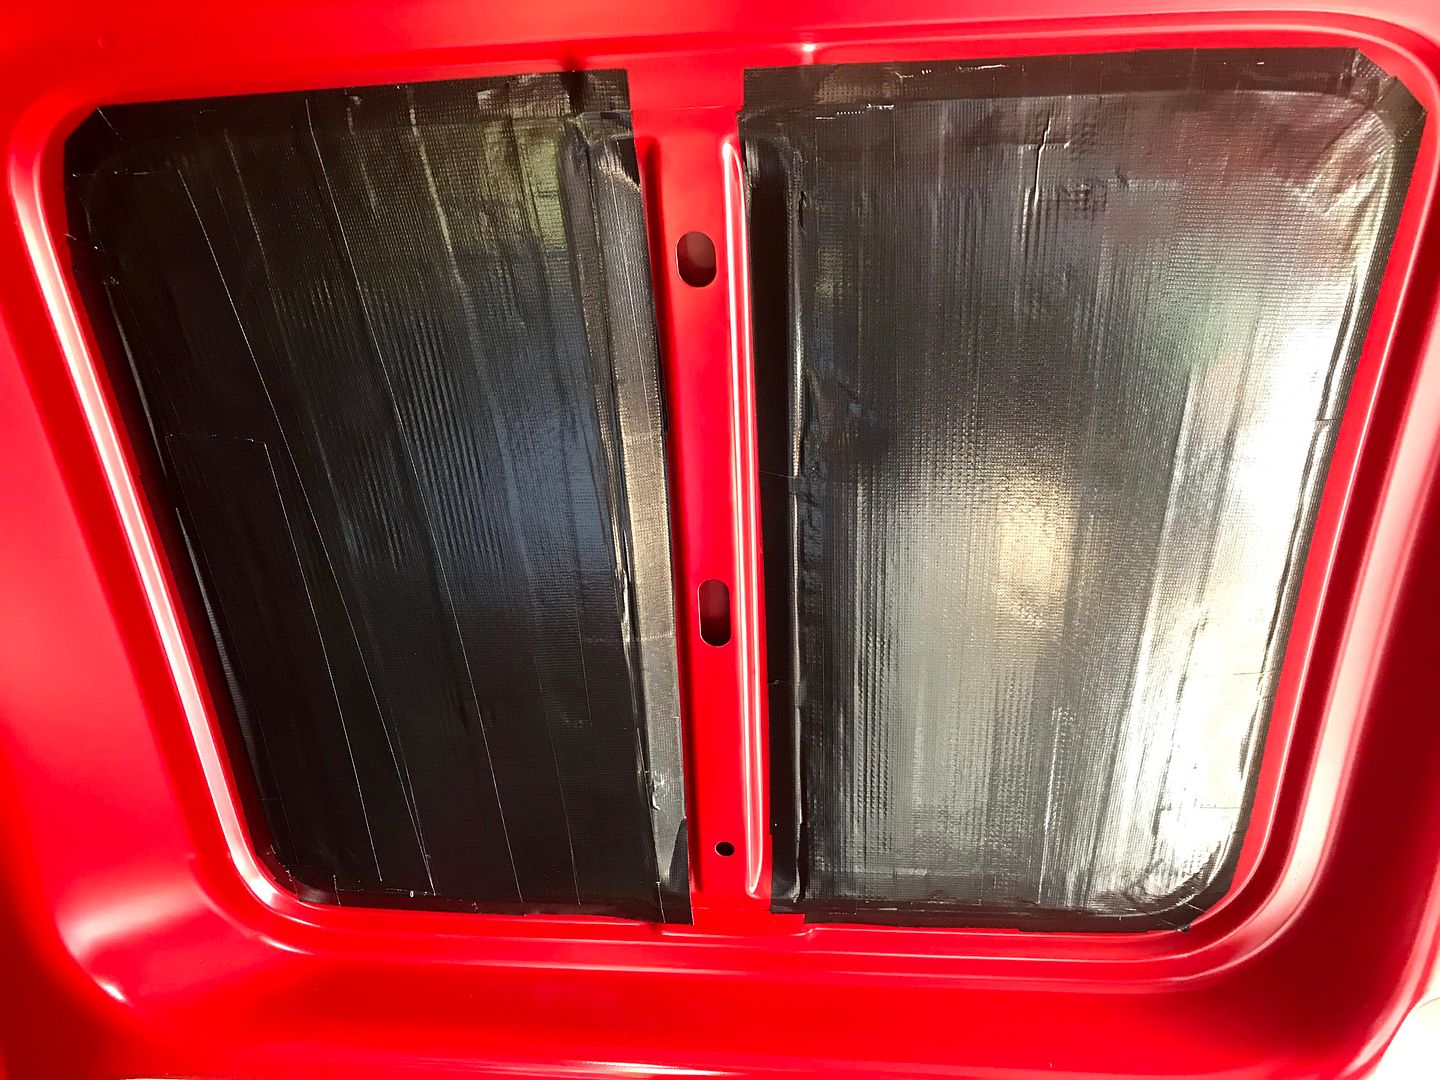
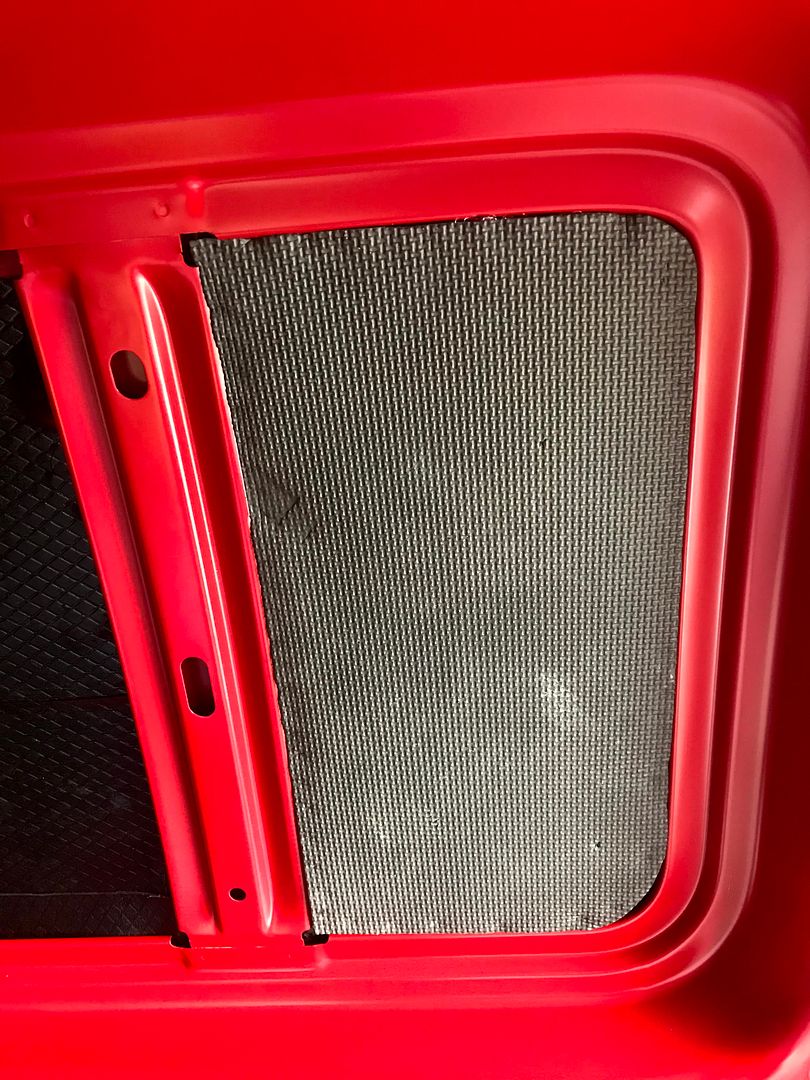
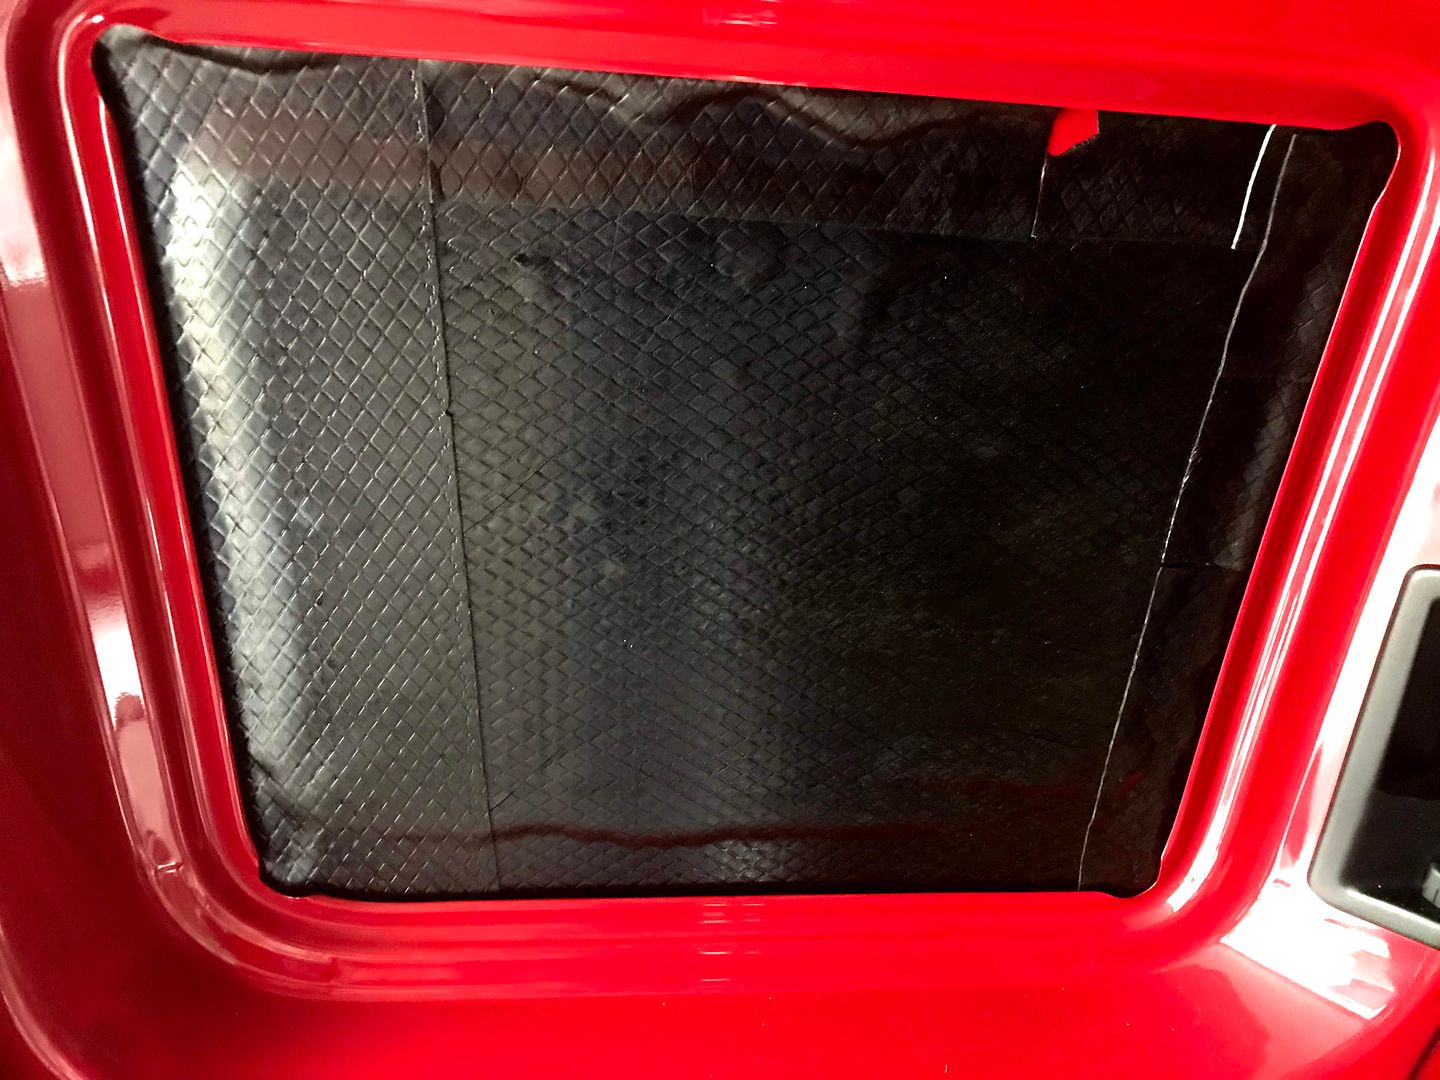
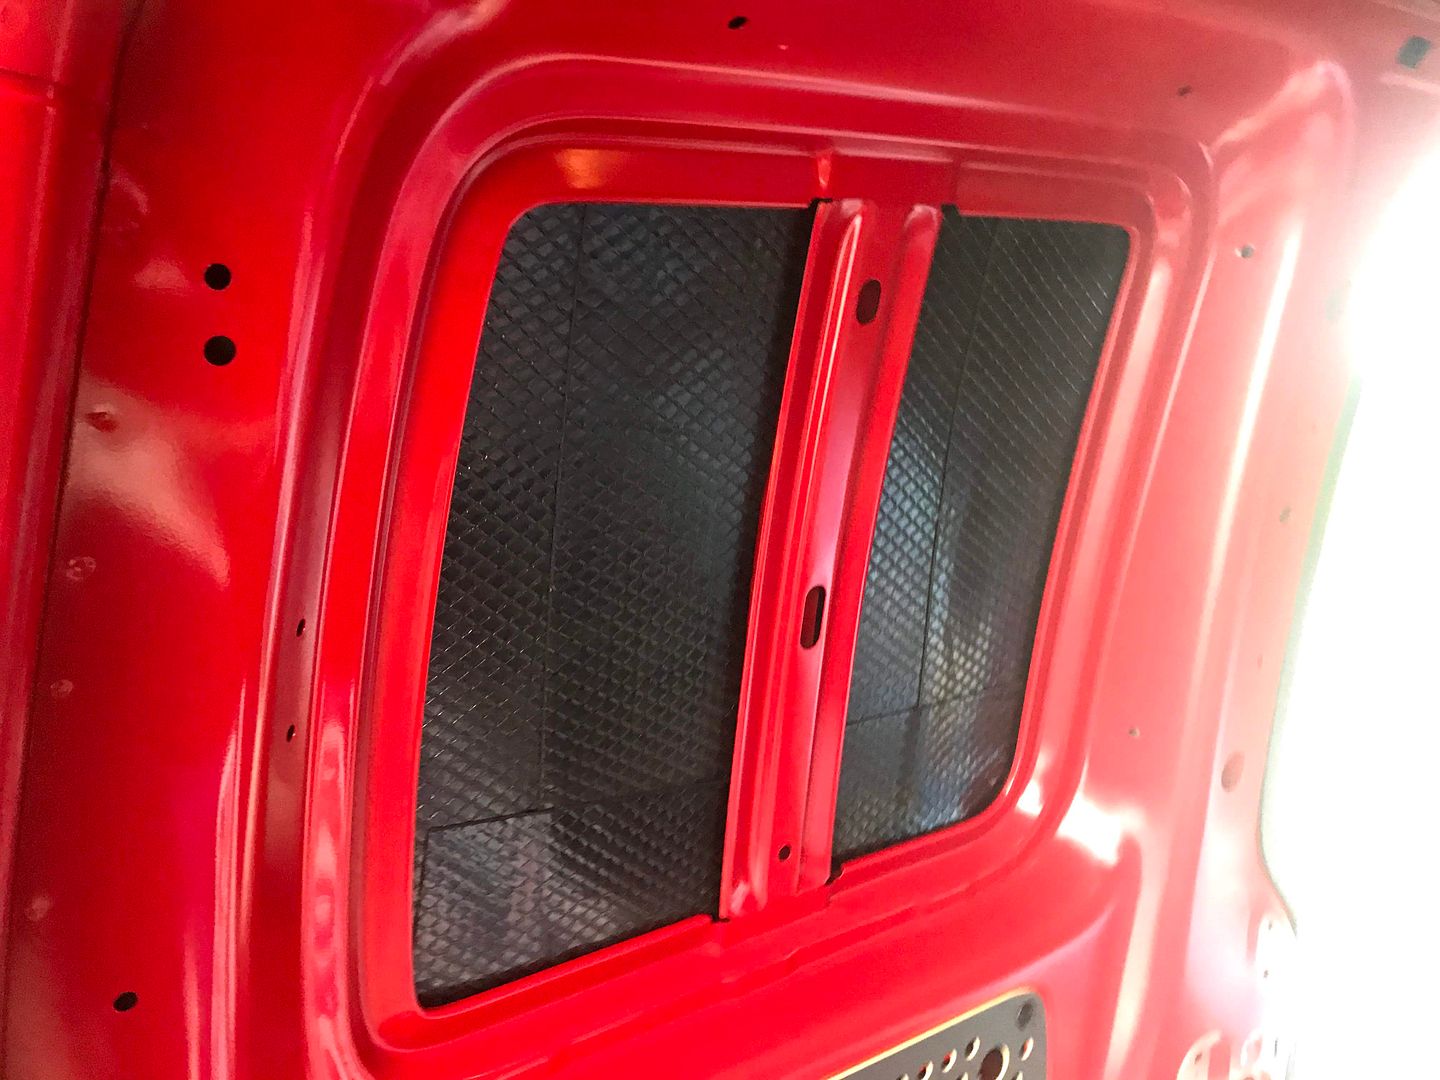
Side walls 3mm Bitumen pads, 4mm sound deading rubber cleaned off on Gaff Tape. Floor has original VW Rubber Mat, 2 layers of carpet. Wheel arches have vanstyle boxes. Bulkhead cab side have carpet trimmed wooden panels and reverse have memory foam bat mats. Cheap and hugely effective.
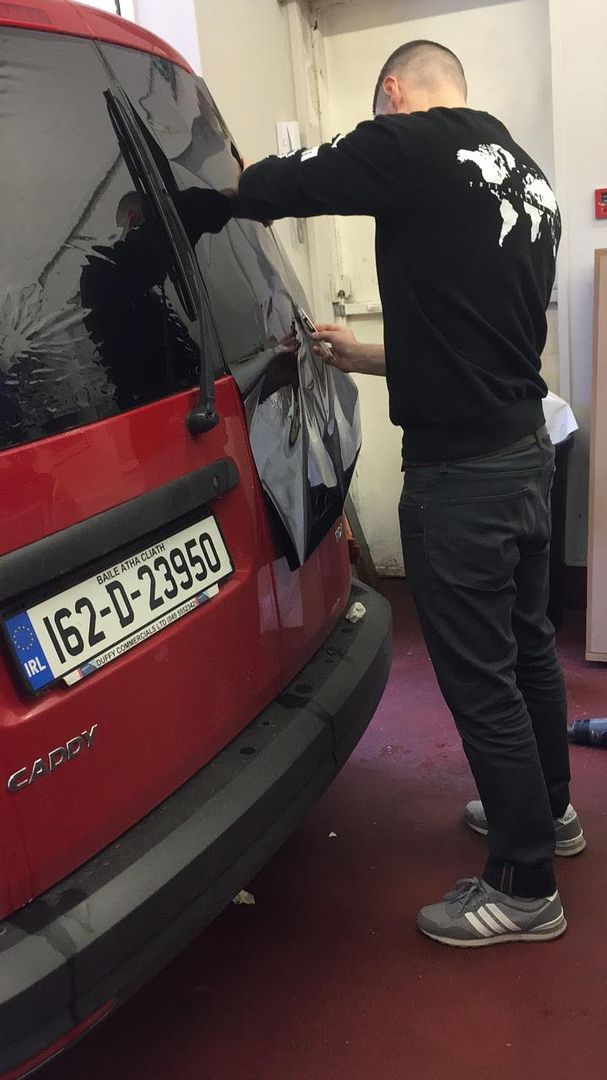
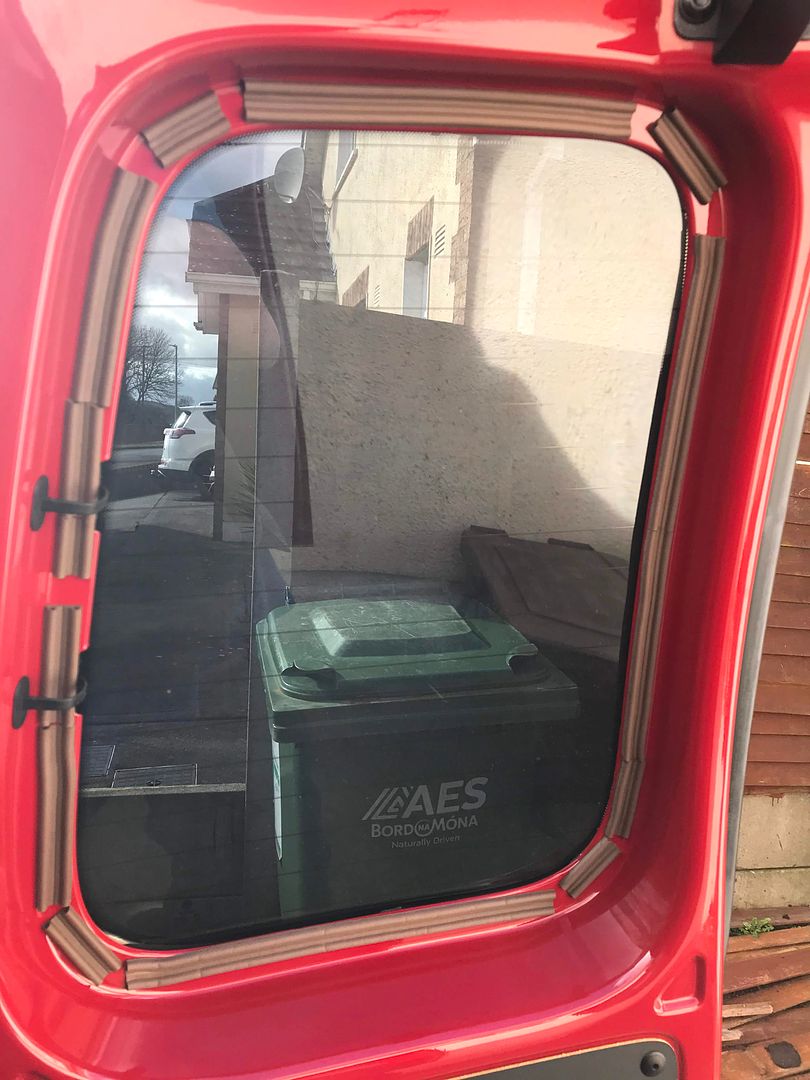
All doors sealing tight and rubbers always treated - always overlooked (no rattles)
To be honest the roof is not going to be an issue as there is going to be a monster ICE install in the future so the whole idea is air tightness and panel insulation. The cab doors will be done during the ICE install.
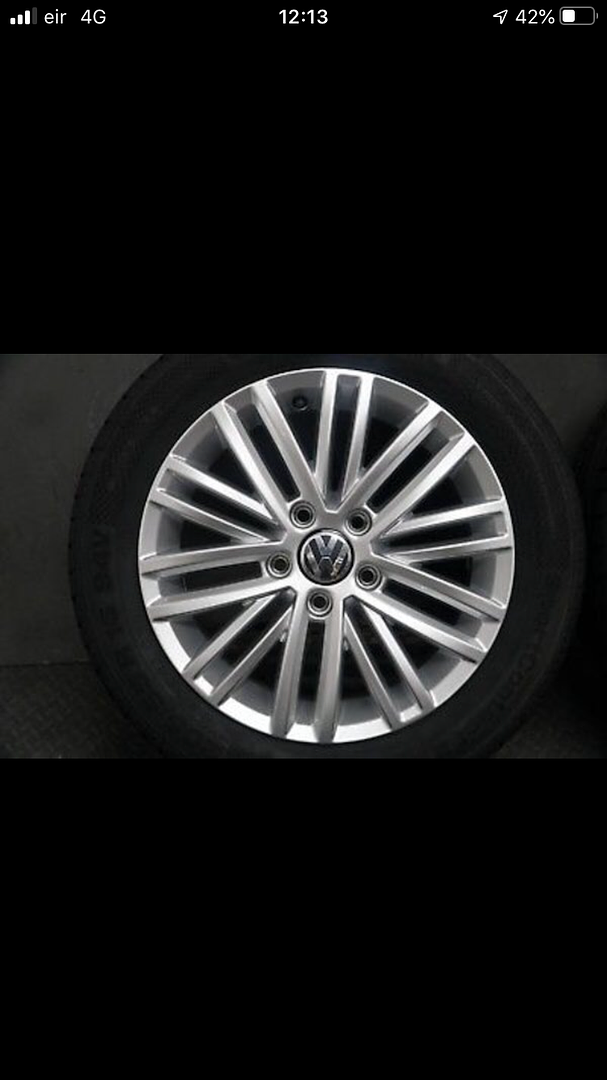
Finished off with quiet tyres.
Steo
https://hosting.photobucket.com/images/ ... 9/SP17.jpg
https://hosting.photobucket.com/images/ ... 9/SP16.jpg
https://hosting.photobucket.com/images/ ... 9/SP15.jpg
https://hosting.photobucket.com/images/ ... 9/SP14.jpg
https://hosting.photobucket.com/images/ ... 9/SP13.jpg
https://hosting.photobucket.com/images/ ... 9/SP12.jpg
https://hosting.photobucket.com/images/ ... 9/SP11.jpg
https://hosting.photobucket.com/images/ ... 9/SP10.jpg
https://hosting.photobucket.com/images/ ... 69/SP9.jpg
https://hosting.photobucket.com/images/ ... 69/SP8.jpg
https://hosting.photobucket.com/images/ ... 69/SP7.jpg
https://hosting.photobucket.com/images/ ... 69/SP6.jpg
https://hosting.photobucket.com/images/ ... 69/SP4.jpg
https://hosting.photobucket.com/images/ ... 69/SP3.jpg
https://hosting.photobucket.com/images/ ... 69/SP2.jpg
https://hosting.photobucket.com/images/ ... 69/SP1.jpg
First - quietening things down a bit
I just thought I would share with you the stages I went through to get my van to where is at now. I bought it when it was a year old with only 35 miles on it pre registered. I got it for a great price and I love it. Its a 1.6tdi 102 and I have owned all engines. I have done the whole lot with cars and bikes and decided I wanted a fully functional van - that in my opinion was built for me. Its taken me 3 years to decide and get to where I am. I am far from finished but I will keep you posted.
Ground clearance is critical and practicality important.
I have never used the rear cargo area.
First up was making it a bit quieter. I am 51 and have well over a million miles under my belt so I knew what I wanted but making things affordable and in everyone's reach was the plan. Might not be to everyone's taste but that's what makes us all different.
Side walls 3mm Bitumen pads, 4mm sound deading rubber cleaned off on Gaff Tape. Floor has original VW Rubber Mat, 2 layers of carpet. Wheel arches have vanstyle boxes. Bulkhead cab side have carpet trimmed wooden panels and reverse have memory foam bat mats. Cheap and hugely effective.
All doors sealing tight and rubbers always treated - always overlooked (no rattles)
To be honest the roof is not going to be an issue as there is going to be a monster ICE install in the future so the whole idea is air tightness and panel insulation. The cab doors will be done during the ICE install.
Finished off with quiet tyres.
Steo
https://hosting.photobucket.com/images/ ... 9/SP17.jpg
https://hosting.photobucket.com/images/ ... 9/SP16.jpg
https://hosting.photobucket.com/images/ ... 9/SP15.jpg
https://hosting.photobucket.com/images/ ... 9/SP14.jpg
https://hosting.photobucket.com/images/ ... 9/SP13.jpg
https://hosting.photobucket.com/images/ ... 9/SP12.jpg
https://hosting.photobucket.com/images/ ... 9/SP11.jpg
https://hosting.photobucket.com/images/ ... 9/SP10.jpg
https://hosting.photobucket.com/images/ ... 69/SP9.jpg
https://hosting.photobucket.com/images/ ... 69/SP8.jpg
https://hosting.photobucket.com/images/ ... 69/SP7.jpg
https://hosting.photobucket.com/images/ ... 69/SP6.jpg
https://hosting.photobucket.com/images/ ... 69/SP4.jpg
https://hosting.photobucket.com/images/ ... 69/SP3.jpg
https://hosting.photobucket.com/images/ ... 69/SP2.jpg
https://hosting.photobucket.com/images/ ... 69/SP1.jpg


