Re: Ex-BG Caddy Maxi Camper Build
Posted: Mon Mar 29, 2021 6:44 pm
@charlie-
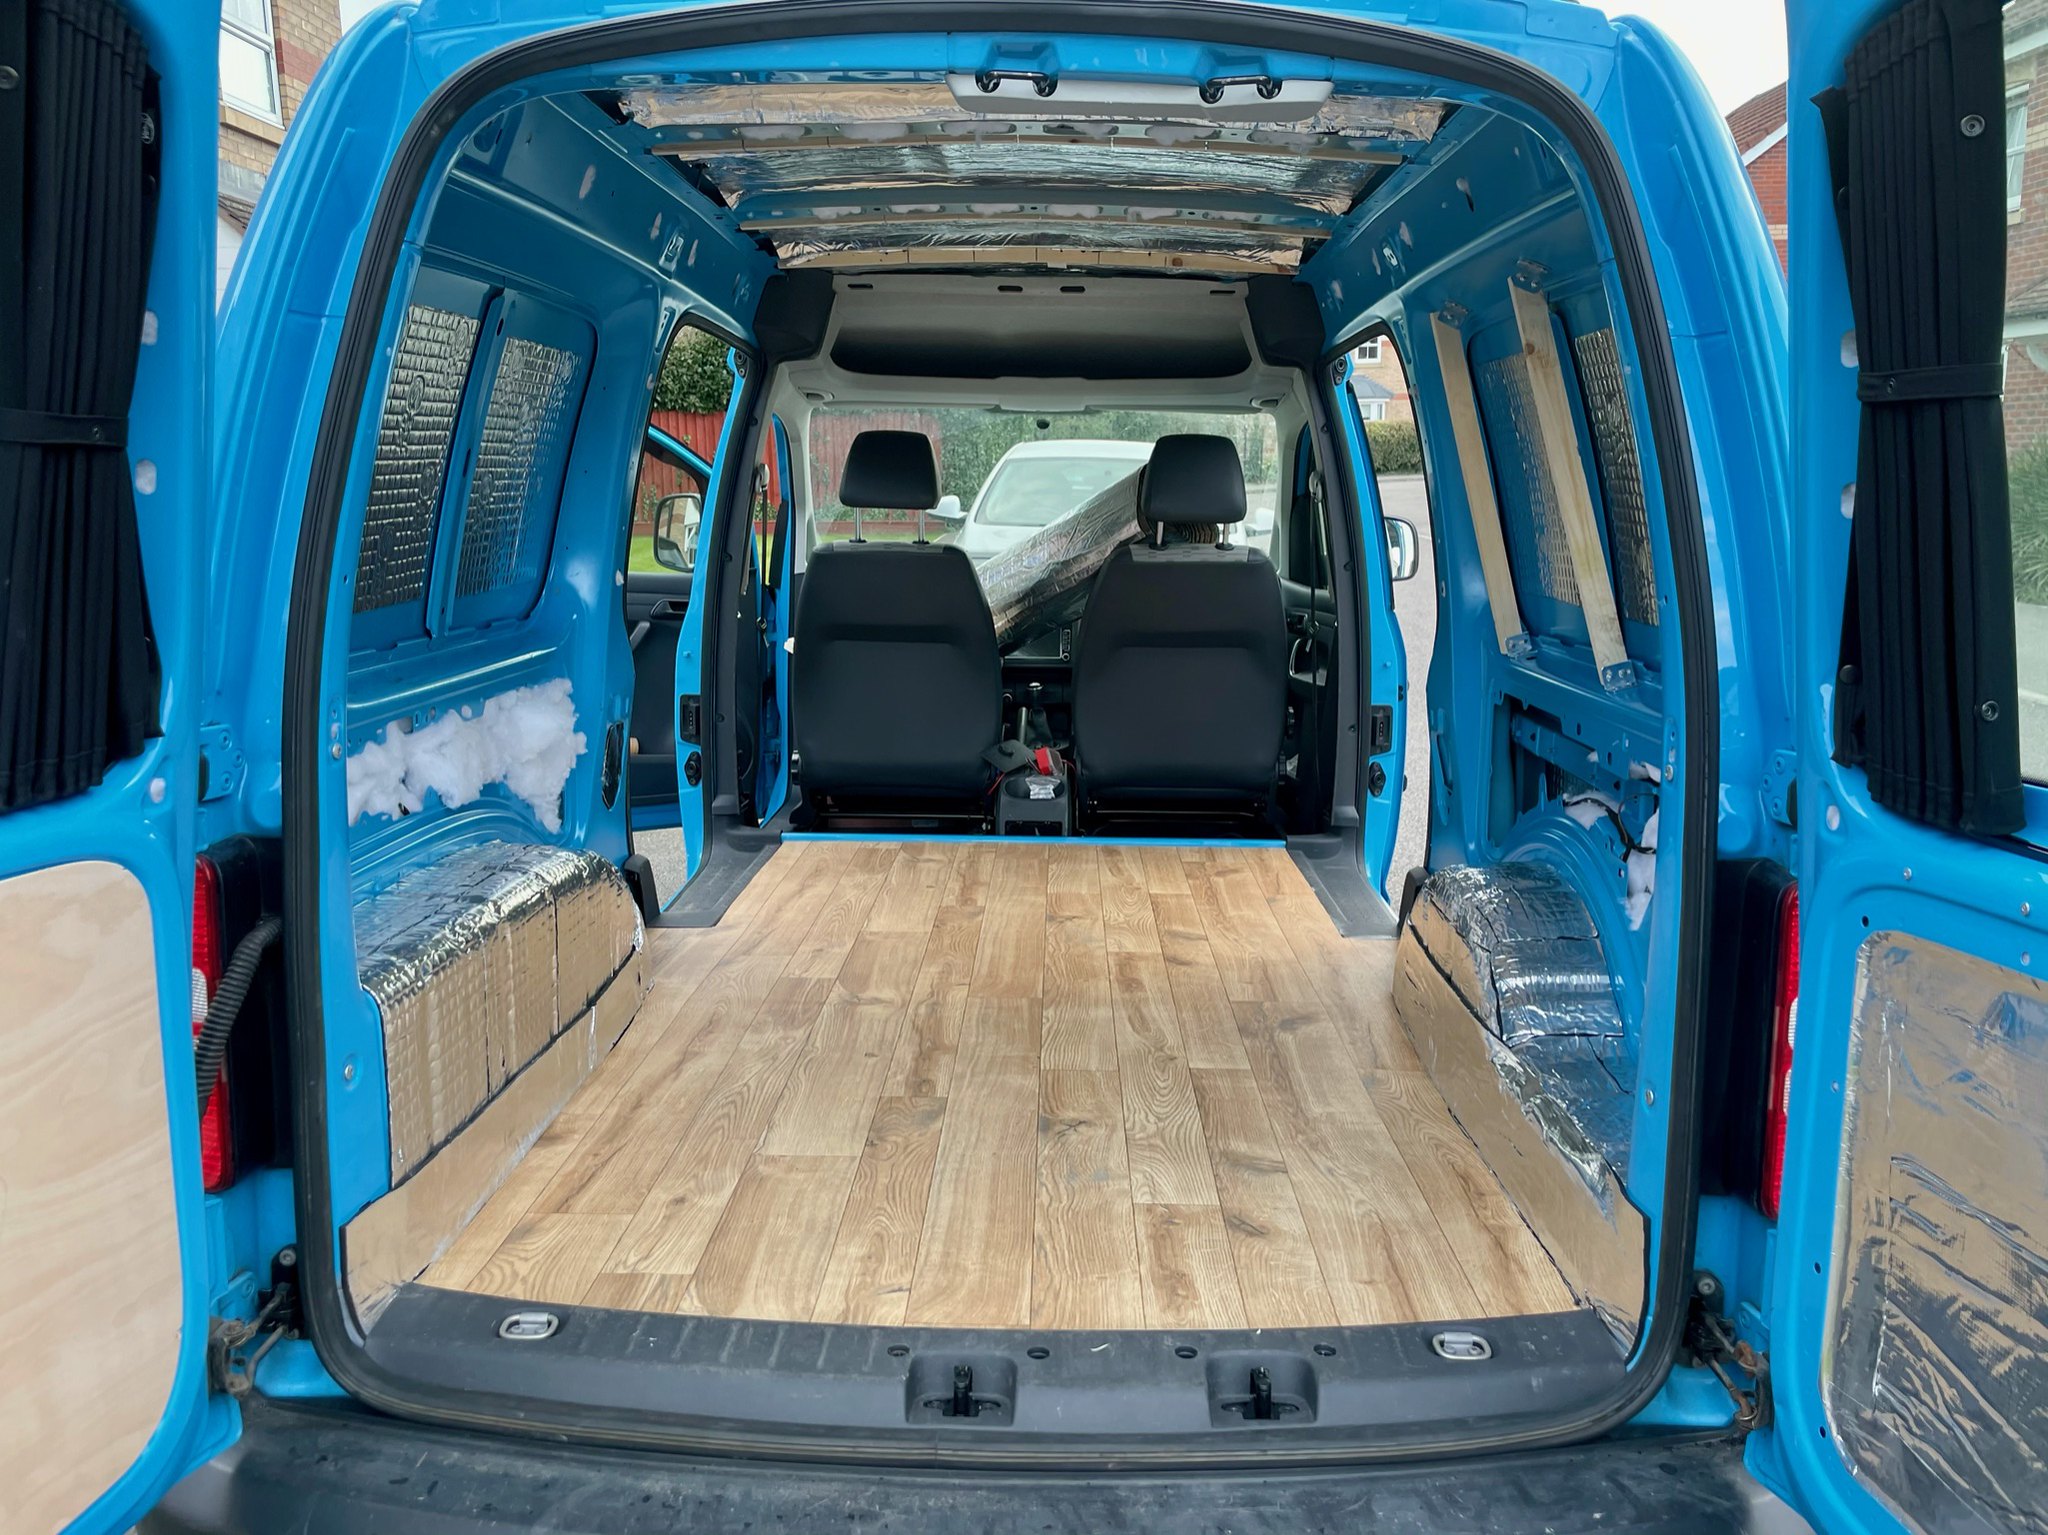
Are you taking bookings on Caddy clean ups? Asking for a friend.... Cracker work, super turn around on the bits so far
Are you taking bookings on Caddy clean ups? Asking for a friend.... Cracker work, super turn around on the bits so far


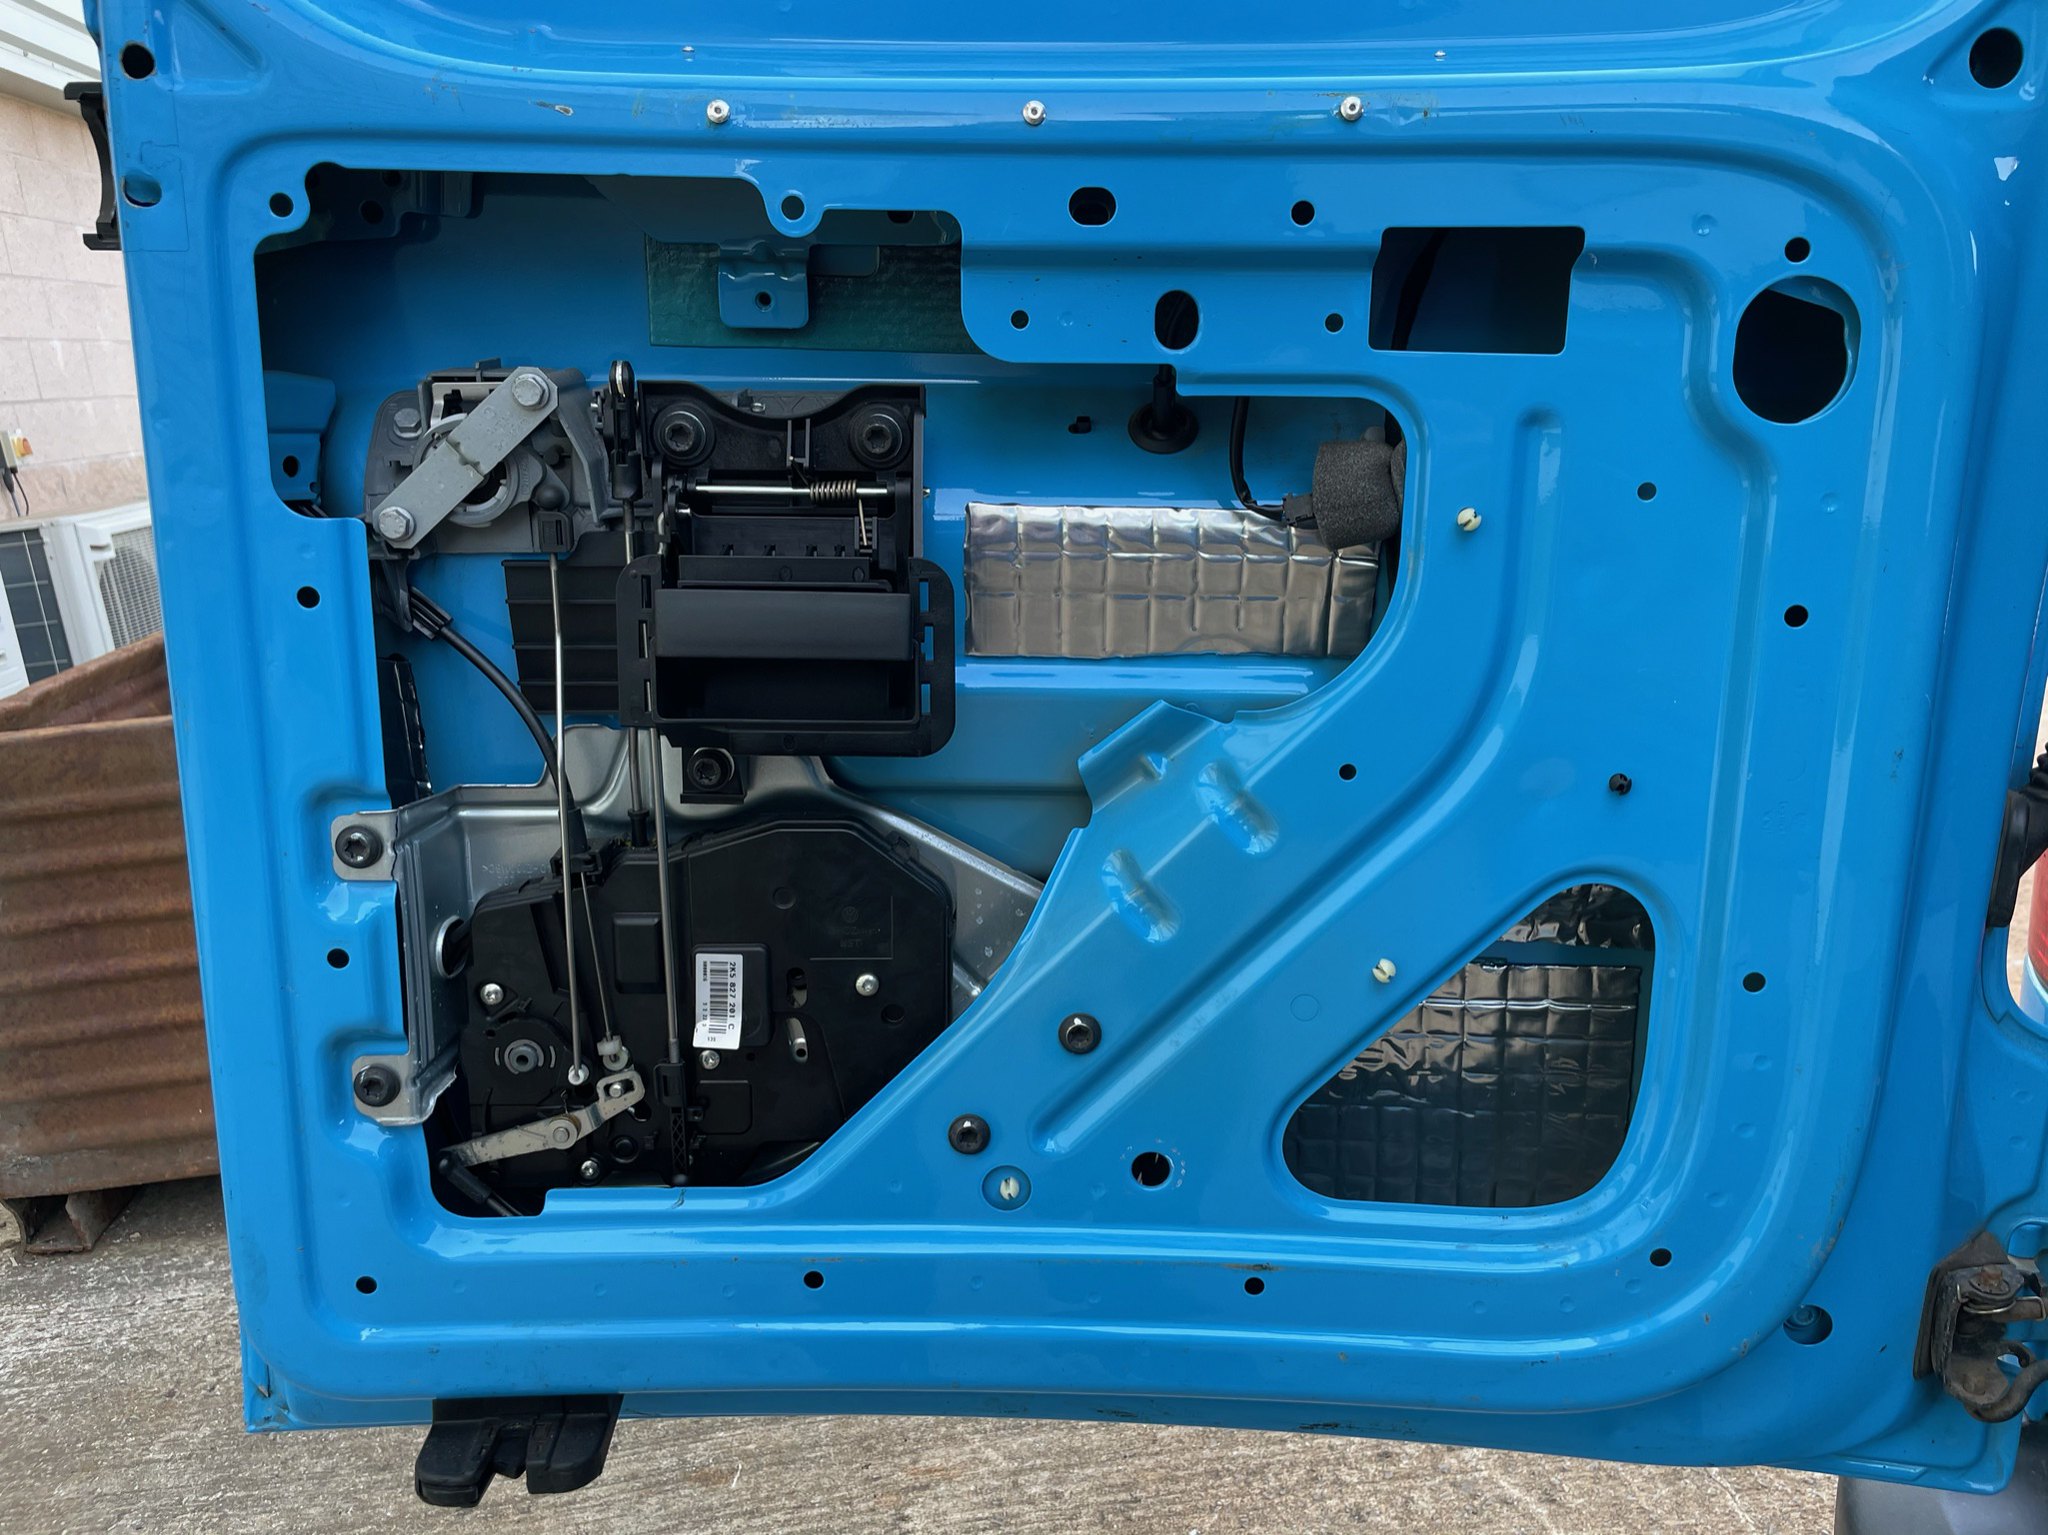
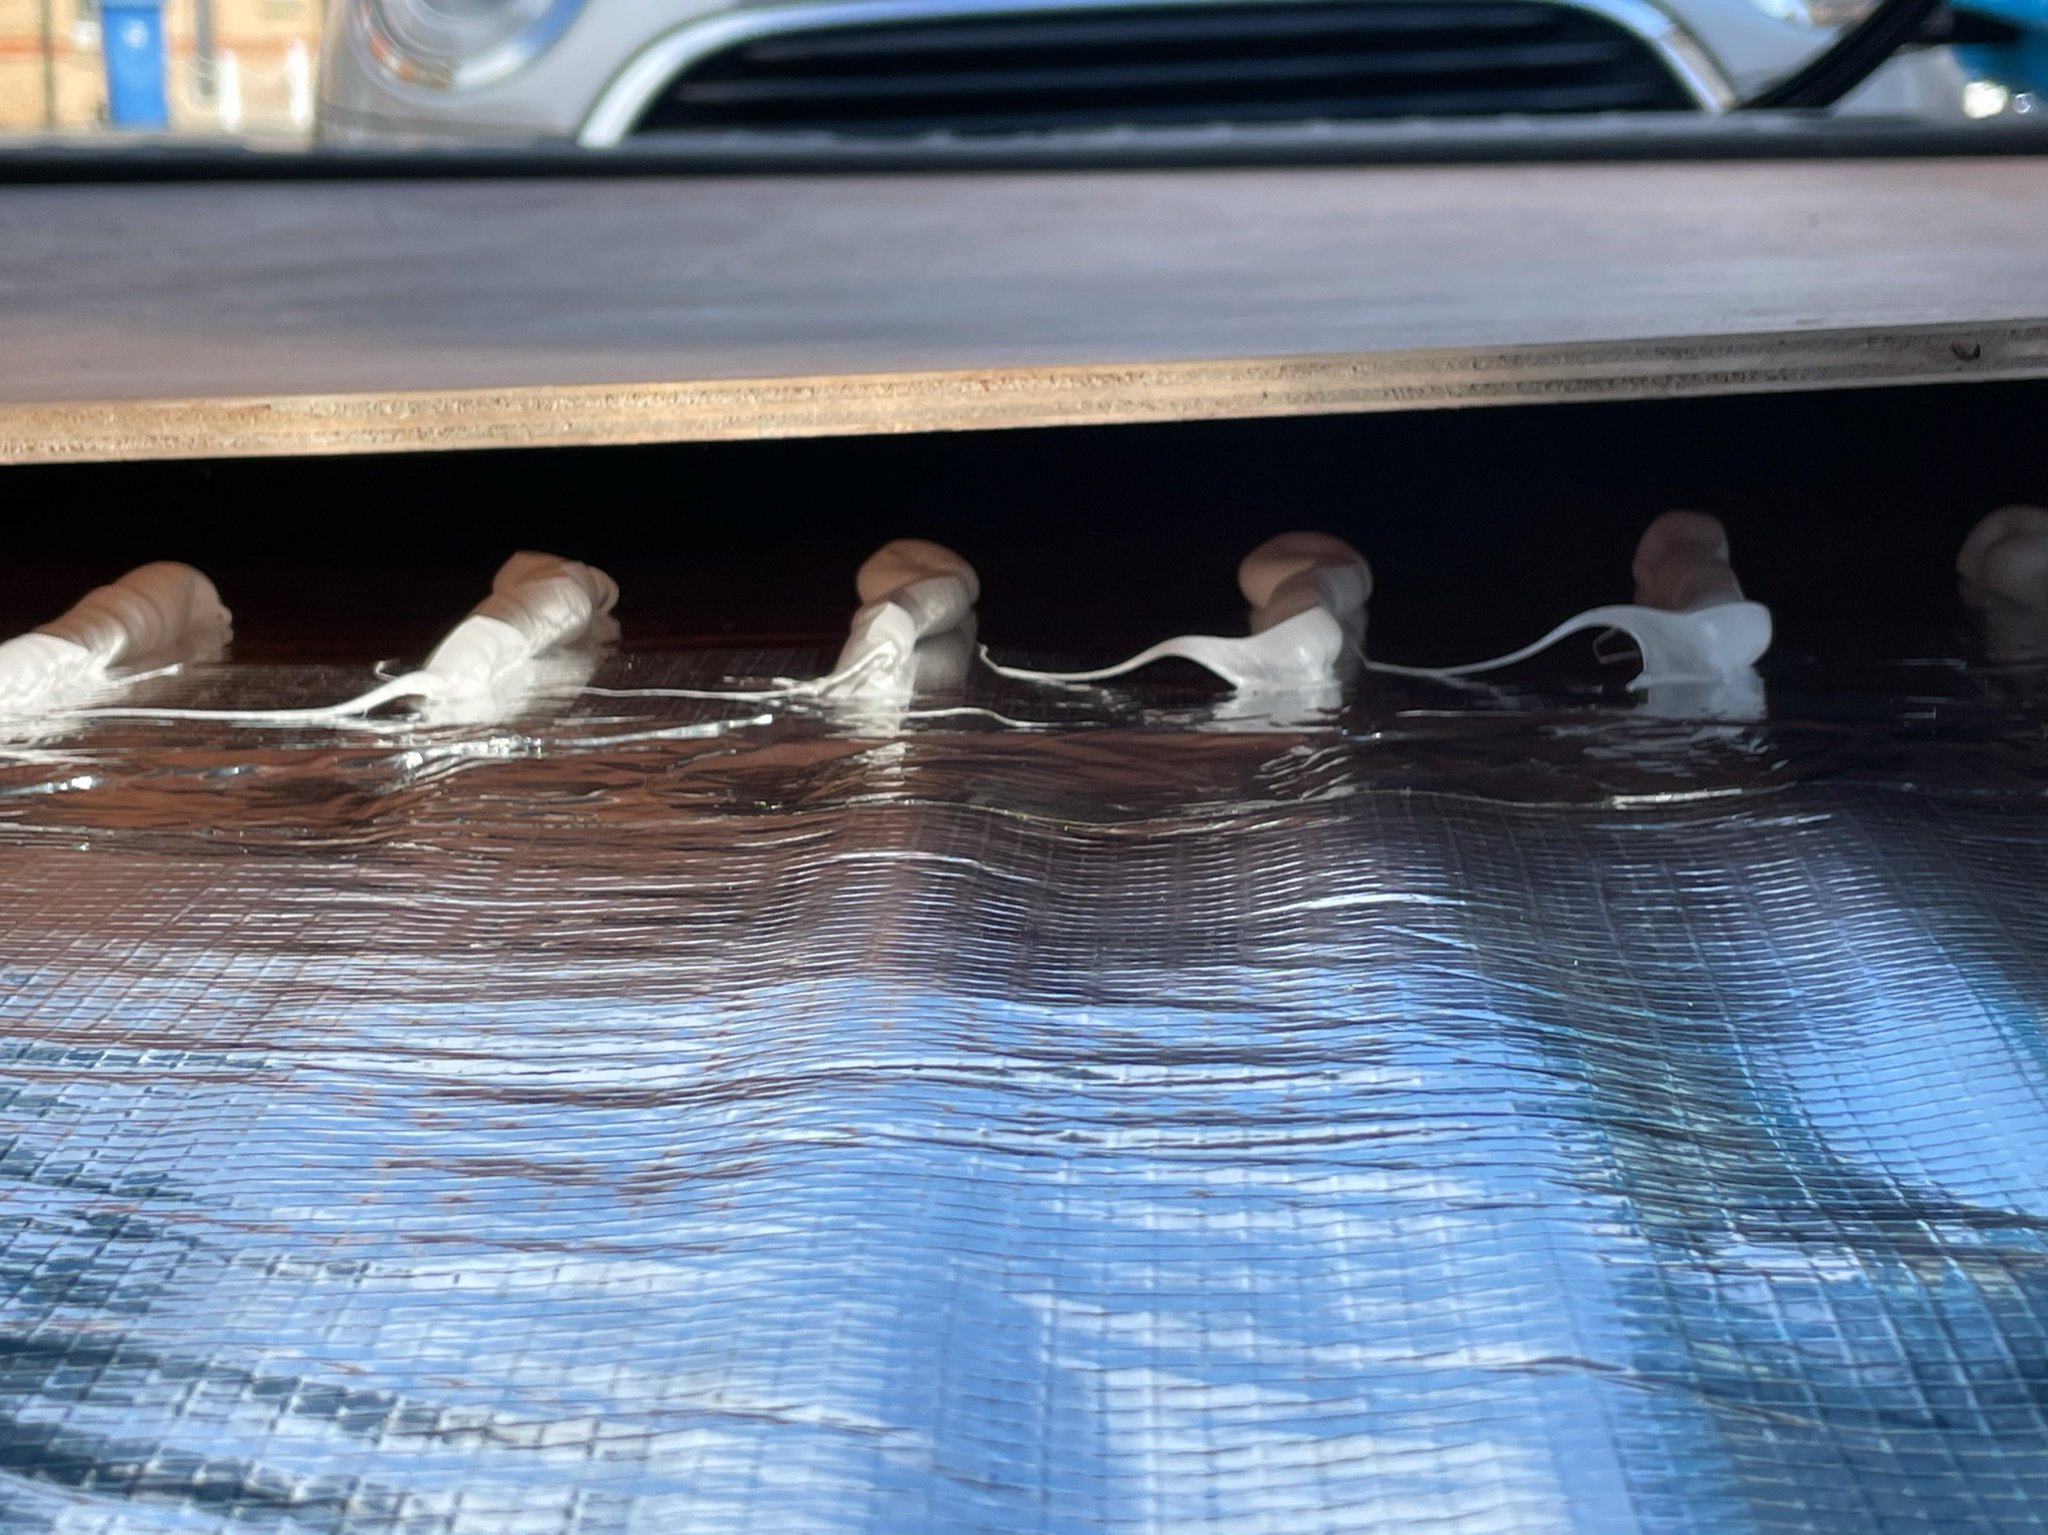
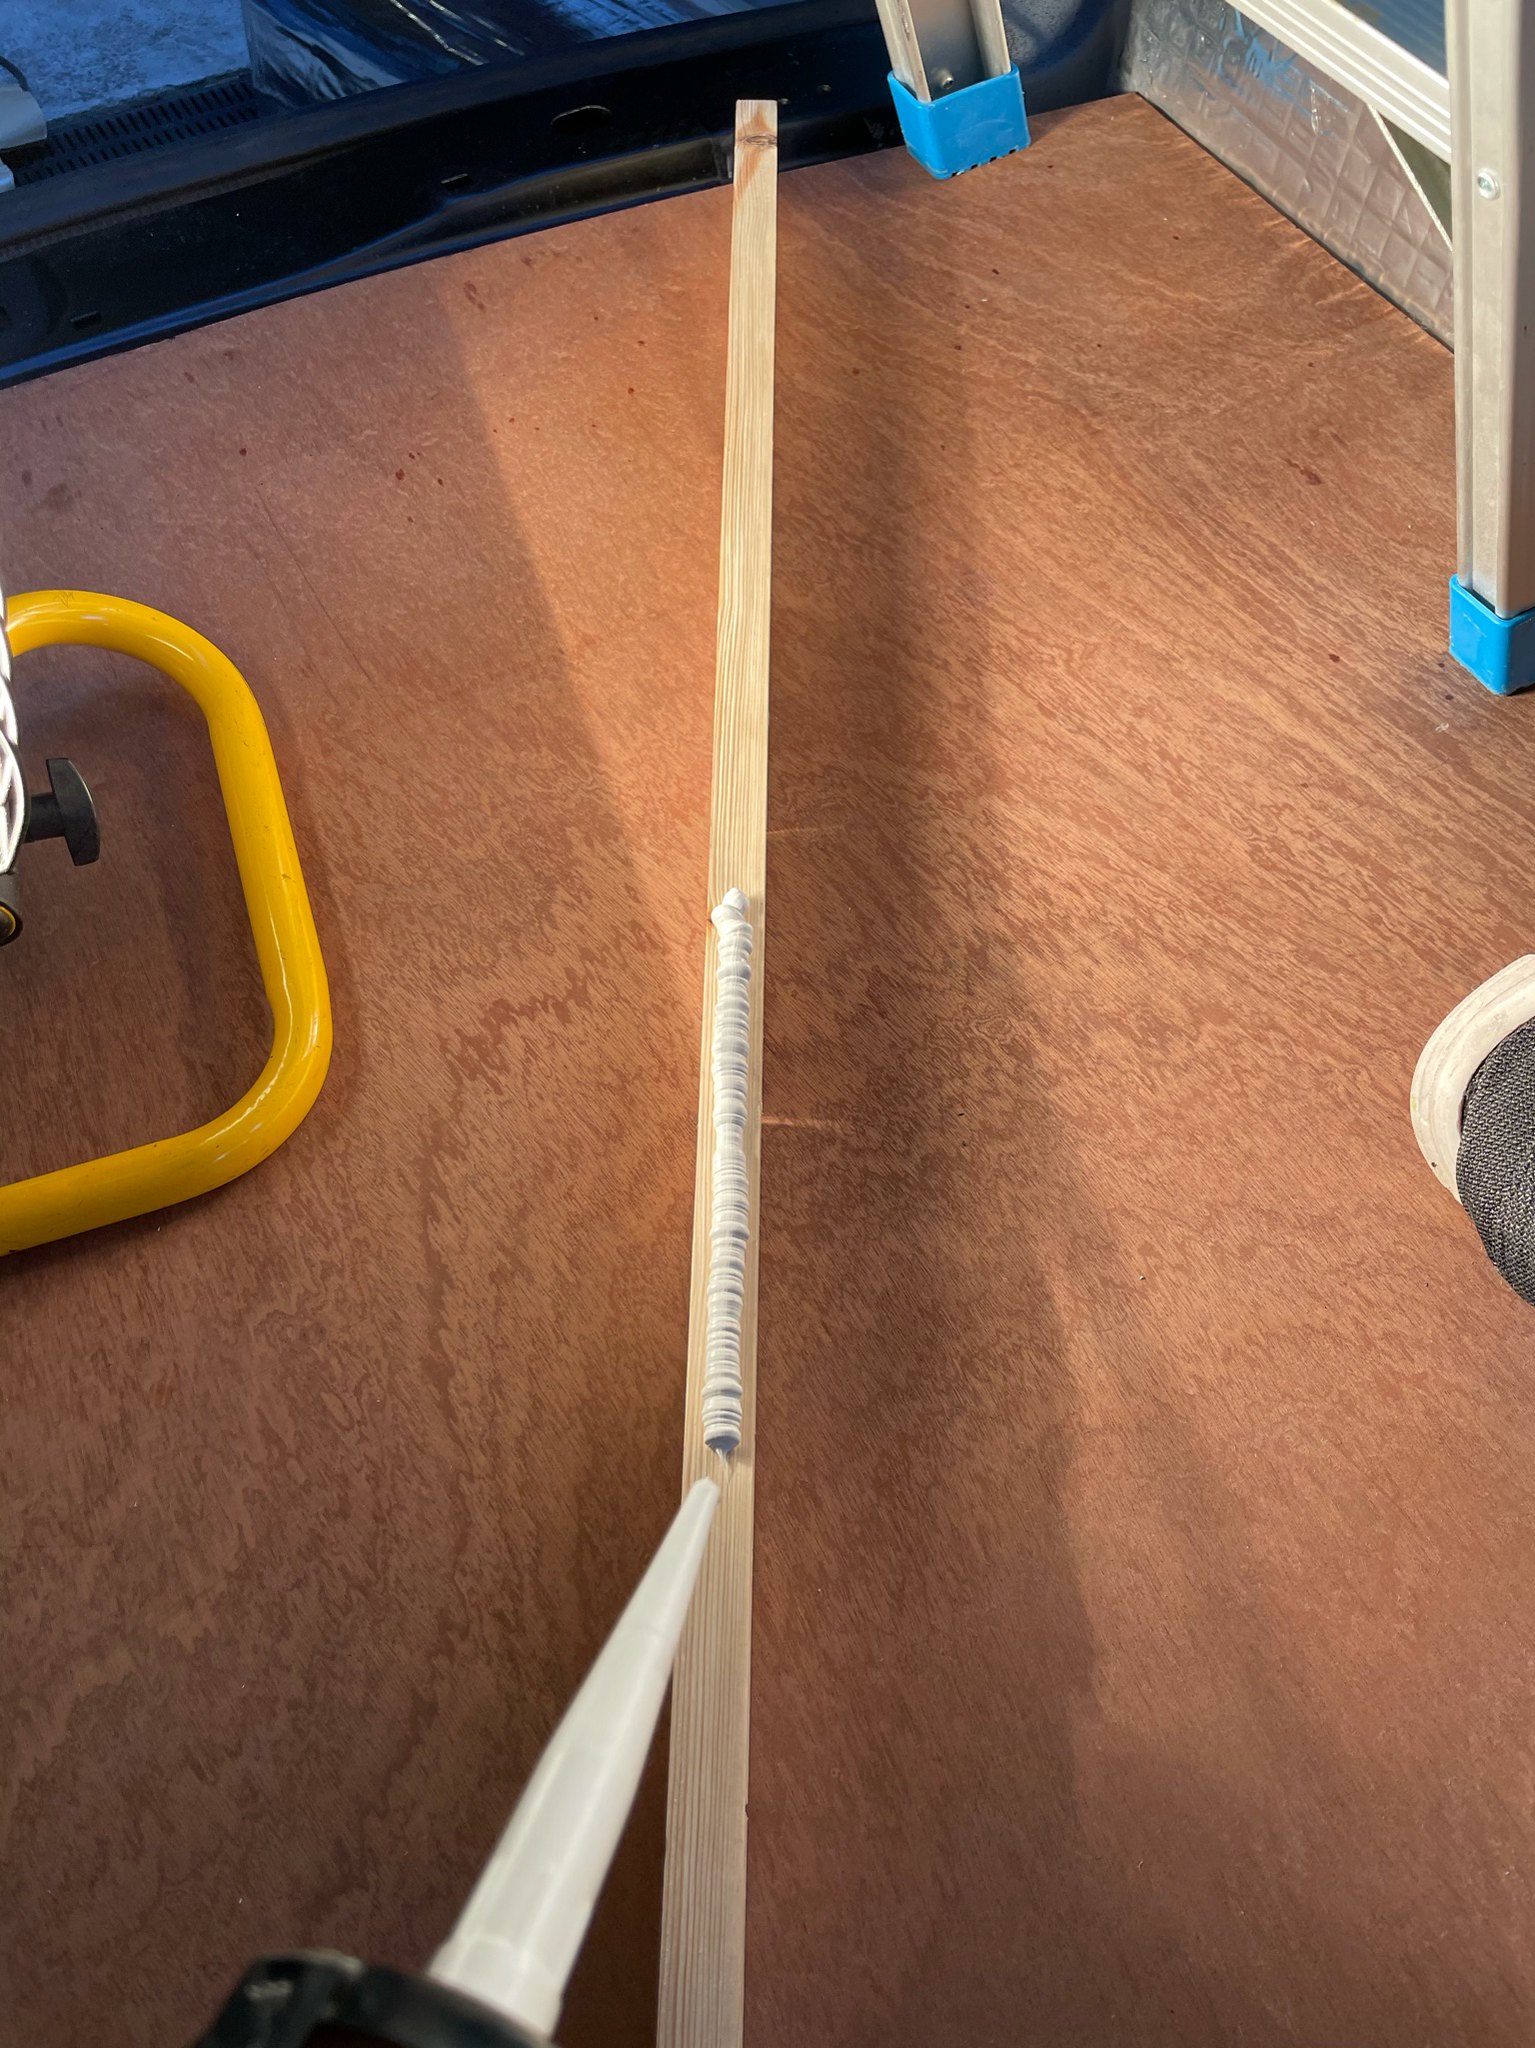
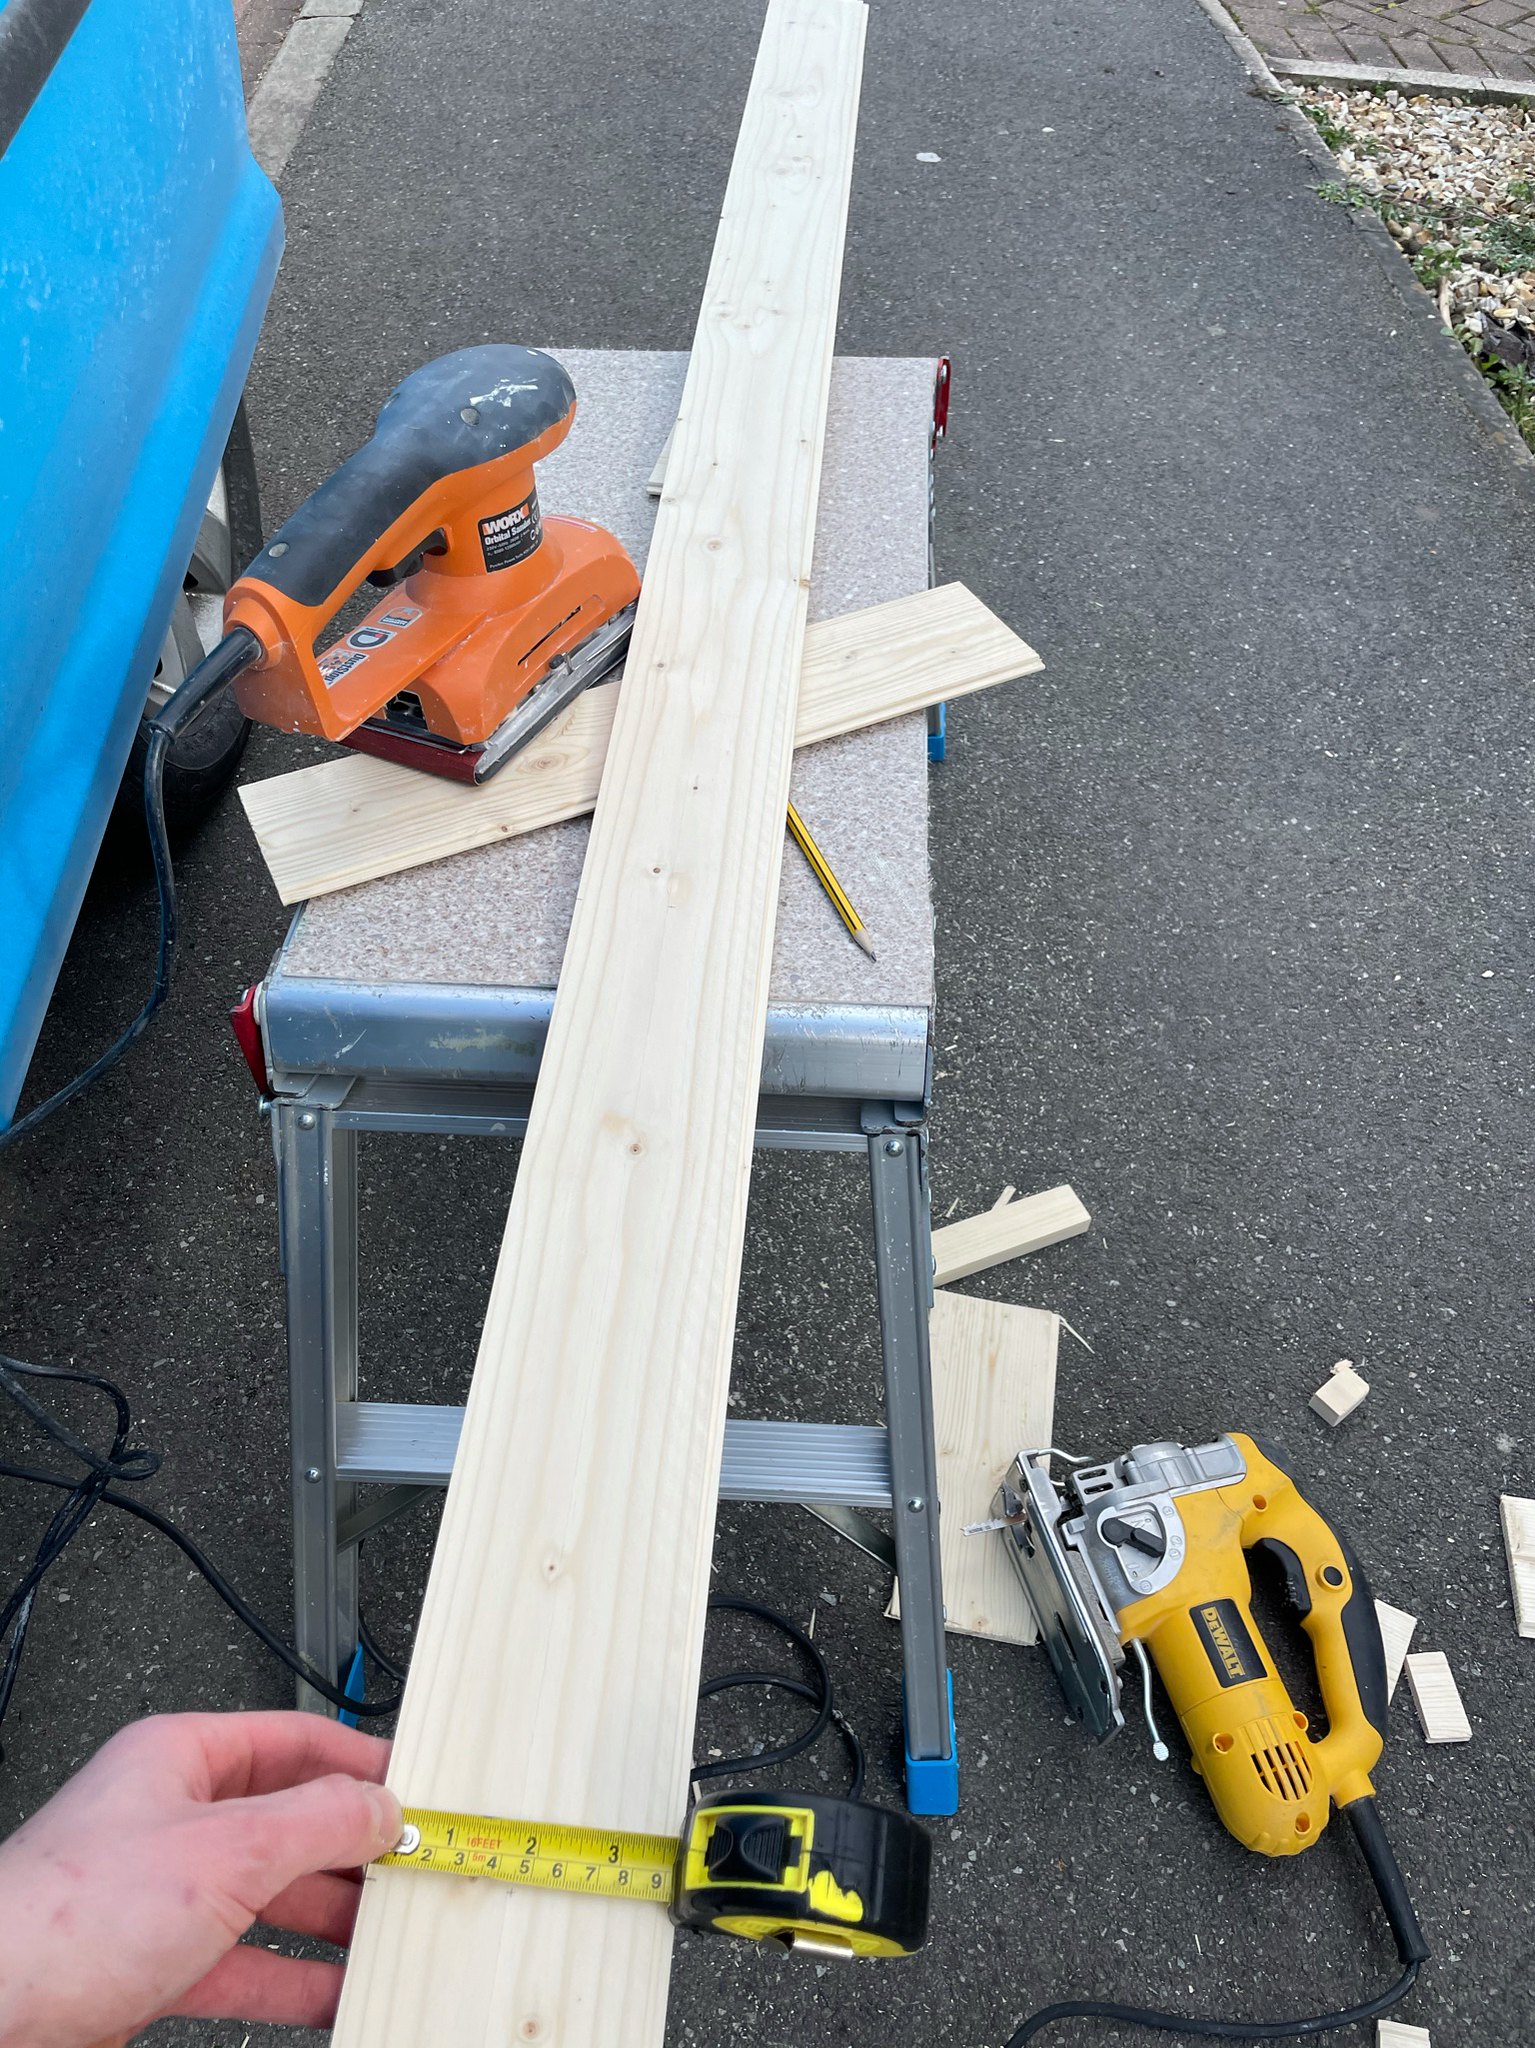
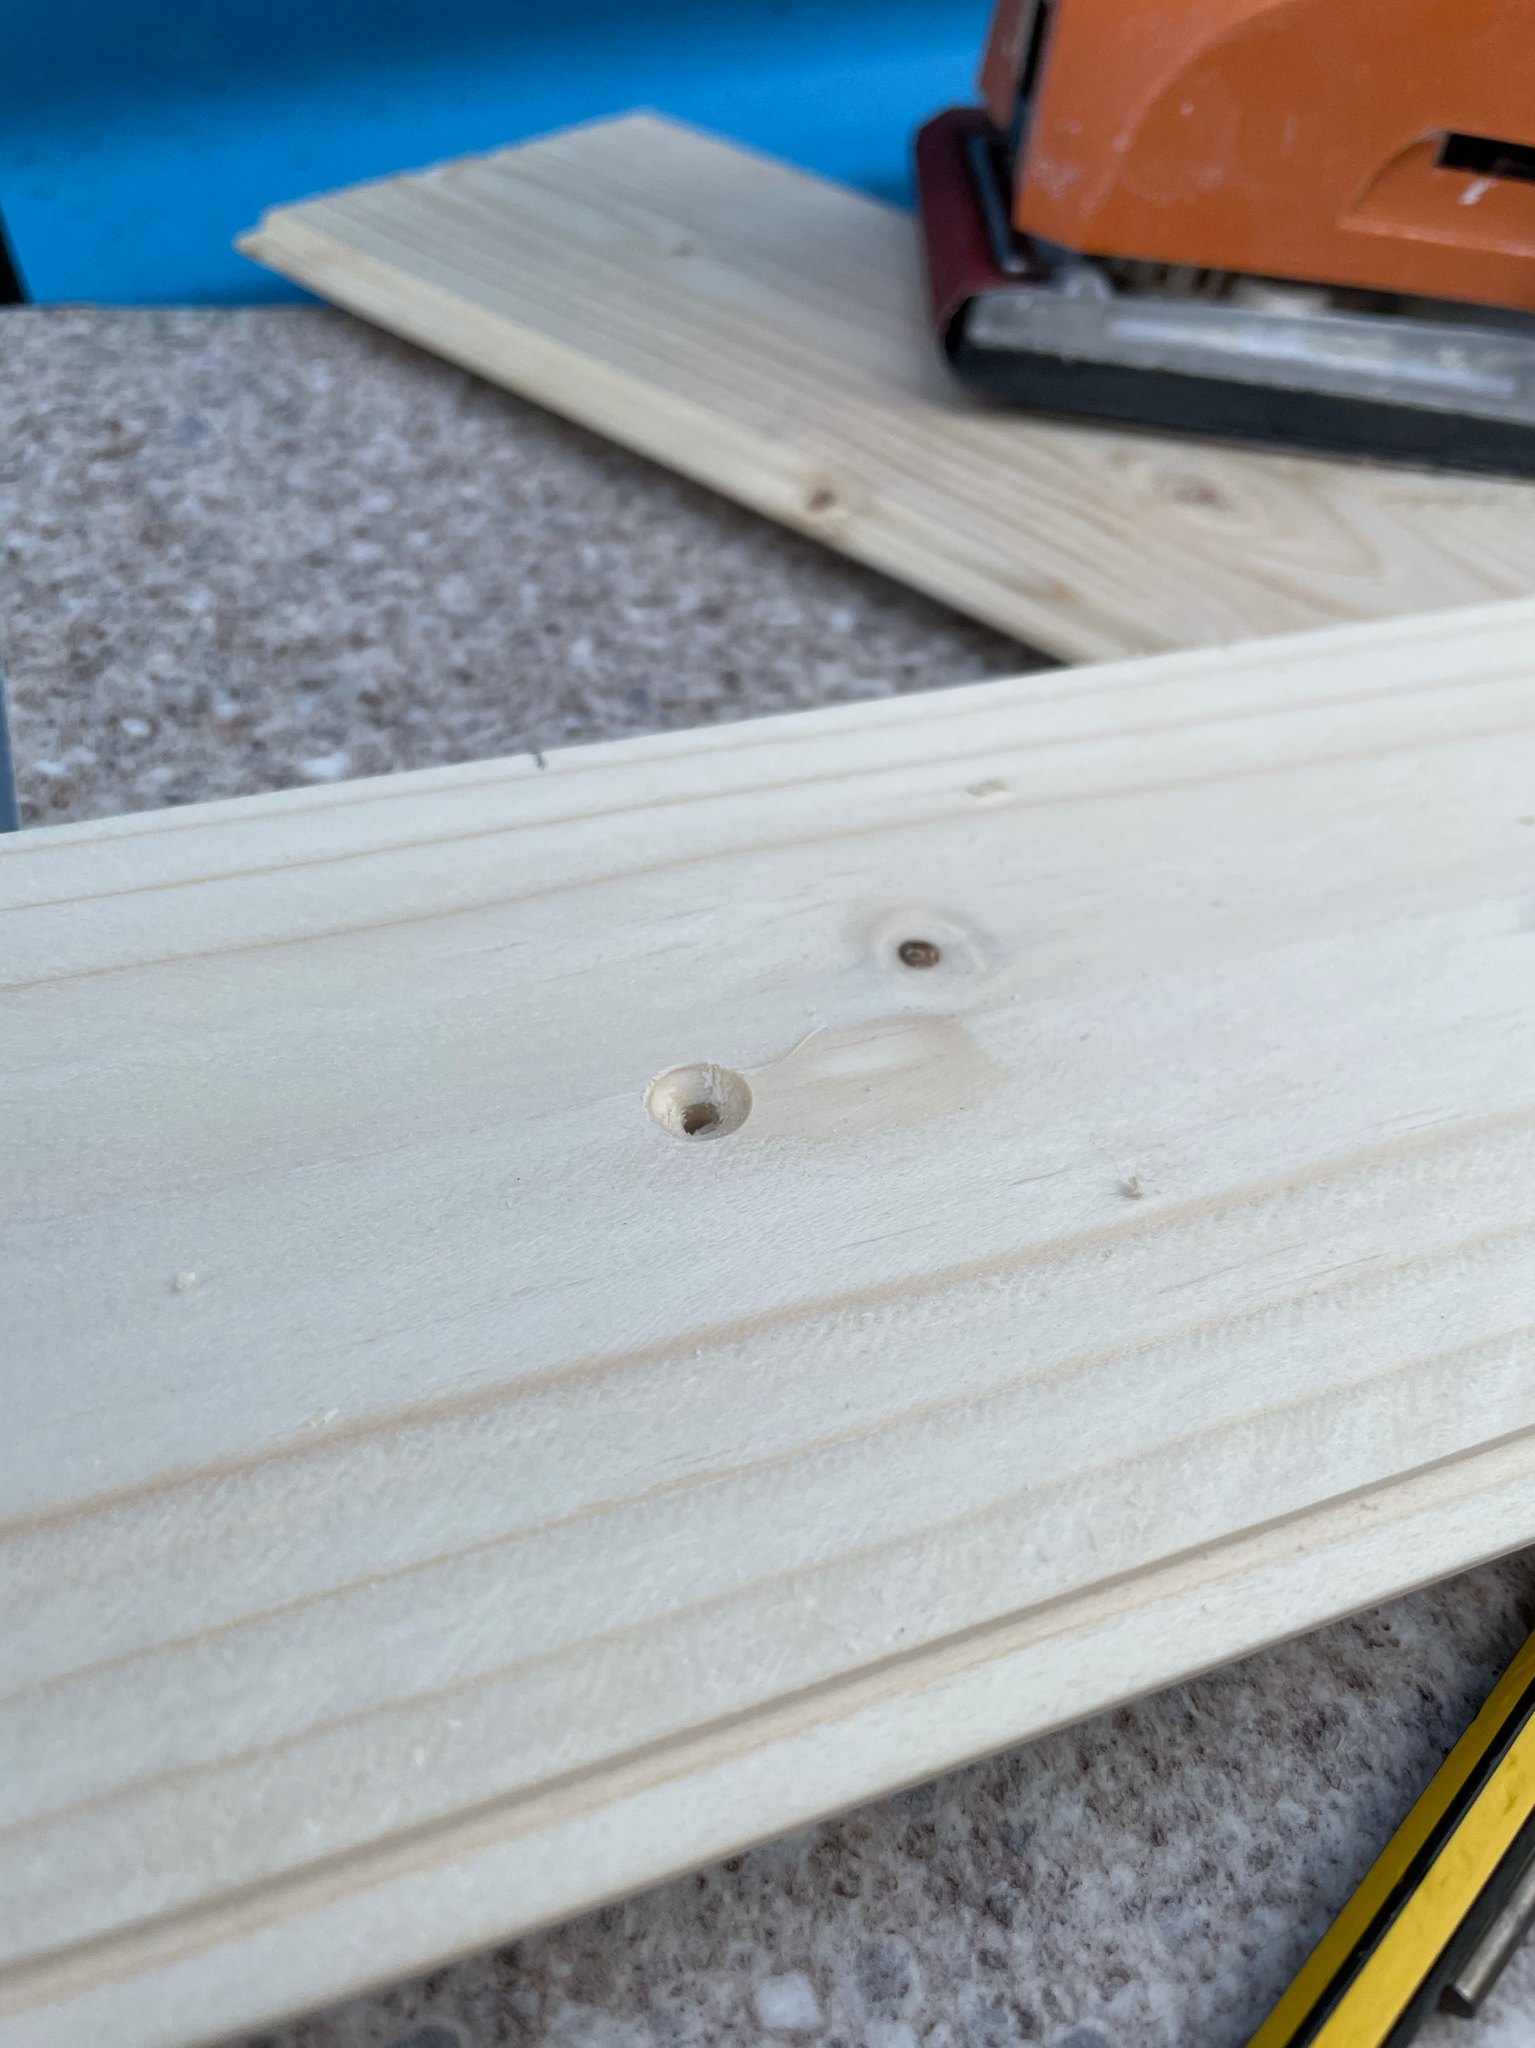
 I couldn’t face doing it again now, took forever! Definitely glad I did it though, made a massive difference.

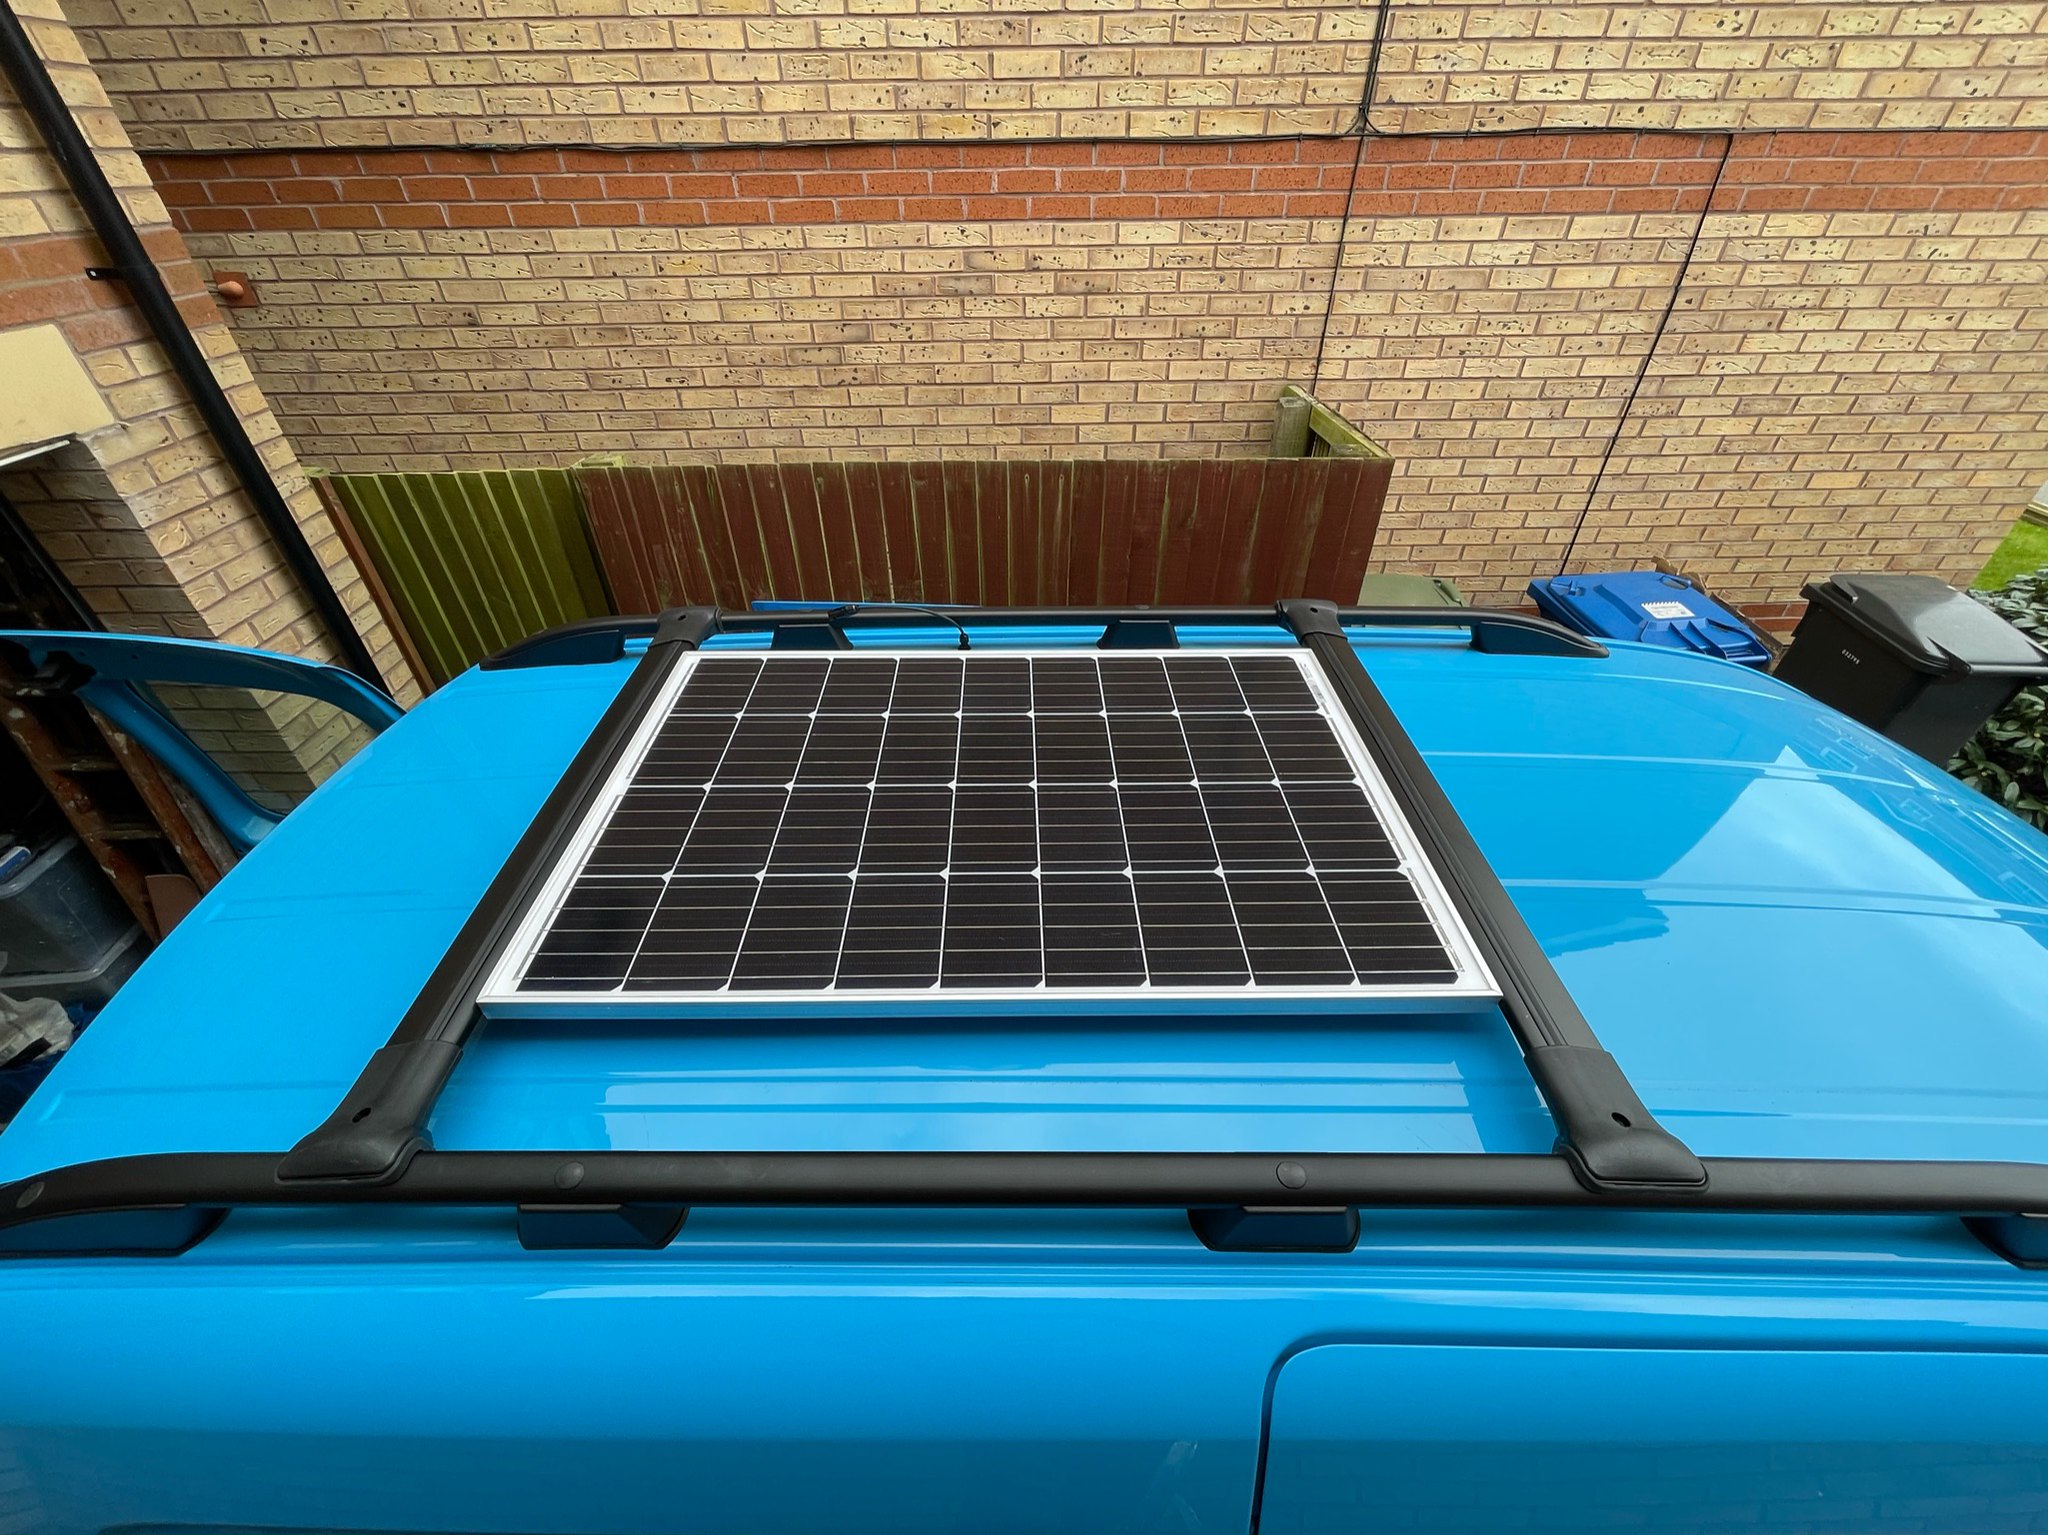
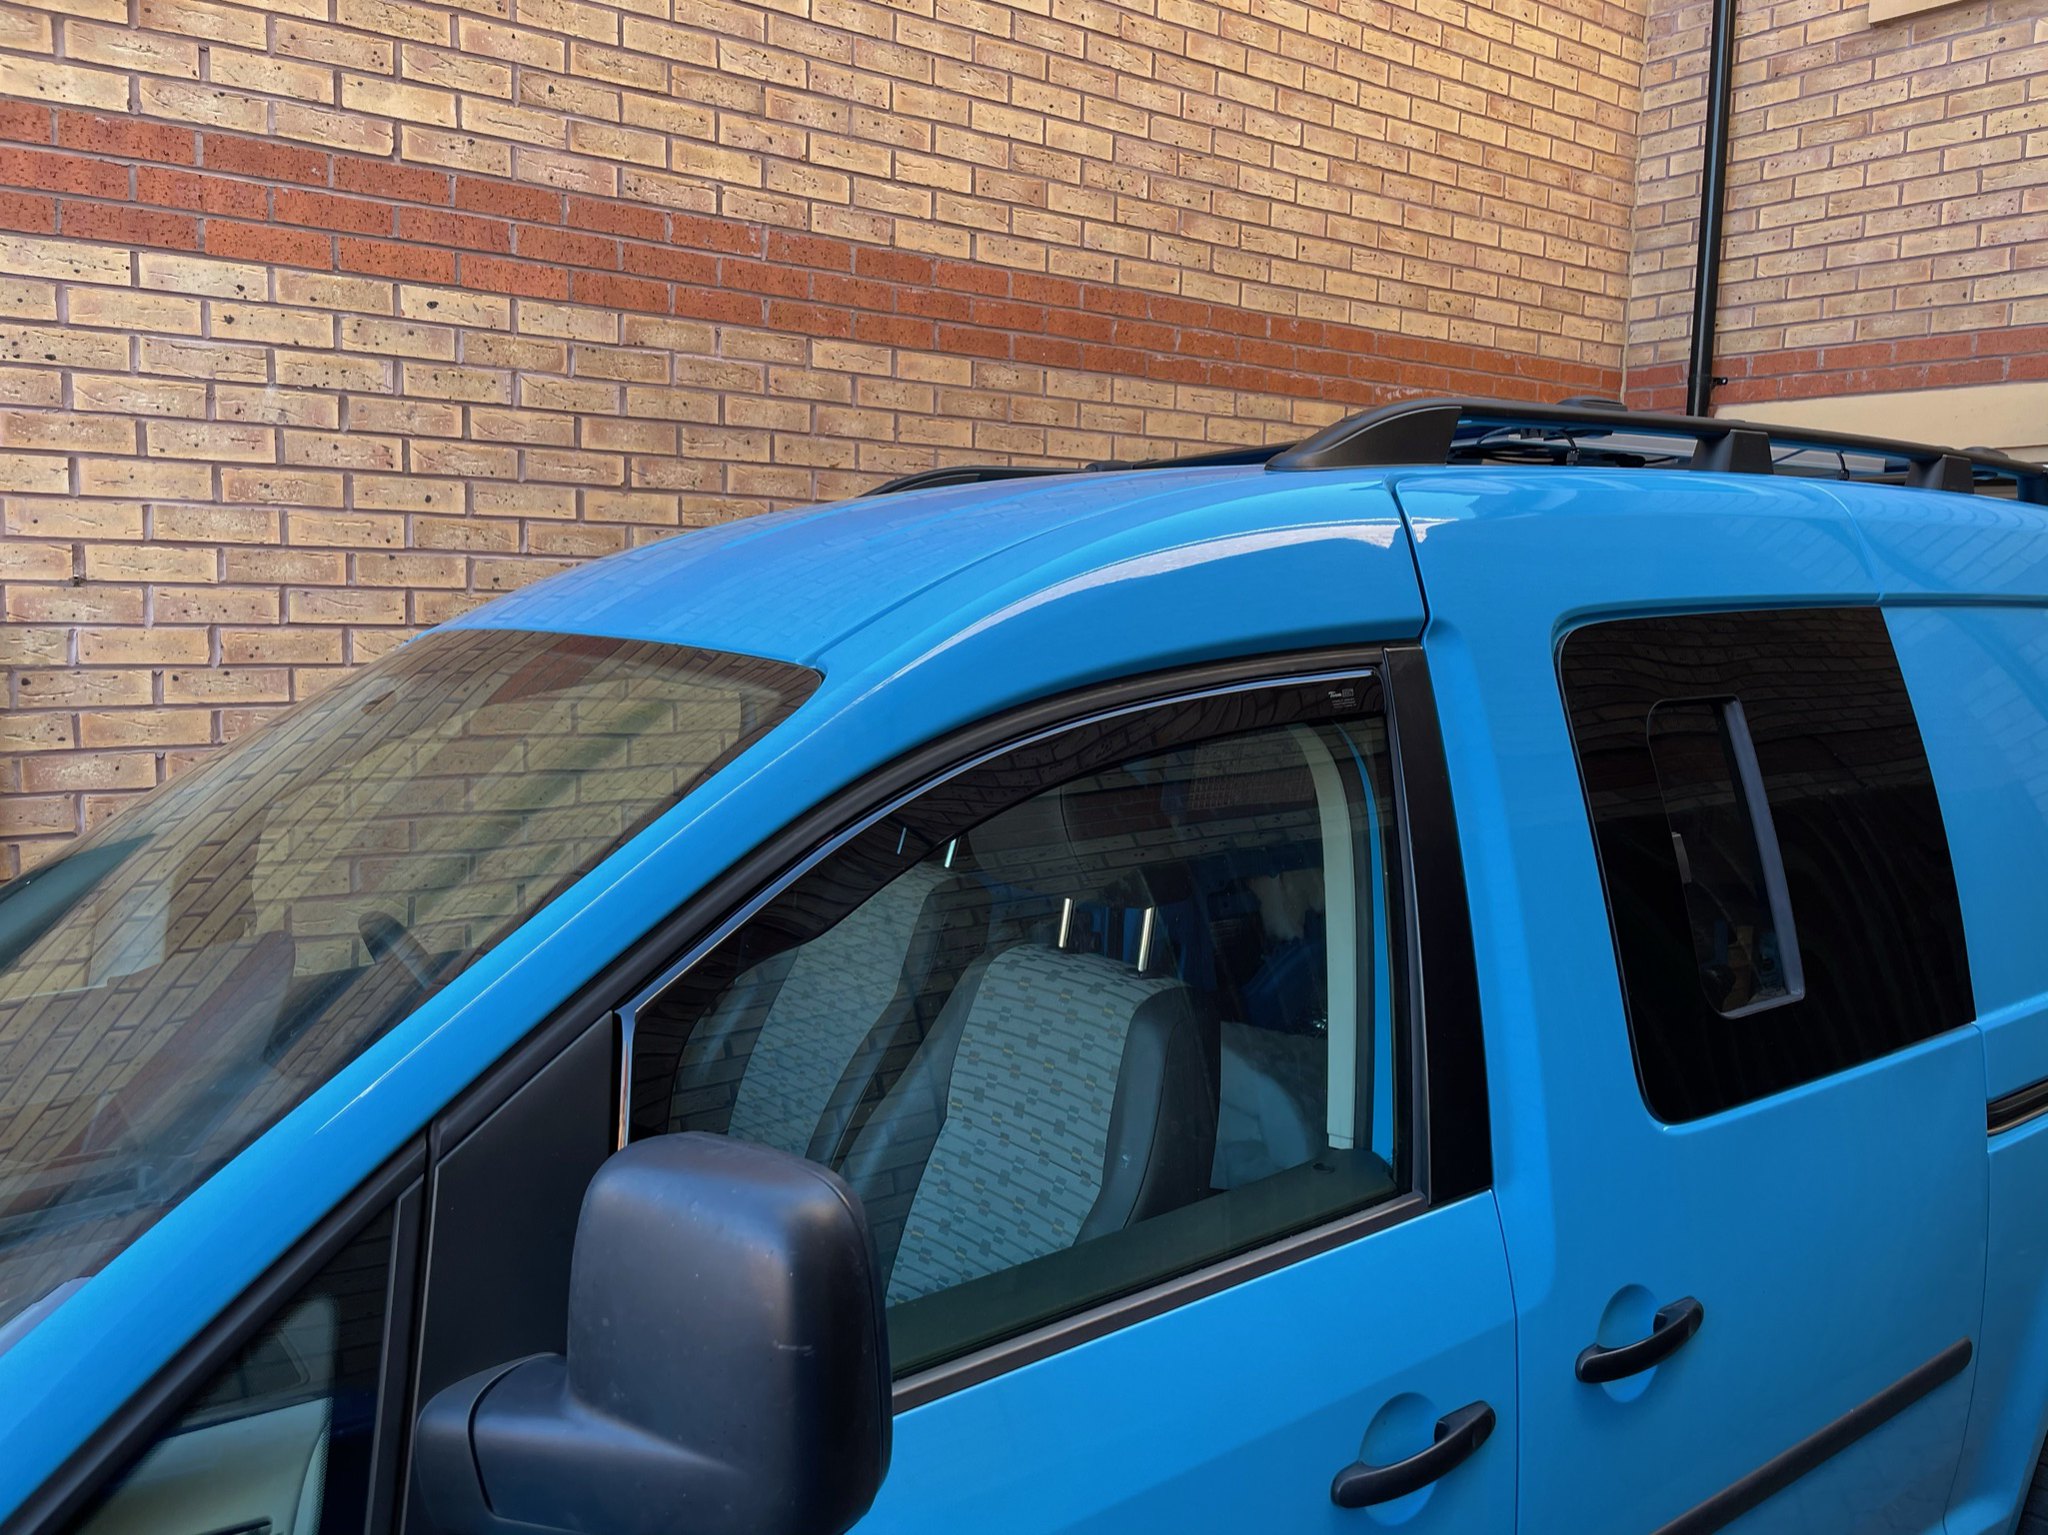
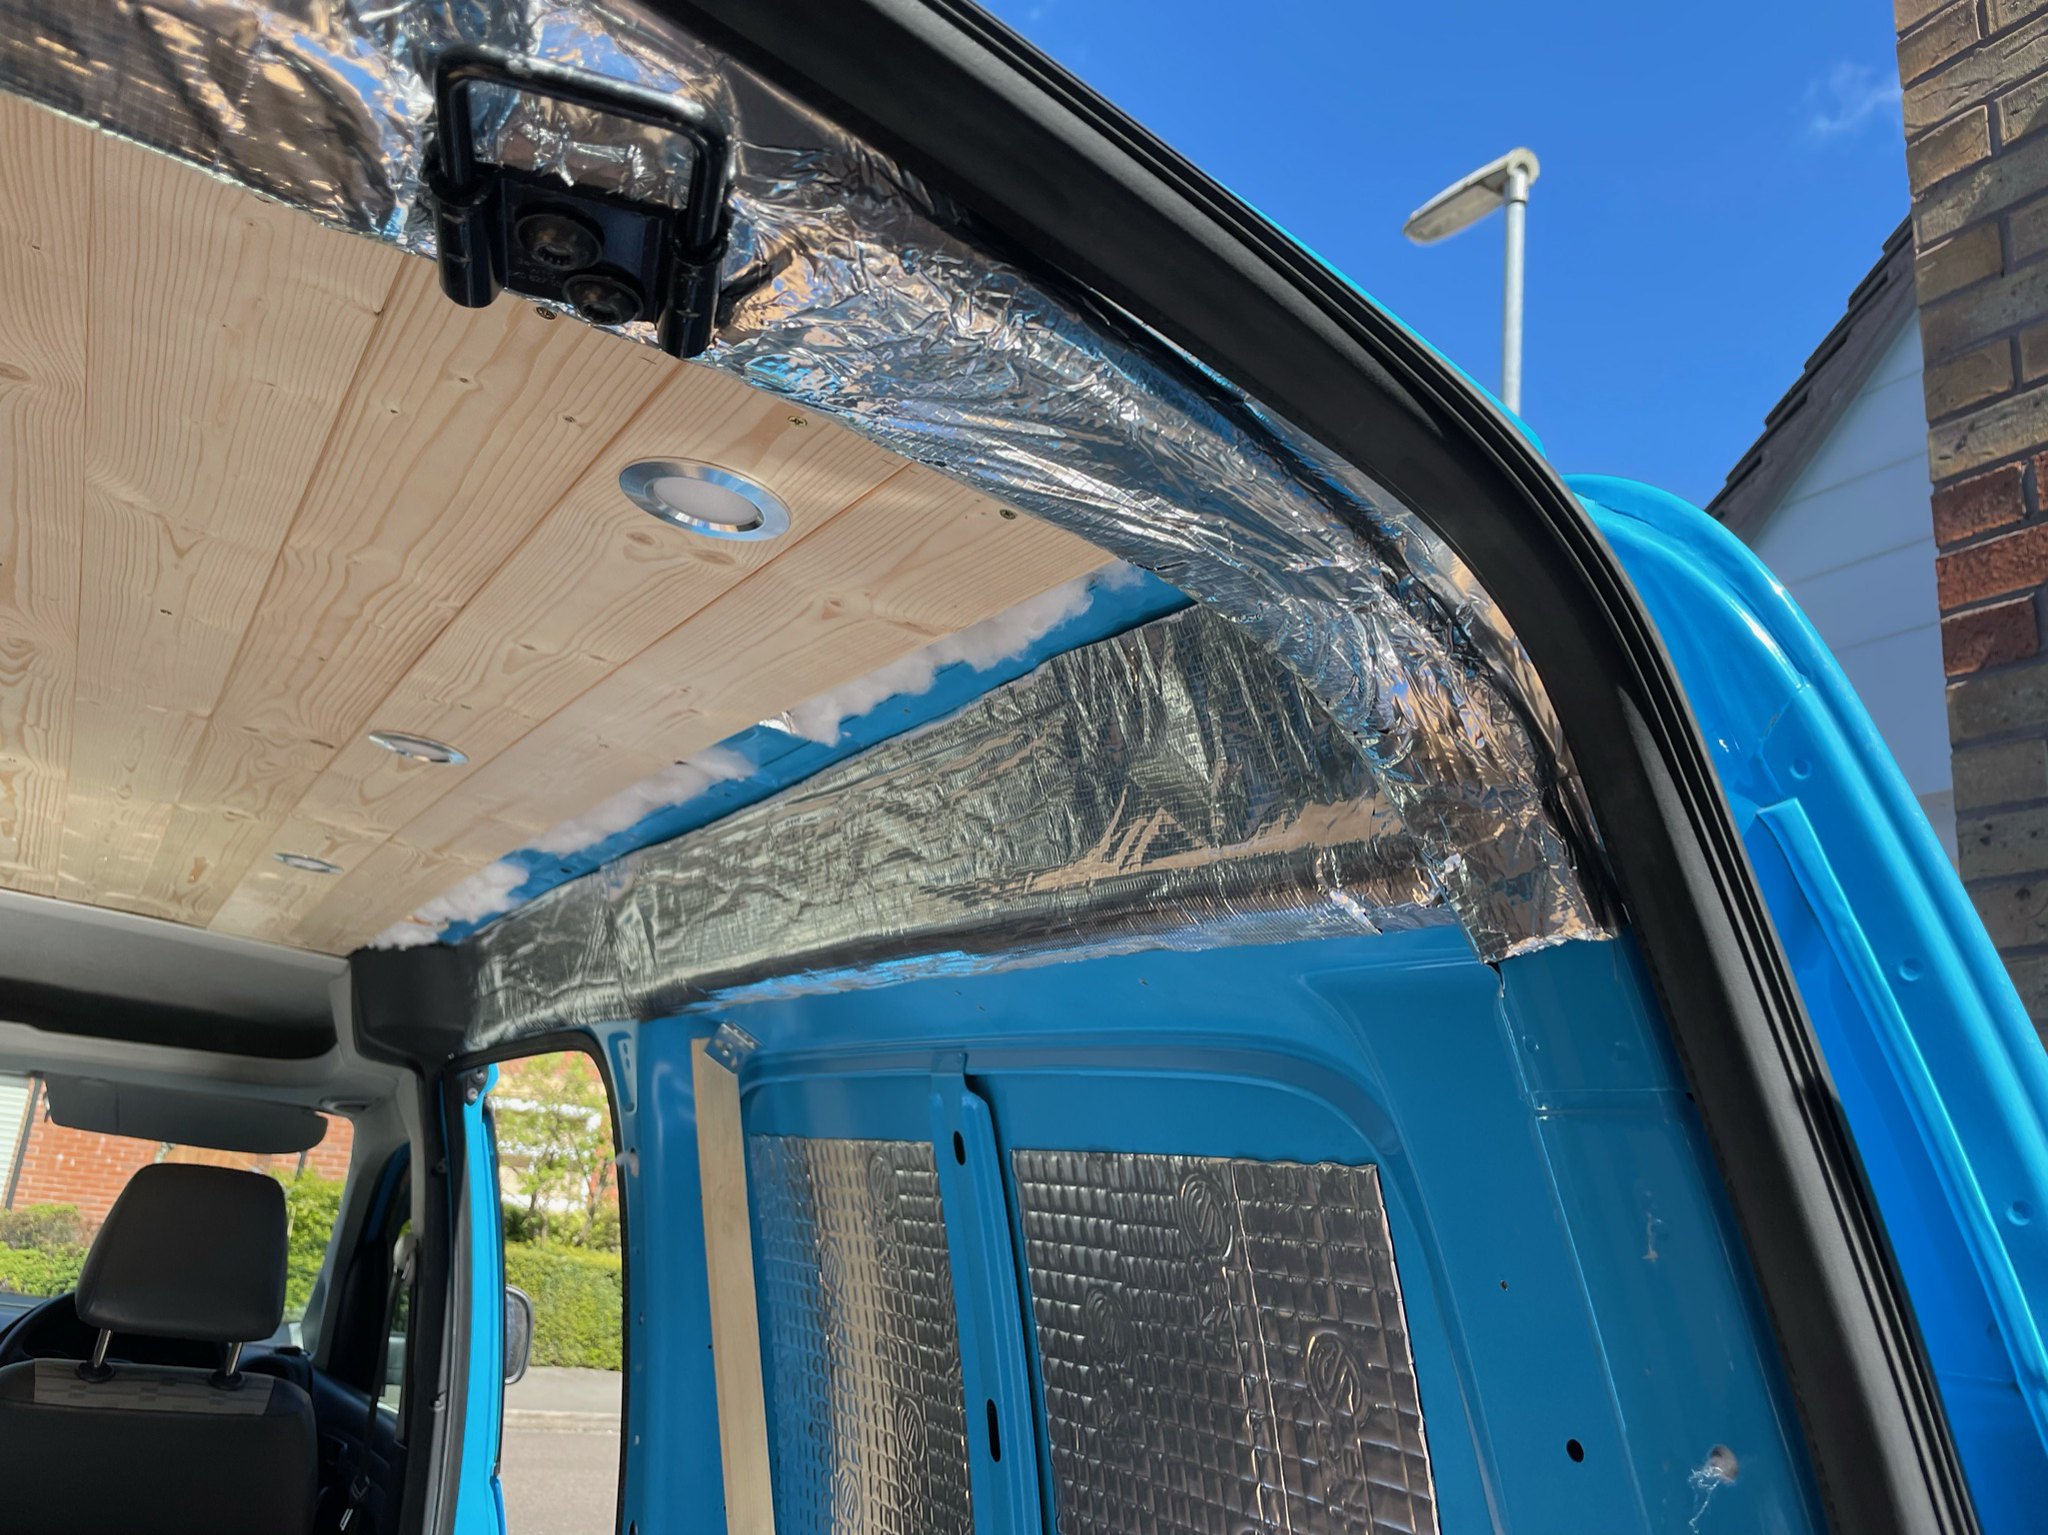
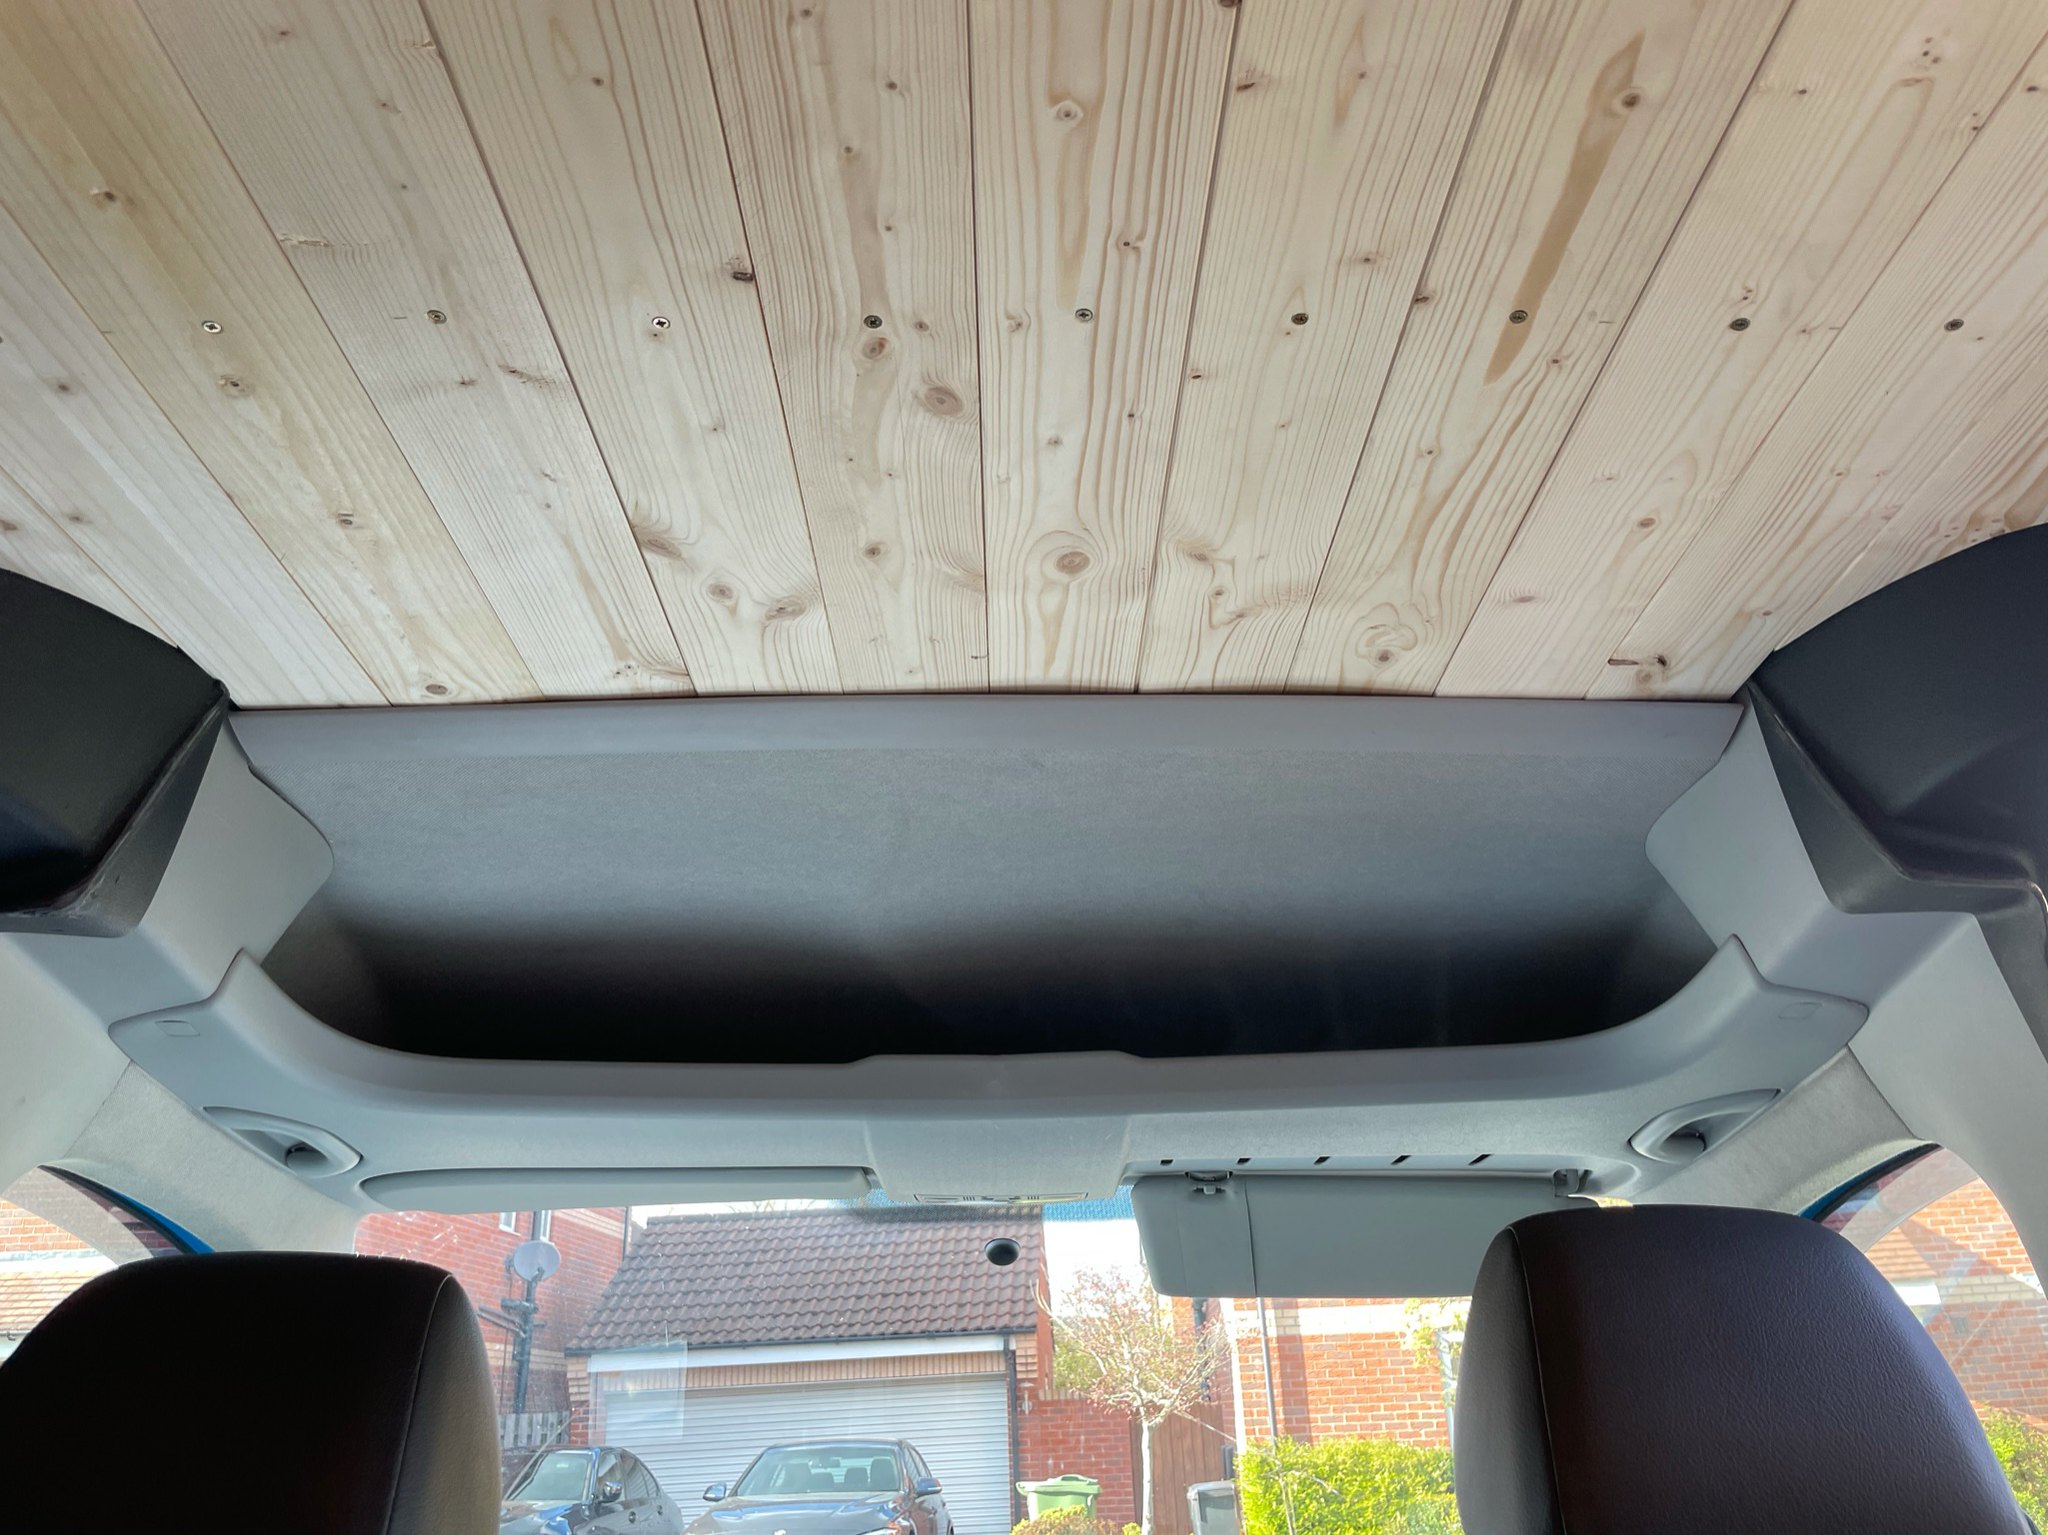
 Van's looking good, you're flying with the build. What's next on the list?


 lol..
lol..